


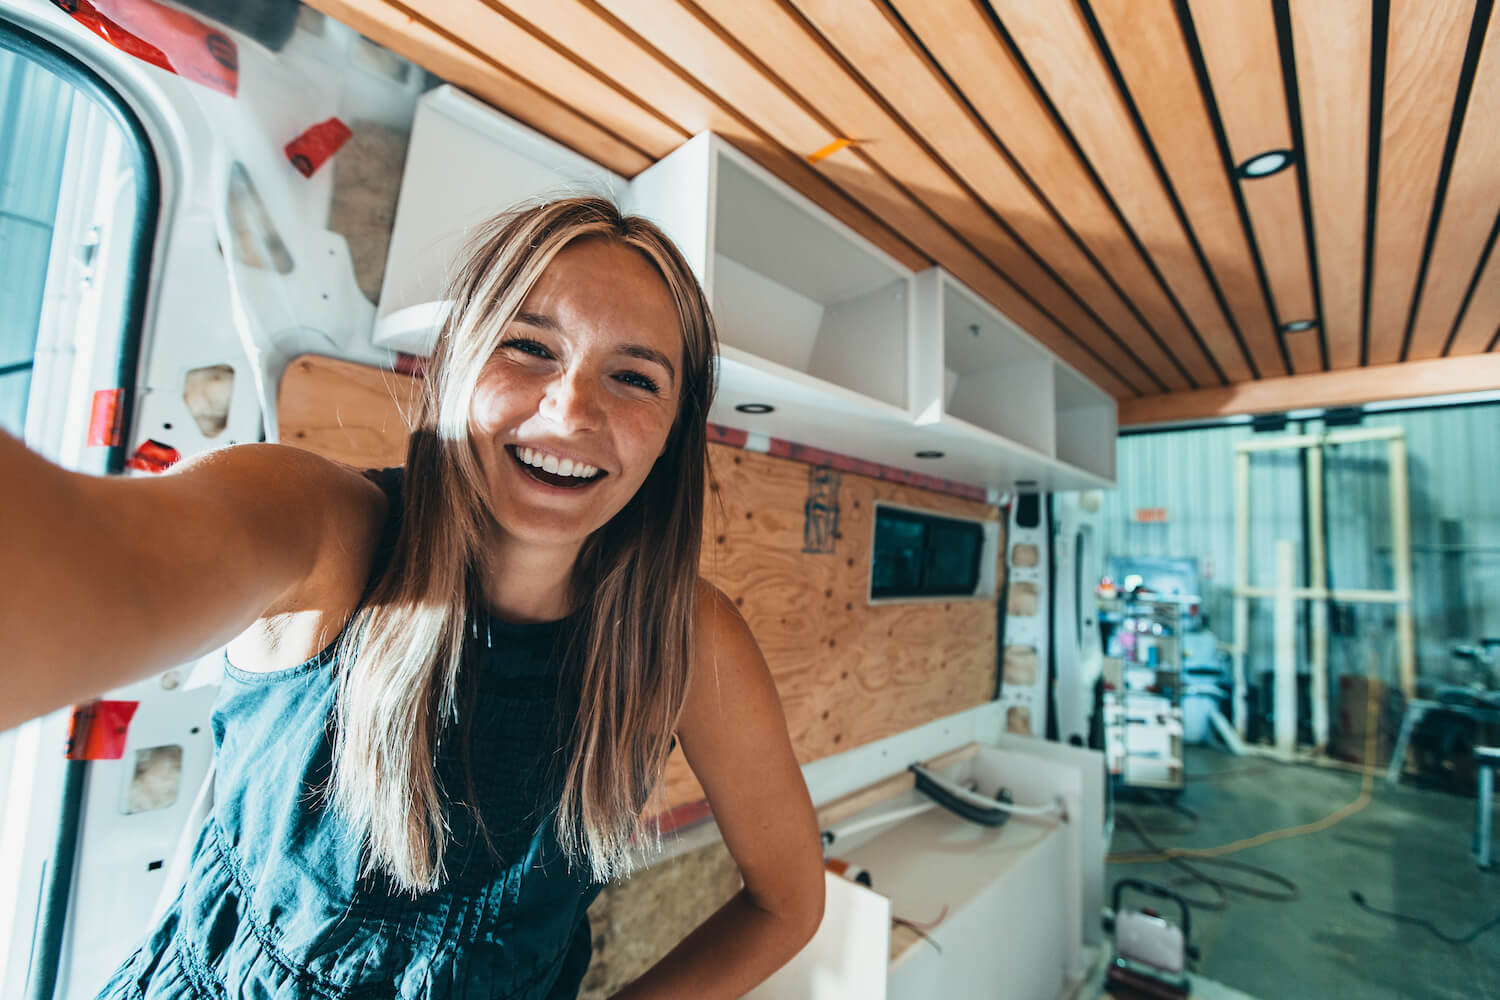
It’s not a secret: a DIY van conversion is quite a challenge!
The trick is to plan your ideas and design well before starting the big job. Once the window holes are drilled and the wood is cut, it’s pretty hard to go back and fix it! Since we know that it’s not always easy to know where to start, here are the main steps to follow for your DIY van conversion.
Get inspired
The first thing to do before you start your design is to define your needs and get inspired! Scour blogs on this topic, watch different van tours, and follow Instagram pages like Vanlife Sagas (also the amazing photos in this article), Vanlife Diaries, Jarrod Tocci, Sprinter Campervans, Project Vanlife, Van Clans and Gnomad Home to fill your head full of ideas!
This is the moment you start defining your needs for the conversion. Start by making a list of the essentials to include in your van and sort through them as you go. One tip that we often give before starting your first DIY van conversion is to go on road trips with a few different rental vans. This allows you to live in the space and better define your preferences.
Set the layout
Once you’re inspired, the next step in your DIY van conversion is to choose your layout. The possibilities are endless depending on your van model and size. To help you choose your design, here are some questions to ask yourself:
- How many people will travel in the van?
- Do you need a work area?
- Are you adding windows to your van? If so, where will they be located?
- Do you want a bathroom or an indoor shower?
- How much storage space do you need (clothing, work gear, outdoor equipment, etc.)?
- Do you want a fixed bed (more storage) or a dinette bed (more living space)?
- Will you be off grid a lot or have regular access to electricity?
- Do you want to cook inside your van?
The answers to these questions will help you make the best choices for your design. Afterward, you can use tools like SketchUp, Vanspace, Canva or a simple grid sheet to draw and plan your dream van.
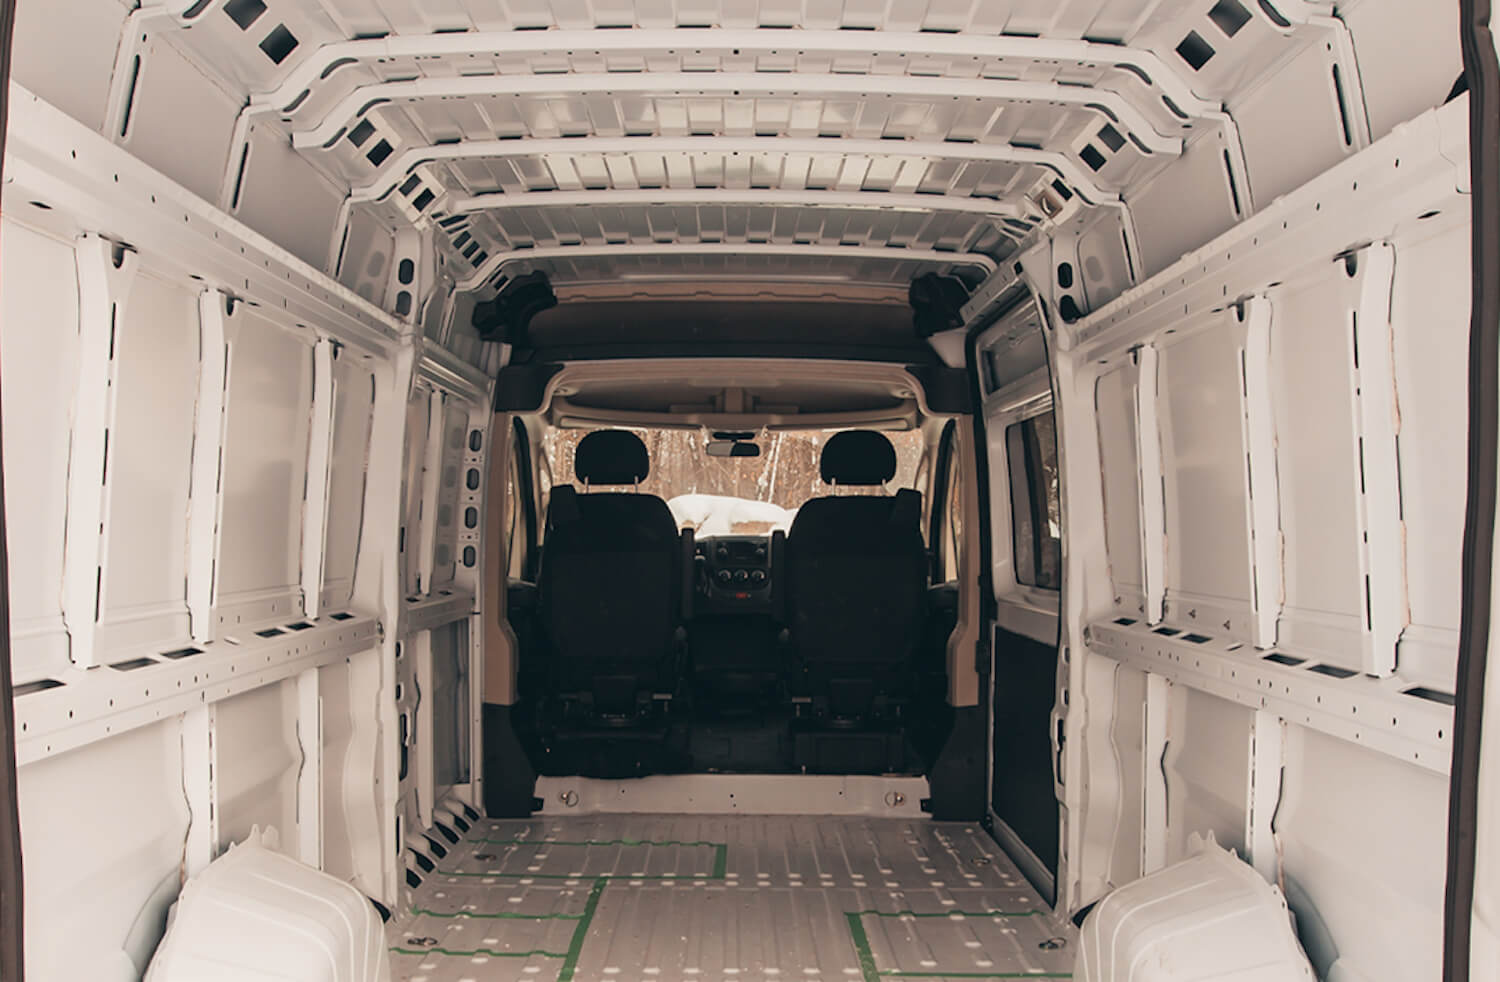
Cutting your van
Now that you have the final plan with you, it’s time to start building! The very first thing to do on your van is also the most stressful as you have to cut the sheet metal for your windows, your fan, and the wiring for your solar system.
Be sure to check the plan you have drawn up and have all the parts with you to confirm the dimensions of the cuts you need to make. Don’t hesitate to double-check all your measurements! Once you cut through the metal, there’s no going back, so it’s best to be a perfectionist at this stage.
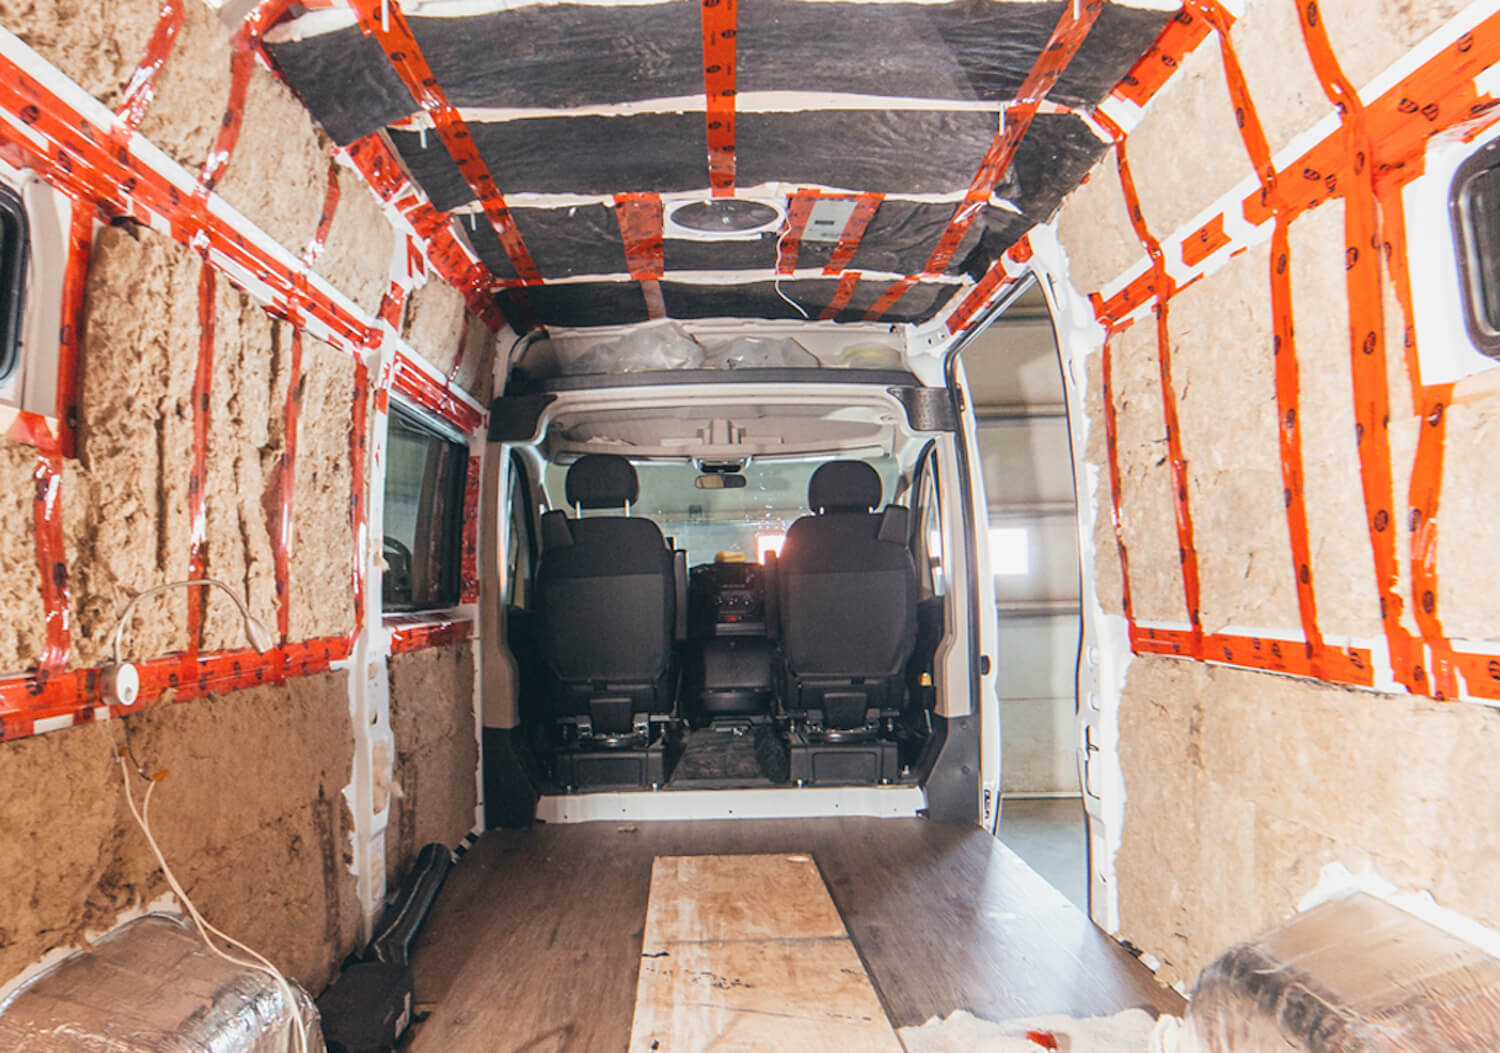
Insulate the van
There are many ways to insulate your van. Spray polyurethane foam, sheep wool, Thinsulate, rock wool… The option you choose to install in your van depends on the surface to be insulated, but also on your budget.
What you need to understand is that the insulation is mainly used to reduce the temperature transfer that is created when heat comes in contact with the walls of the vehicle. In the summer, when the sun hits your van, the heat penetrates through the roof and walls thanks to conduction, while in the winter, the opposite occurs with the interior heat towards the exterior. So, by insulating your van, you prevent and reduce this heat transfer, which will keep your van warmer in winter and cooler in summer.
Another good move to help control the temperature in your van is to carry insulated window coverings (Reflectix for example) to block the sun’s radiant heat.
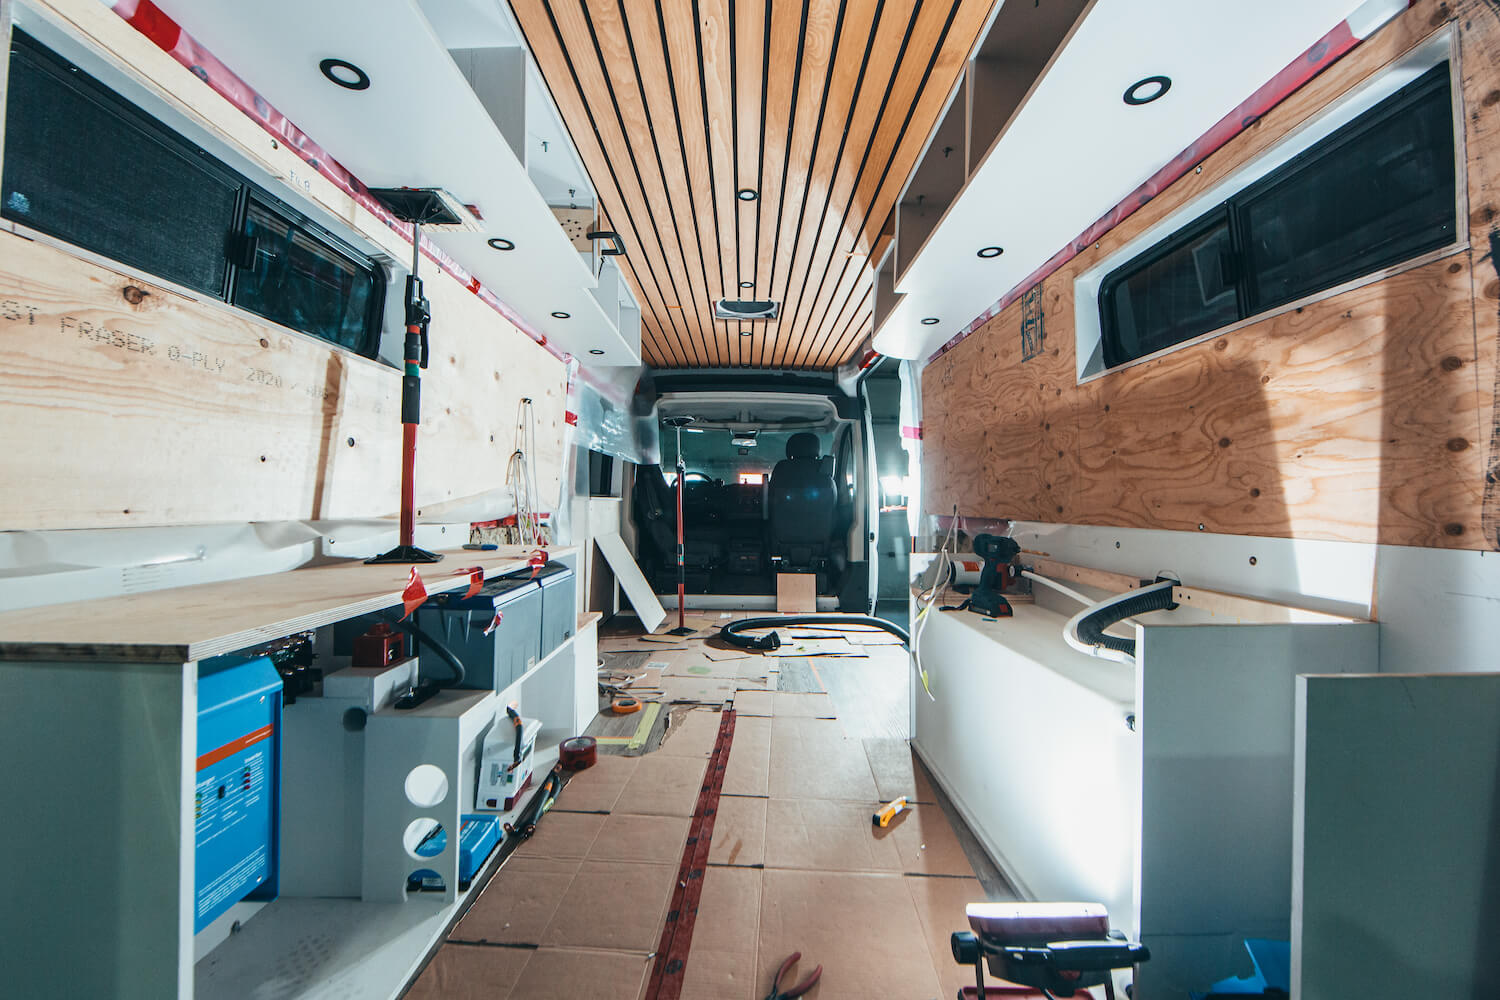
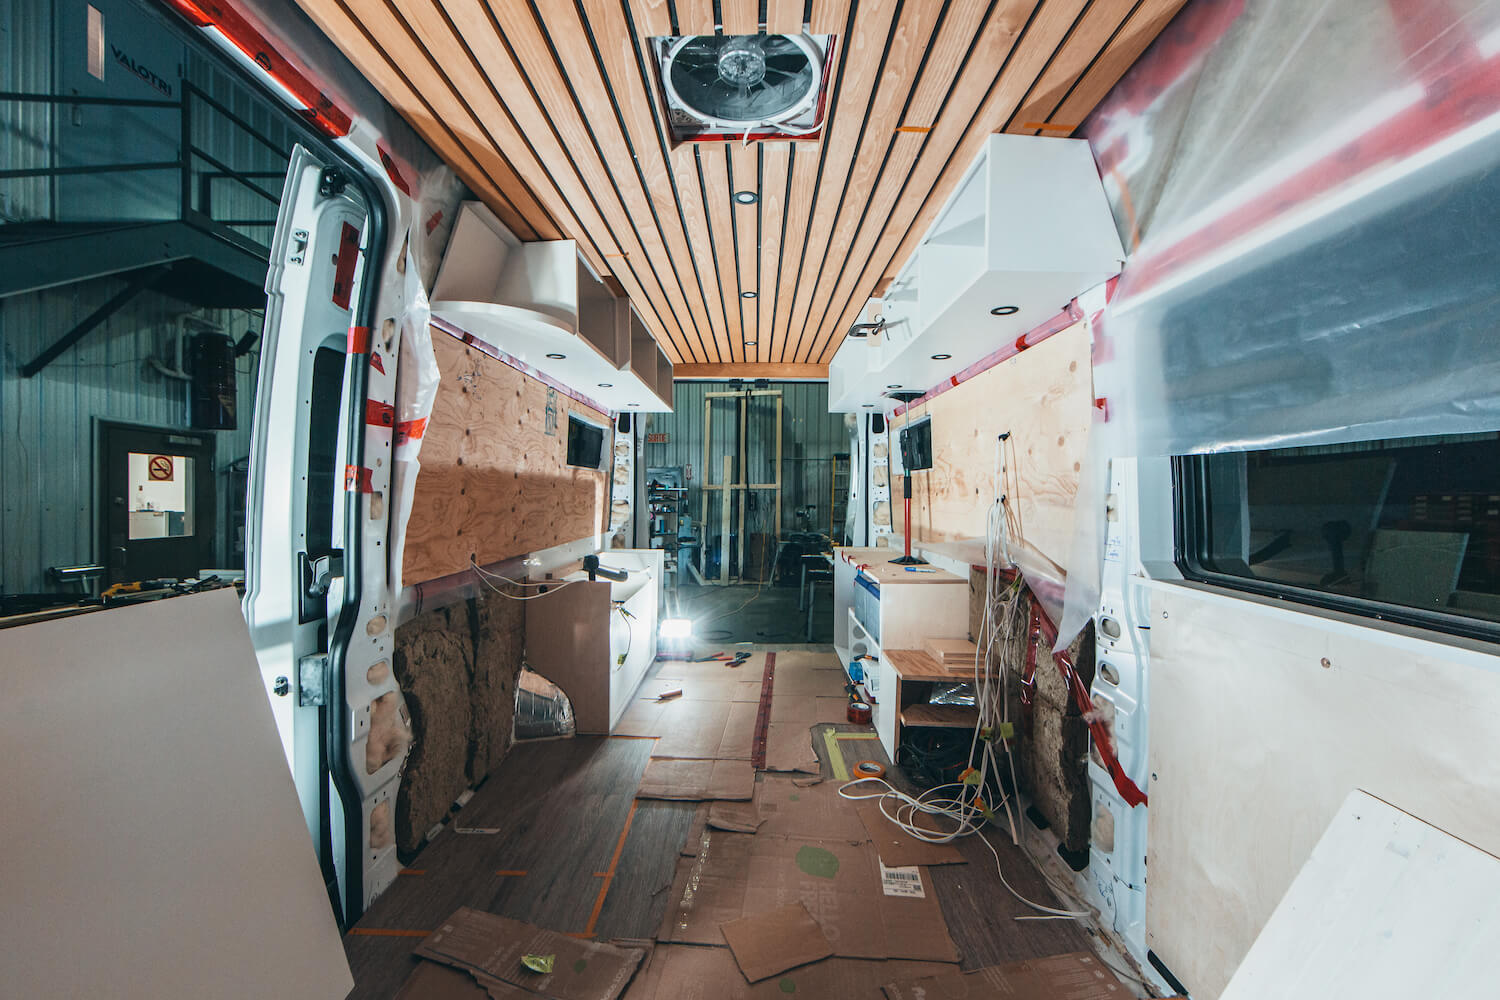
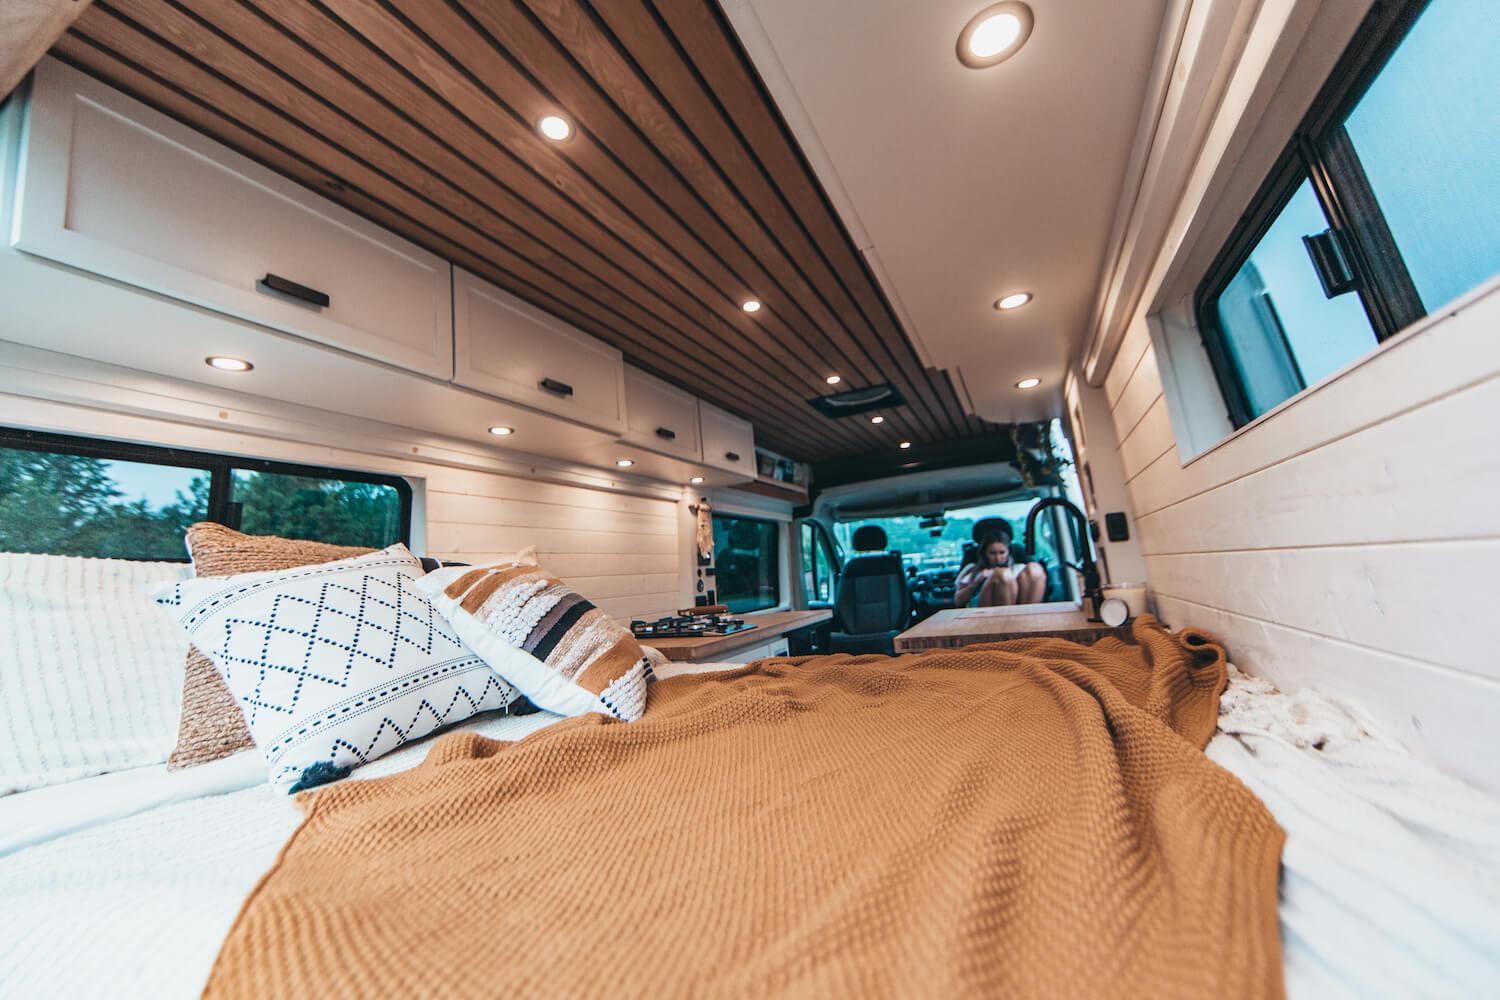
Build the walls, floor and ceiling
We must admit that the real fun begins once the insulation is complete. That’s when the van of your dreams begins to take shape before your eyes. If you’re an electrical system in your van, make sure to install all the necessary wiring before building the walls, floor and ceiling to cover and protect it. Once this process is done, you can start structuring your space.
Much like insulation, there are multiple solutions for creating the foundation of your interior space. Ideally, you should start by building a wooden structure on top of the sheet metal so that you can firmly attach the wood panels or slats on top. From there, be creative and treat yourself by choosing materials that suit your taste.
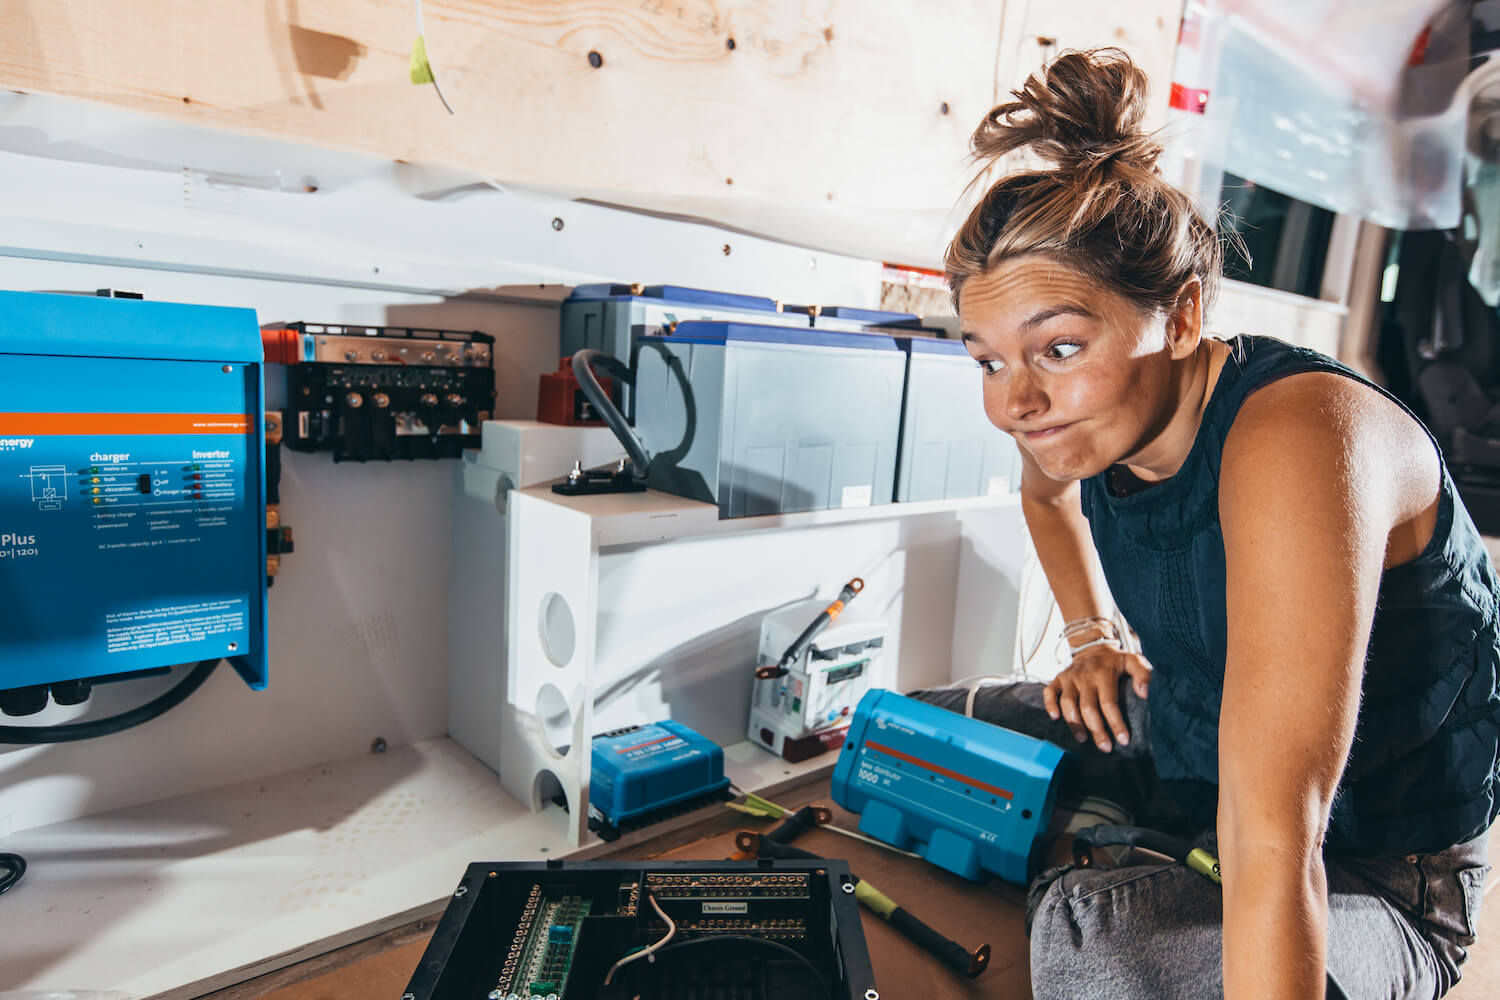
Install the systems
This step requires a little more preparation and planning, but it’s now possible to install an energy and water system in your van without any previous experience.
When defining your needs at the very beginning of the design, it’s important to estimate your future water and electricity consumption. This will allow you to assess what type of solar panels, battery, and water tank you’ll need as well as the space needed in your van to store these systems.
If you don’t know where to start, our friends at FarOutRide have an amazing guide to help you calculate your future power consumption, buy the right parts and then build your system like a pro. They also have an interactive diagram that allows you to design your water system, including a water heater for those of you planning to install a shower.
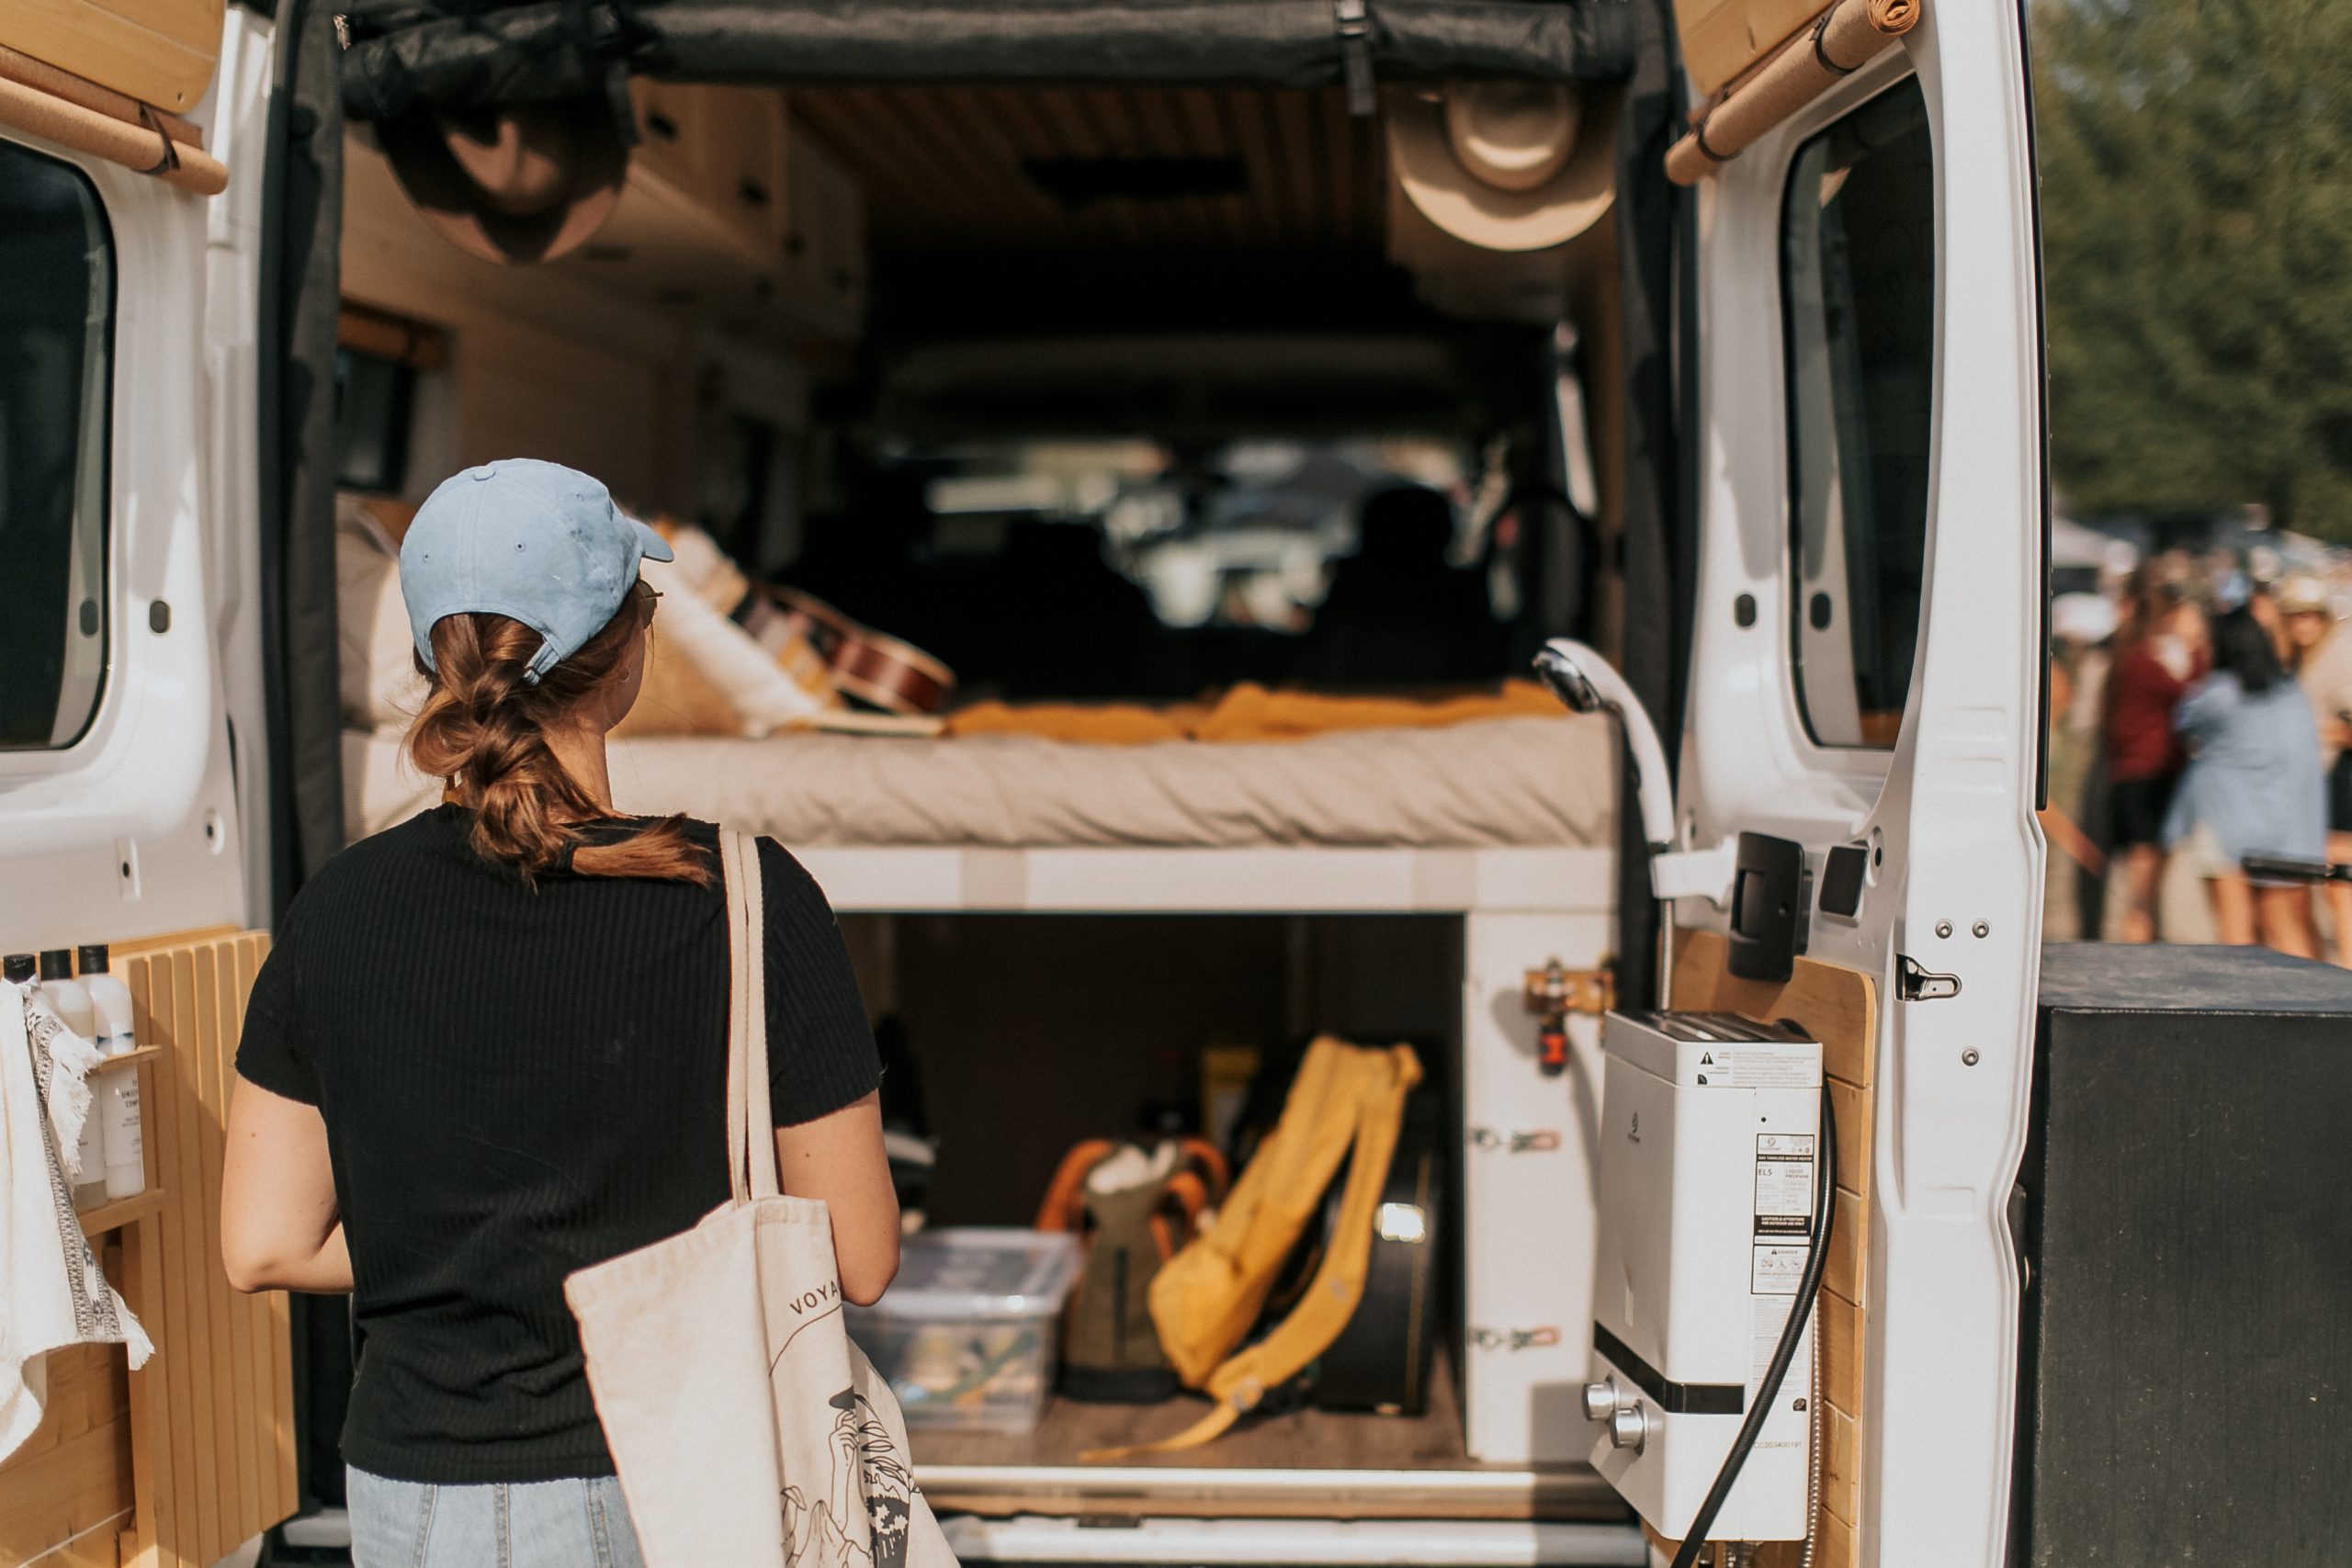
Build and install your structures
At this stage of the process, you have an insulated van, have walls, a ceiling, and a floor, and the systems are in place. Now it’s time to create your bed and storage. You already have all the ideas and measurements, so all that’s left is to build and install them.
If you have the space, the ideal way to convert a van is to build the different structures outside and then come and fix them in place. This is much easier and more reliable than building the modules directly inside the van. Make sure to secure everything so that nothing moves once you get on the road! In order to test the configuration, many people have also opted to make less expensive plywood or wood cabinets to test the flow in the van for a weekend!

Finishing touches
You’re almost there! The finishing stage is a bit of a hassle, but it will give your van a sleek and professional look. This is also where you will give your van some personality and a unique look. Paint, stain, hooks, curtains, moldings, handles… All the ideas you had at the very beginning will come to life!
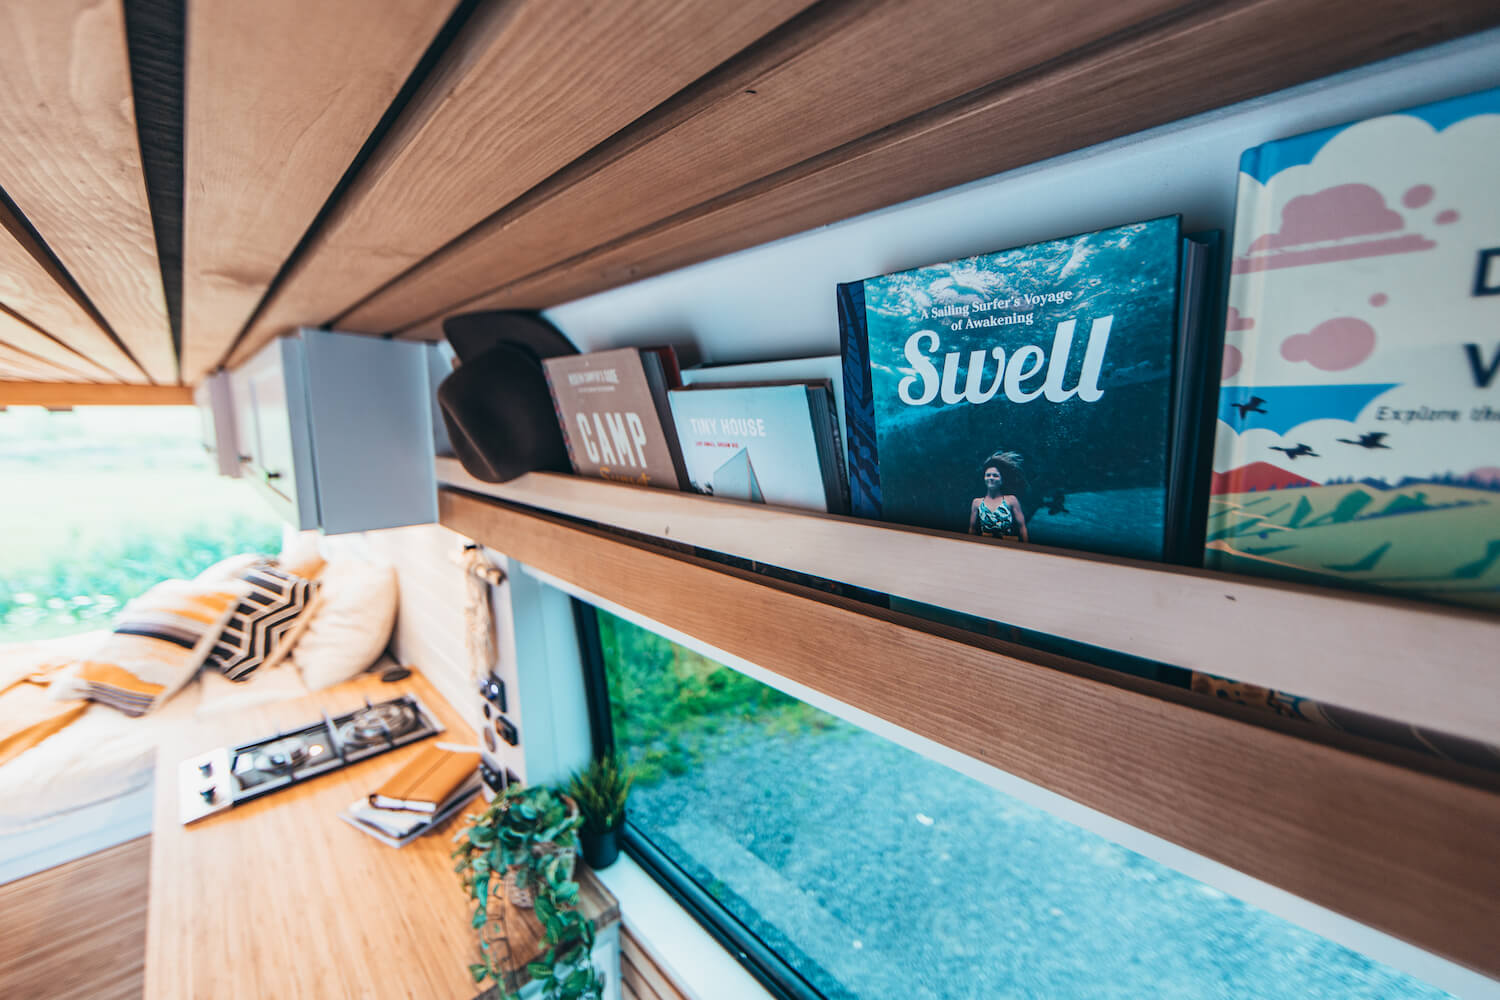
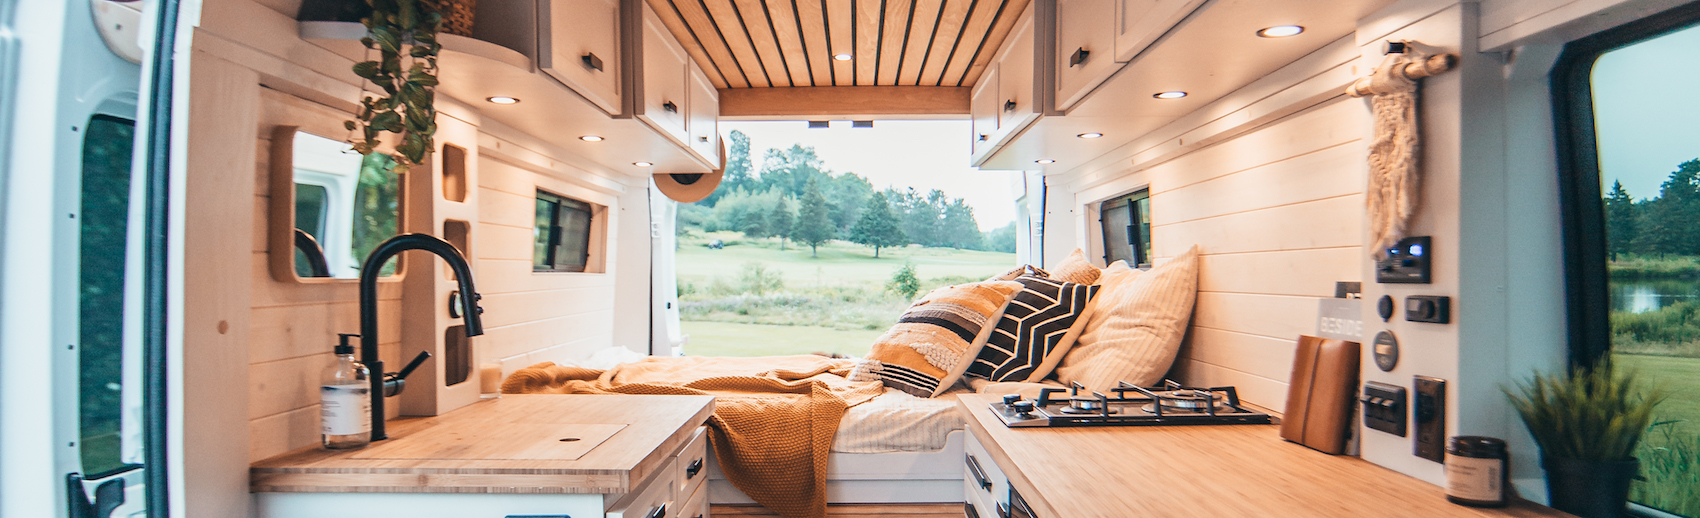
Decoration and accessories
That’s it, your DIY van conversion is finished, now all you need to do is decorate it! This is really the sweetest step of the whole conversion, the one that will make you feel comfortable and at home. Pick out your dishes, linens, and pillows, add your custom decorations and get ready to hit the road.
In terms of accessories, our favorites that we always carry with us are the Go-Dry hanger, our camping chairs, a big blanket and our Omnia oven.
Once you’ve finished your DIY van conversion, the fun just begins! You can plan your road trips, live unique experiences and create new memories. If any of the steps are giving you a hard time, many conversion companies offer their services to help you during your DIY process. Either way, trust yourself; the end result will clearly be worth the time and effort.
A big thanks to Vanlife Sagas for the photos!