
One of the most common questions received as a vanlifer is, “where do I even begin with building a van?” Our answer: sound-deadening and insulation.
A van build is a large project that requires extensive research, detailed planning, and implementing a comprehensive layout design. A helpful suggestion is to break down the van build by phases and just focus on one phase at a time. If you do look at an entire van design outline from start to finish, it can be extremely overwhelming. However, the one thing most vanlifers can agree on is that sound-deadening and insulation is a great place to start. It is nearly instant gratification because there is no drying or waiting process involved. As soon as the camper van insulation and sound-deadening materials are installed, you’re able to immediately get up and drive your van around!
Written by Katie Larsen, in collaboration with Vanessa and Adam Hickey, Mary Ashley Krogh, Owen Chikazawa, and Brittany and Drew Neumann. Sponsored by 76®. Don’t forget to check out their First 30 Day series, all about diving into vanlife and life on the road!
Sound-Deadening
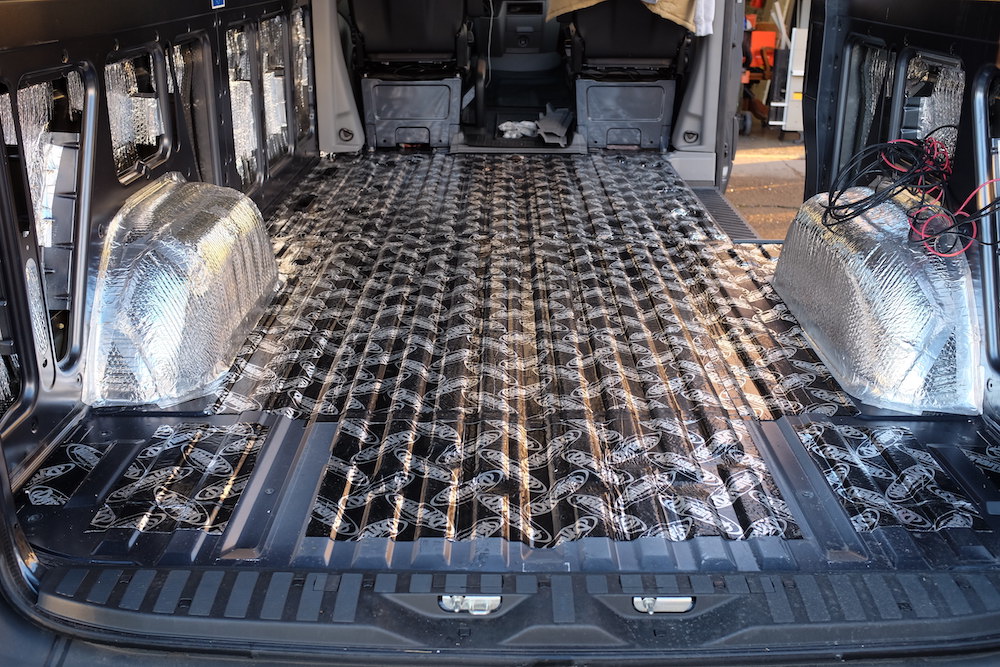
One of the first noticeable features of an empty, pre-converted van is the way that it echoes like a tin can. When you first drive your van after purchase, you may notice all the rattling of the metal. Even when parked, an empty van can echo like a tin can. Recognizing how hard it will be to make phone calls, whether to friends and family, or business calls, in an echoing van is important. From there, you can decide whether you think this is something worth fixing. Dynamat is a very simple solution, although there are many other options as well: FatMat Rattle Trap, Noico, and Kilmat.
“If you cover the recommended maximum 25% of surface area of any metal panel in the van it cuts down the vibrational noise significantly. It can be an expensive product per square foot so it’s unnecessary to cover more than 25%.” – Vanessa and Adam
All this material requires for installation is cutting it with a utility knife, peeling off the back paper, and sticking it on the necessary areas. Some people choose to place sound-deadening material only in certain regions, such as focusing specifically on the front cab, which will really help with noise and rattle comfort when driving. Further down the road, this will also help keep noise inside the van (during movies, conversations, etc.) as well as keep any exterior noise outside of the van.
If you’re lucky, your van might even come with sound-deadening materials at the time of purchase!
“Our 2008 Sprinter 3500 came equipped with factory sound-deadening panels all around the van’s walls and ceiling, and throughout the cab and cargo area. We had been told that the rear tires could give off quite a lot of noise, which we found to be true when driving the van around as an empty metal box. So, as a solution, we covered the rear wheel wells (we have a dually) with FatMat sound deadener purchased via Amazon. It was simple to cut with a utility knife and press on using a specialized insulation roller. We’ve been very happy with the results and have no noise complaints to report.” – Brittany and Drew
Camper Van Insulation
There are an endless amount of options for insulating a van. The number of windows you have will also heavily influence what kind of insulation you use and how much insulation you need to properly ensure your van will stay warm or cool. Some swear by spray foam, while others swear by rigid foam board. The different options have various benefits and downfalls. For example, spray foam is extremely messy and is oftentimes recommended to have professionally installed in order to avoid a mess. Reflectix is nice for smaller regions, and rigid foam board is great for straight, flat areas, such as insulating the ceiling or floors.
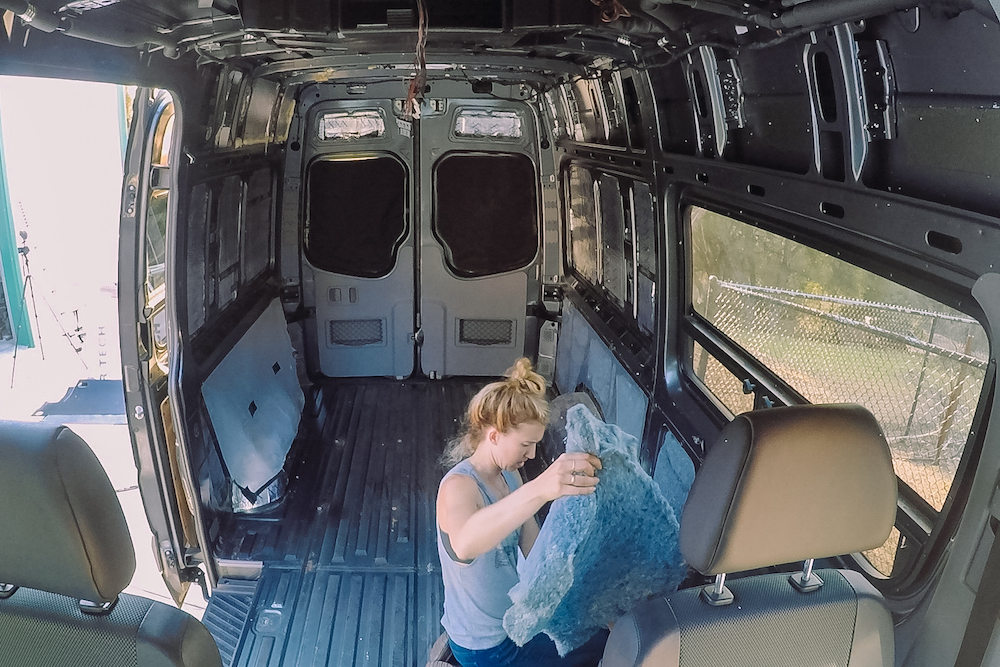
A personal preference is to primarily use camper van insulation that you can stuff and squeeze into smaller spaces, as most vans have different compartments and sections that are hard to fit exactly. Some options here are fiberglass insulation or recycled denim batting. You’ll want to keep in mind that fiberglass may be harmful to breathe over time. Don’t be afraid to mix and match! Certain forms of insulation are better for certain areas of the van. Our preferred combo? A mix of recycled denim batting, rigid foam board, and reflectix. Here is a breakdown of the different kinds of insulation available with detailed pros and cons for each.
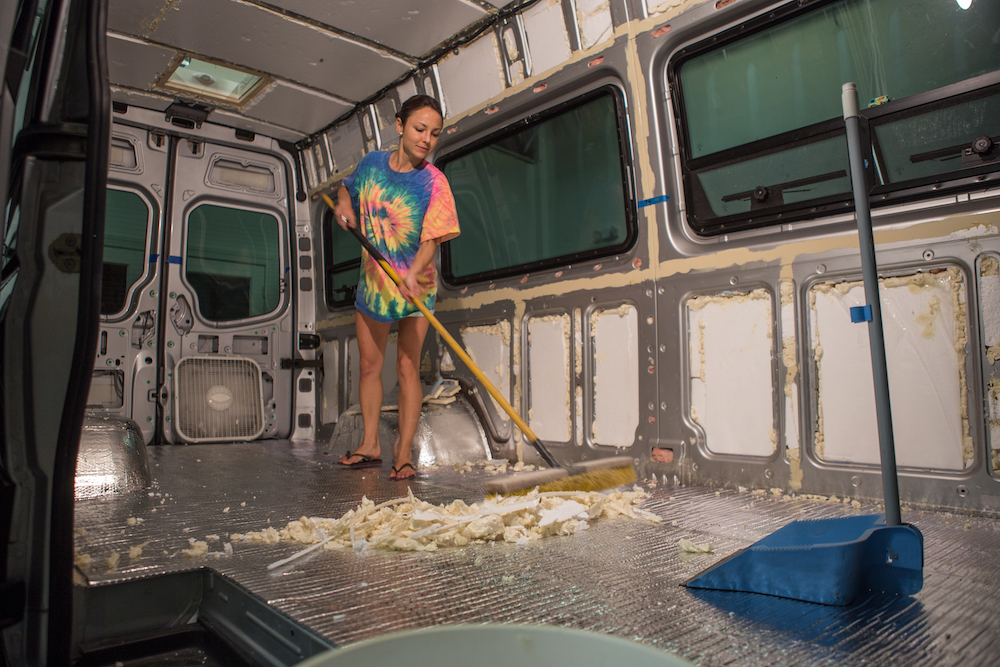
Spray Foam
While spray foam is considered one of the most efficient forms of camper van insulation, it can be very challenging to install. Nearly everybody I’ve ever spoken to agrees to this fact: if you plan on using spray foam to insulate your van, pay to have it done professionally. Additionally, closed-cell spray foam does a better job sealing all air gaps and gives you the highest R-value per inch.
“For our van build we chose to have a company professionally spray foam the inside of the van. When we worked out the time and material cost for us to insulate, it was a better deal to have someone else do it. We do not recommend spray foaming your van yourself. We always recommend hiring a professional who has spray foamed vehicles themselves and is aware of the potential for metal warping. Get an ‘all-in’ price first before they start so you can make an informed decision. On a personal note, it was very convenient. We were able to drop the van off in the evening and pick it up the next day.” – Vanessa and Adam
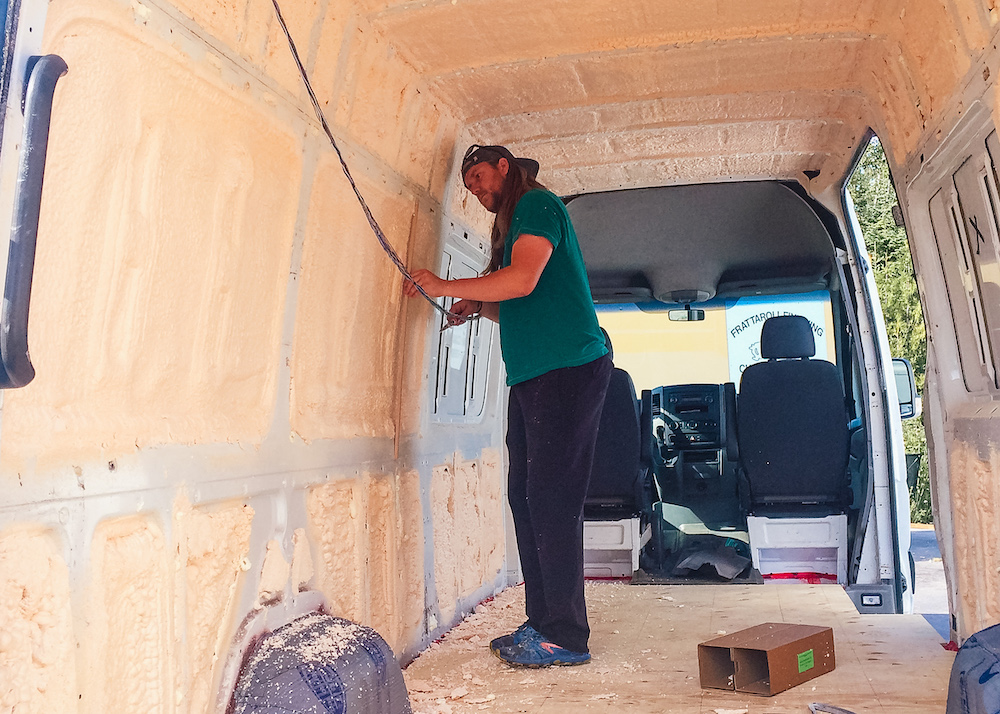
One of the many reasons that we recommend having spray foam installed professionally is because of the above-mentioned metal warping.
Additionally, we have heard horror stories of spray foam leaking into certain areas of vans, such as seat belt devices, and having to wait on expensive replacement parts for the van that were not intended to be replaced. Make sure you tell the professionals completing your installation of any cavities you don’t want filled. For example, map out where your windows will go and share this information, and provide door and seatbelt mechanism locations as well. Taping off or sealing certain areas yourself, such as the cab of your van, may help ensure a clean job and less potential of finding foam in unwanted areas.
“We called around to find out the pricing for having spray foam professionally done and unfortunately, the best price we found was over $1200 USD. Had we found a more reasonable option, we would have gone this route, even though taping off and prepping the van would have been a lot of work.” – Brittany and Drew
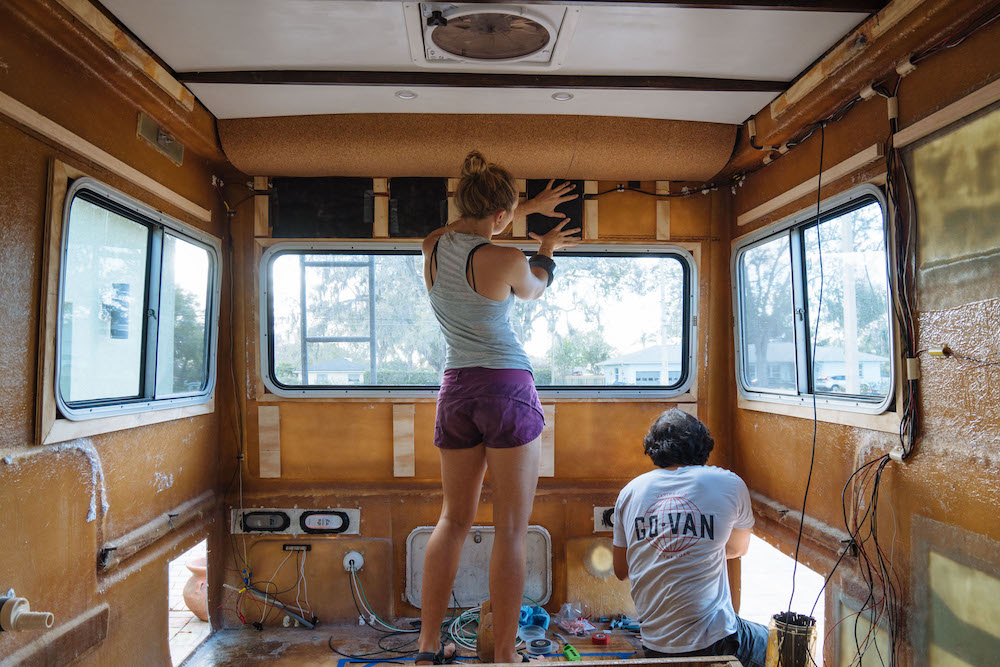
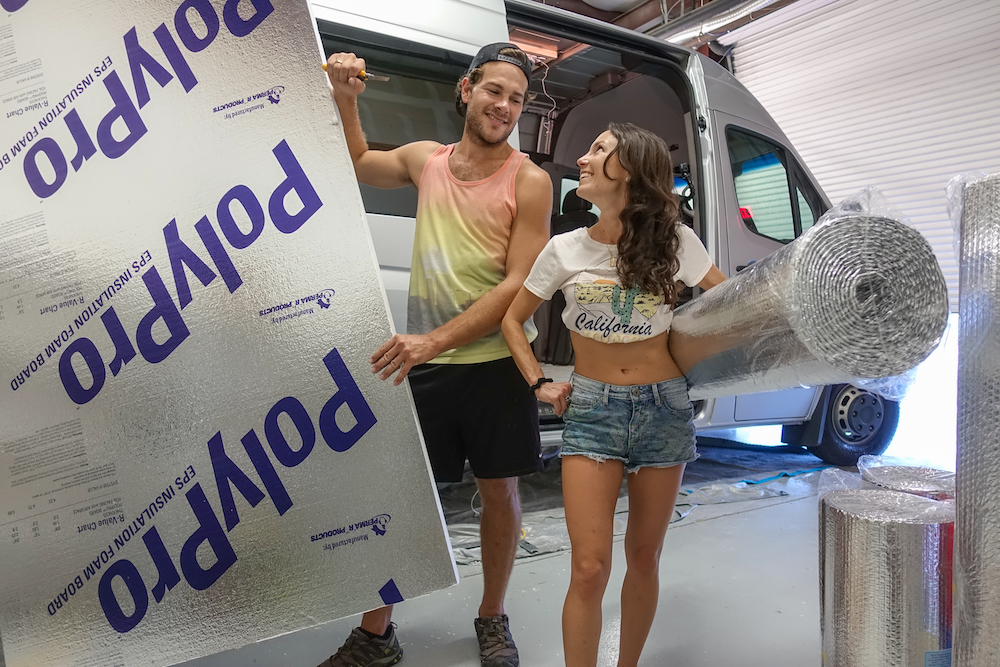
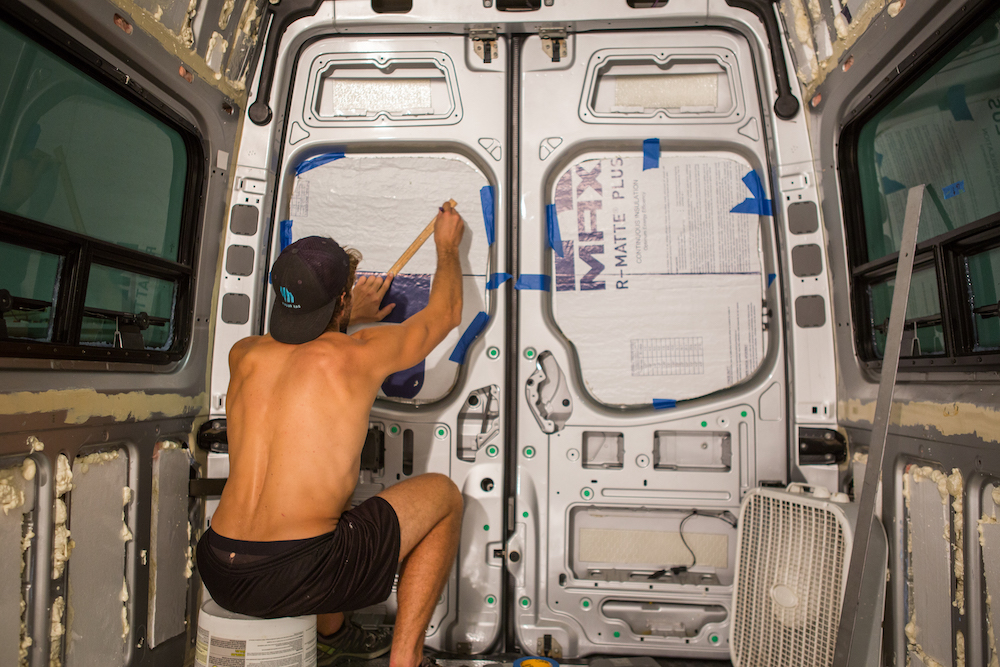
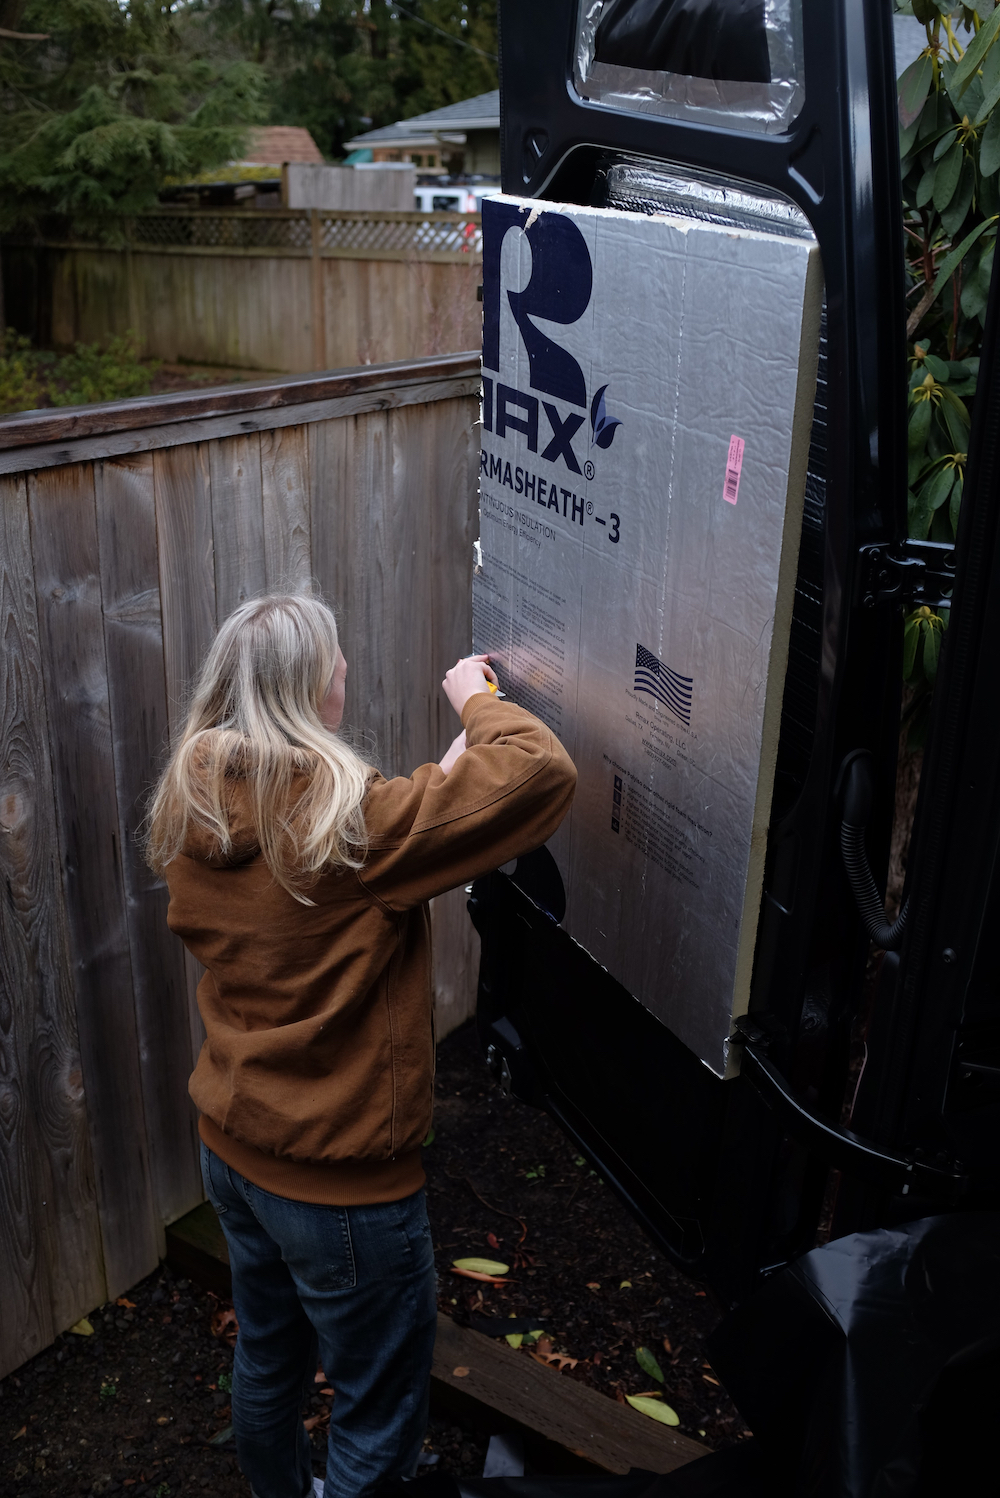
Rigid Foam Board
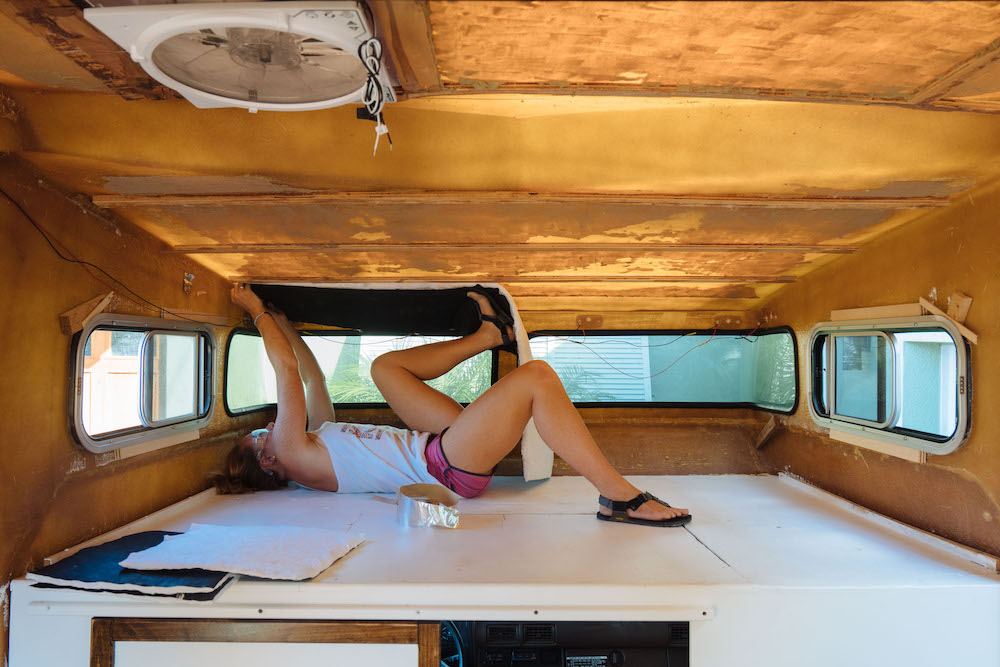
For flat, larger areas that need to be insulated, rigid foam board is a very efficient form of camper van insulation. One of the best areas to use rigid foam is the ceiling, as most vans are lined with large, square areas that you can easily cut and shape the foam boards to fit. Rigid foam board is thick, sturdy, and will not bend or warp over time.
Pro tip: consider using reflective foil tape instead of duct tape to avoid any issues with moisture!
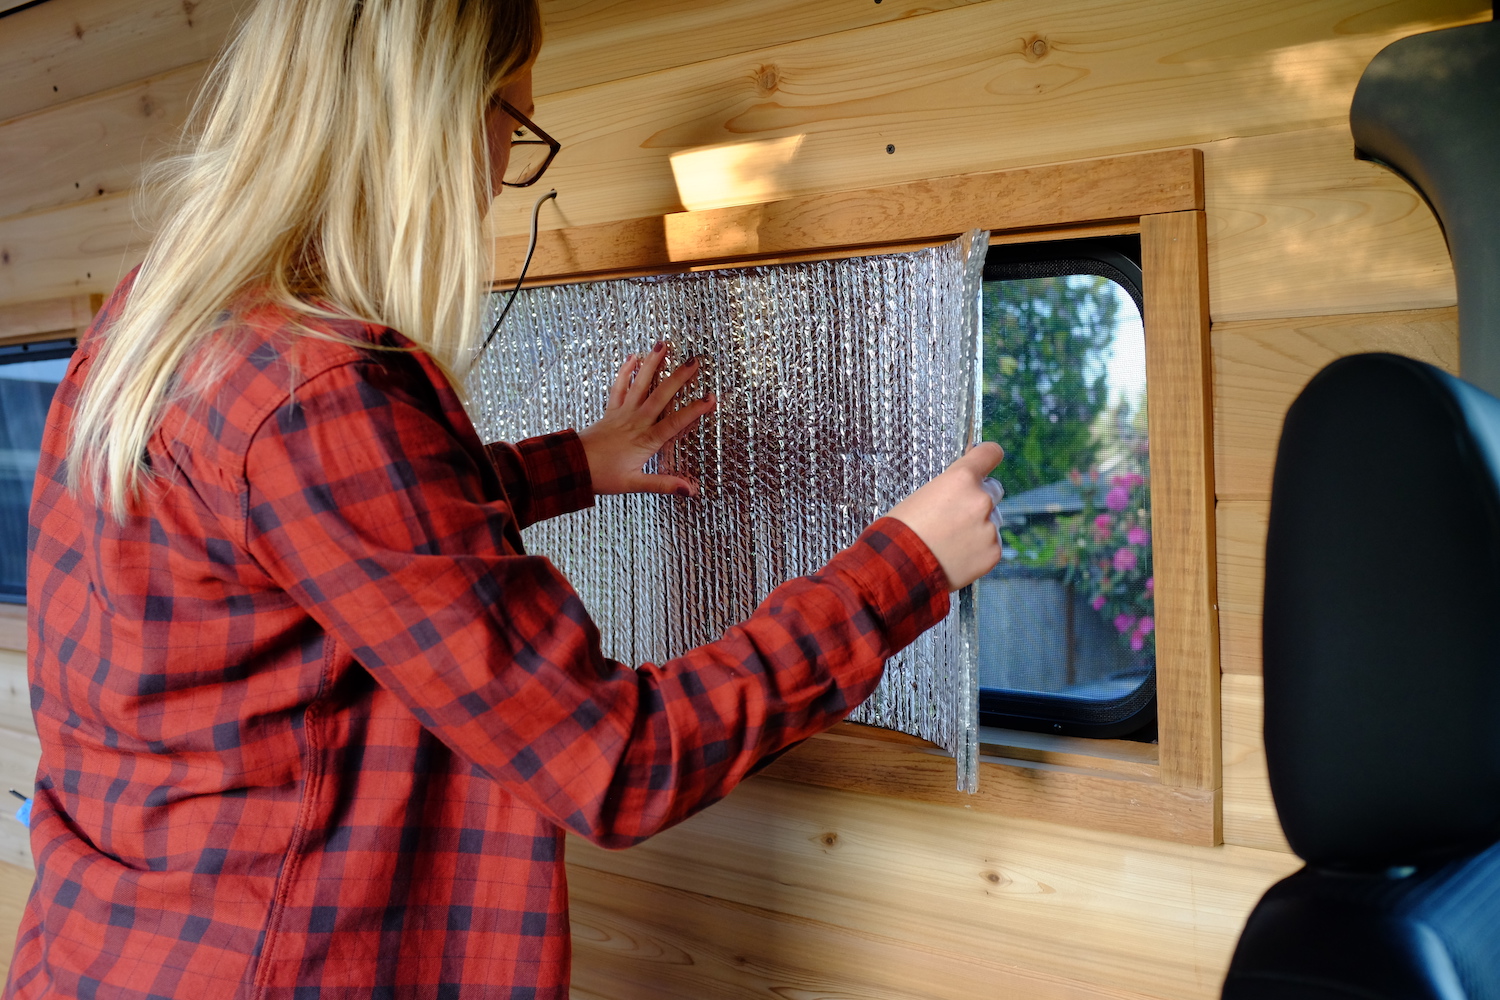
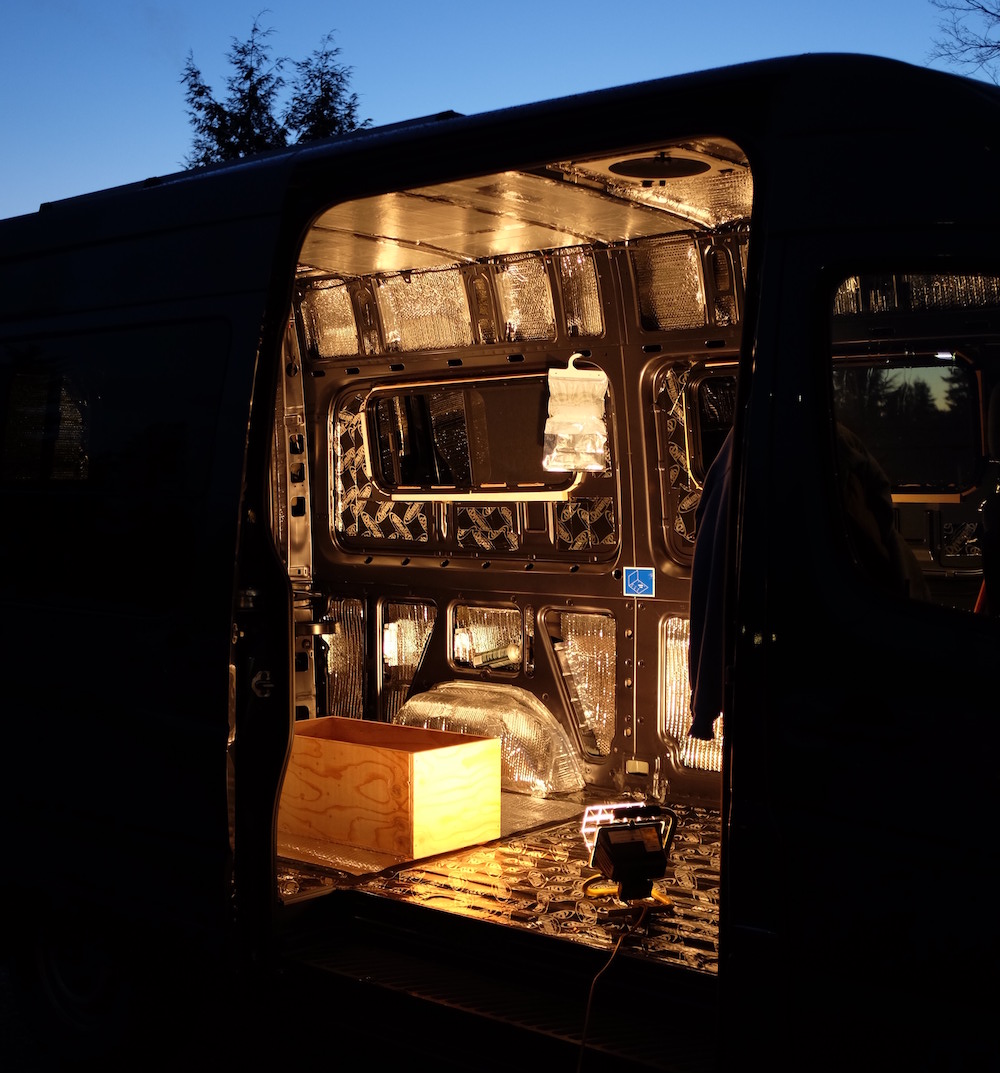
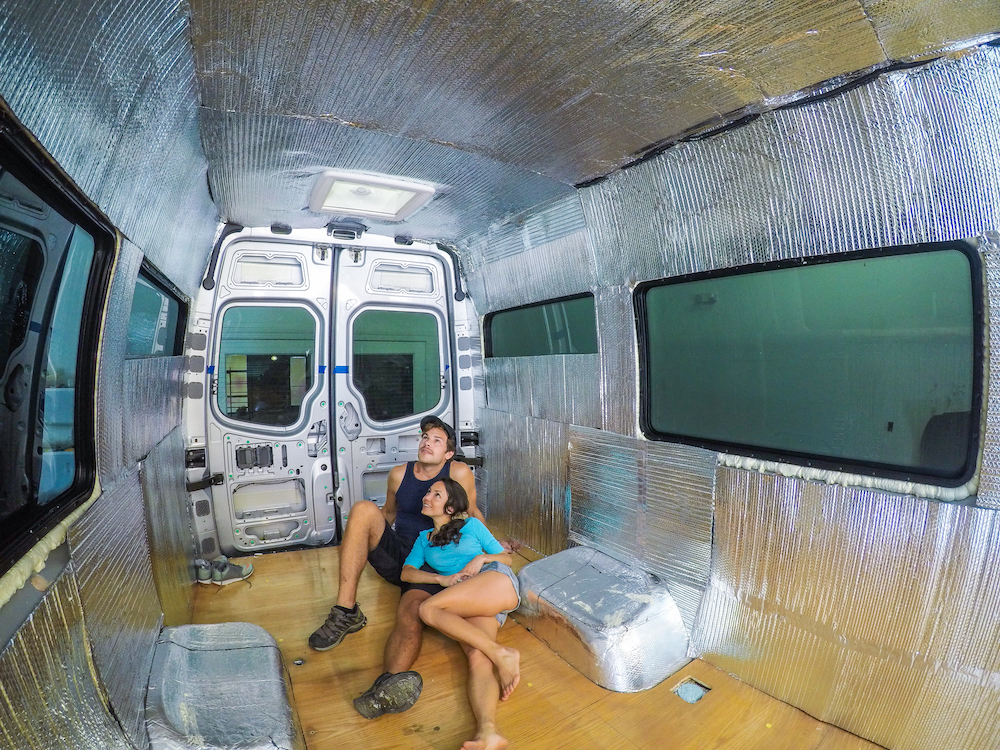
Reflectix
One of the most universal forms of insulation is reflectix. It’s thin, fairly easy to cut, and can form to nearly any surface. Many people choose to use it in combination with other forms of insulation. In fact, most vans we’ve explored have contained reflectix in their build somewhere. It is especially handy when insulating floors, since van floors have curves that are hard to fill with other materials. The above-mentioned foil tape is best used with reflectix. It will both hold the materials in place and serve as a moisture barrier.
Another way to ensure proper insulation is by creating insulated window covers. This is the area where warm or cold air will most likely infiltrate your van. One of the easiest ways to create DIY window covers is by using reflectix as the form of internal insulation. It can be easily glued or sewn between materials. Consider using a heavier material for the outside, such as canvas or water-resistant duck cloth. Heavier materials will just add an extra layer of insulation. The more pieces of reflectix, the more effective your window covers will be!

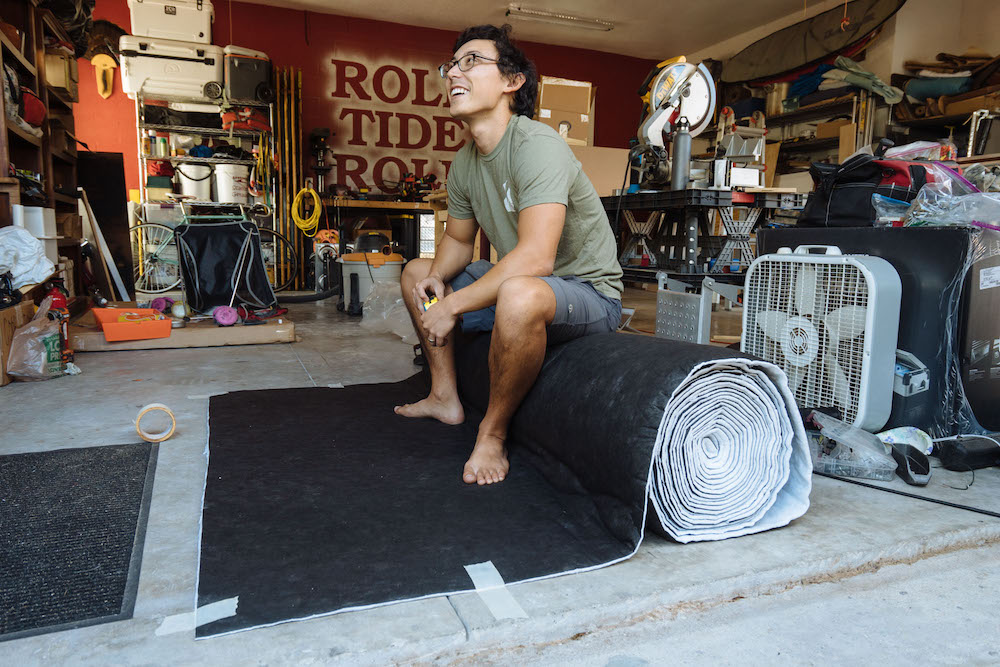
Recycled Denim Batting
When most people think of insulation, they think of fiberglass or mineral wool insulation. However, a healthier alternative that performs similarly is high-performance insulation made from pieces of recycled denim clothing. It is a lightweight material that is easy to install. The material also provides a tight fit throughout the complex interior of the van walls. It also has a zero-waste manufacturing process. Now it is more expensive than other forms of similarly r-performing insulation (fiberglass or wool). However, we recommend it based on its sustainability, eco-friendliness, and improved air quality. Remember that all materials inside your van will be your roommates for the entire duration of your vanlife. It also has better indoor acoustics, rating at about 30% higher than other forms of insulation!
Thinsulate
If you’re looking to double up on the functionality of materials, Thinsulate is a wonderful option. It is high-quality insulation that serves as both camper van insulation and sound design. Commonly used in clothing, such as gloves and jackets, this material is extremely warm and space-efficient. Like many other forms of insulation, Thinsulate protects against both cold and warm weather. This is something to consider if you plan on van travel during all seasons.
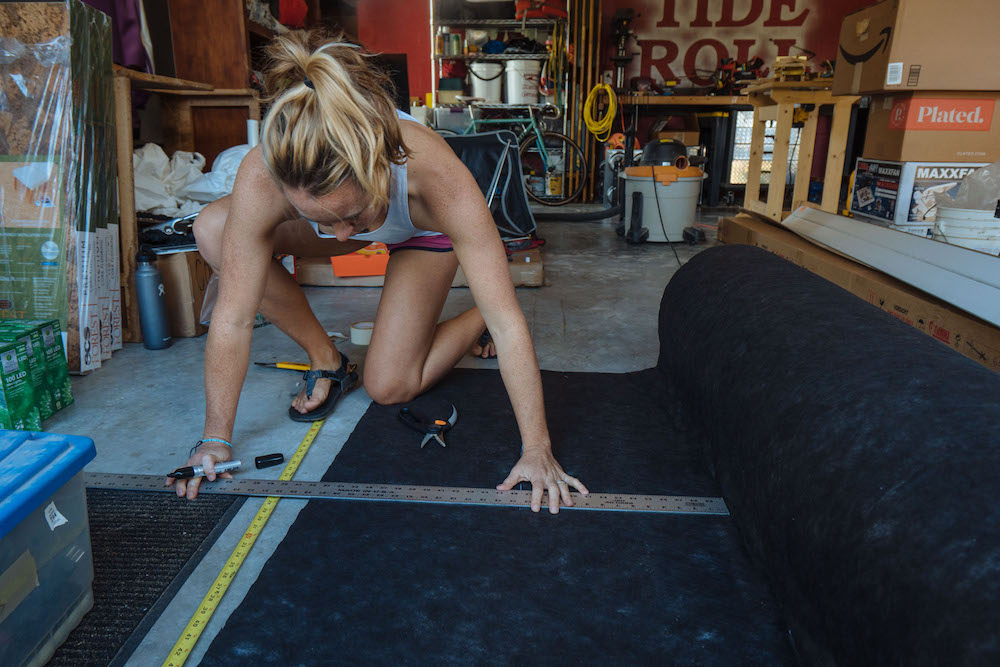
“We used Thinsulate to provide insulation behind every wall and ceiling. We decided to use 3M Thinsulate Acoustic/Thermal because it has more acoustic absorption by weight. Even more so than just about anything else on the market! Our Thinsulate insulation came in a 60” wide roll. This made it easy to cut down to the size of each of our wall and ceiling segments.” – MAK and Owen
**According to the Thinsulate website, here are general measurements for how much material it will require to insulate your vehicle. This includes walls, ceiling, doors, and cab area, and is based on vehicle type:**
- Sprinter 144 WB = 50 linear feet
- Ford Transit 148 WB = 50 linear feet
- Promaster 159 WB = 50 linear feet
- 170 WB Sprinter = 60 linear feet
- 170 WB Extended Sprinter = 70 linear feet
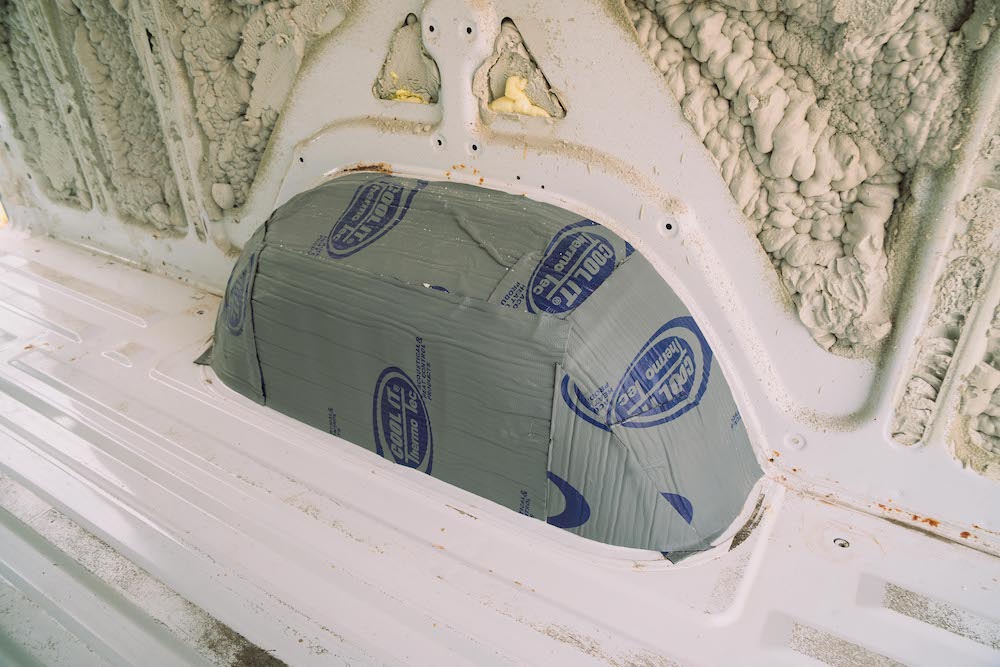
Filling in the Gaps
Inevitably, once you are done insulating your van, there will be areas too small for the larger forms of insulation. One of the best options for filling in small details and tiny cracks is “Great Stuff,” an insulating foam sealant. It’s easy to apply and is especially useful for filling in the tight areas around door and window frames. Keep in mind – it will likely require many, many cans.
“In the tight channels of our van’s structure and door frames, we used dowel-rods to stuff in traditional fiberglass batts. They are guaranteed to never mold and wicks moisture away. Also, since we placed it only in enclosed areas, we’re not concerned about it being harmful to breathe in.” – Brittany and Drew