


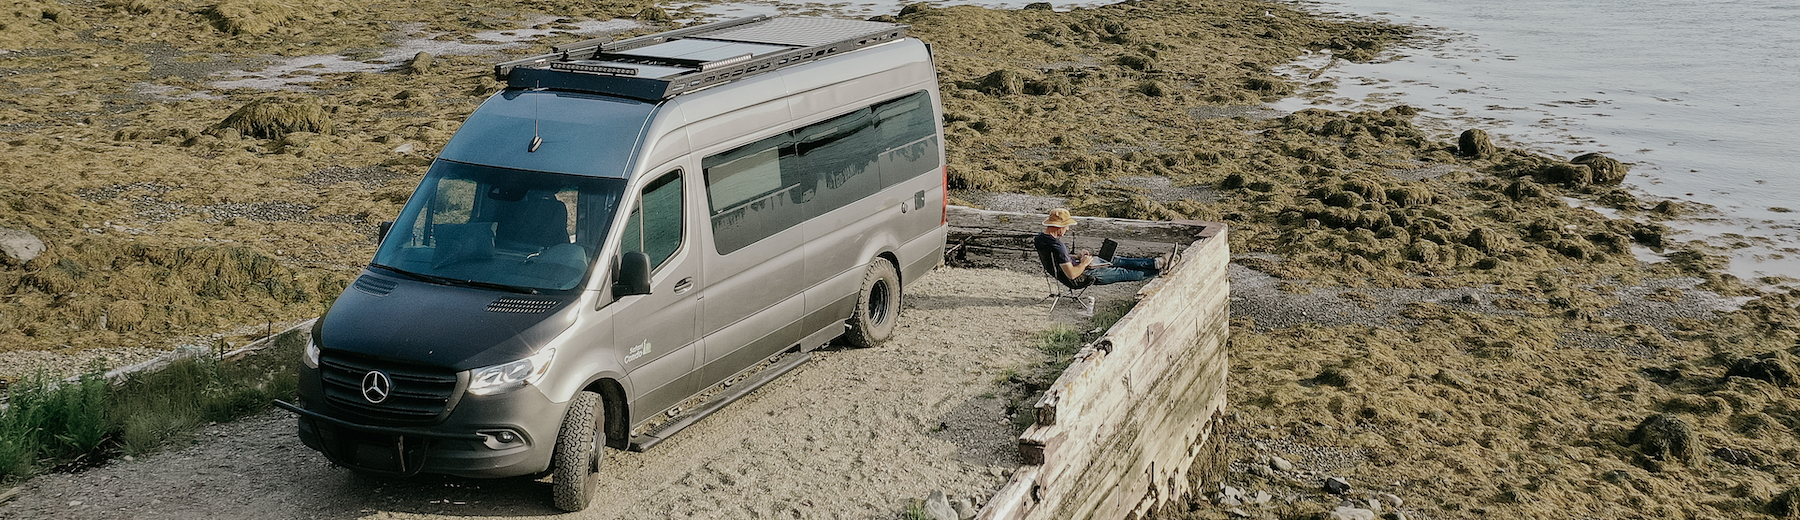
Finally, spring is here, temperatures are starting to rise and it’s time to plan our first road trips of the year!
Whether you’ve been lucky enough to enjoy your van over the winter or it’s been in storage, it’s always a good idea to do a spring clean and get your van in order for the upcoming peak season. Here are the steps to follow to clean and de-winterize your van.
1. Clean and inspect the exterior of your van
It’s always a good idea to freshen up your van with a thorough exterior wash. If it was stored indoors for winter, a layer of dust may have accumulated everywhere. If it was stored outside, leaves may have gotten inside the hood. In any case, when it’s time to de-winterize your van, take the time to remove all the debris and then wash your van with good protective soap, from the roof to the wheels.
Once this is complete, take a thorough walk around the van to inspect the exterior, windows, and seals. If you find any cracks, breaks, rust, or mildew, it’s time to plan for repairs. Afterward, inspect your exterior accessories such as your fan and awnings, making sure they are clean and still working properly.

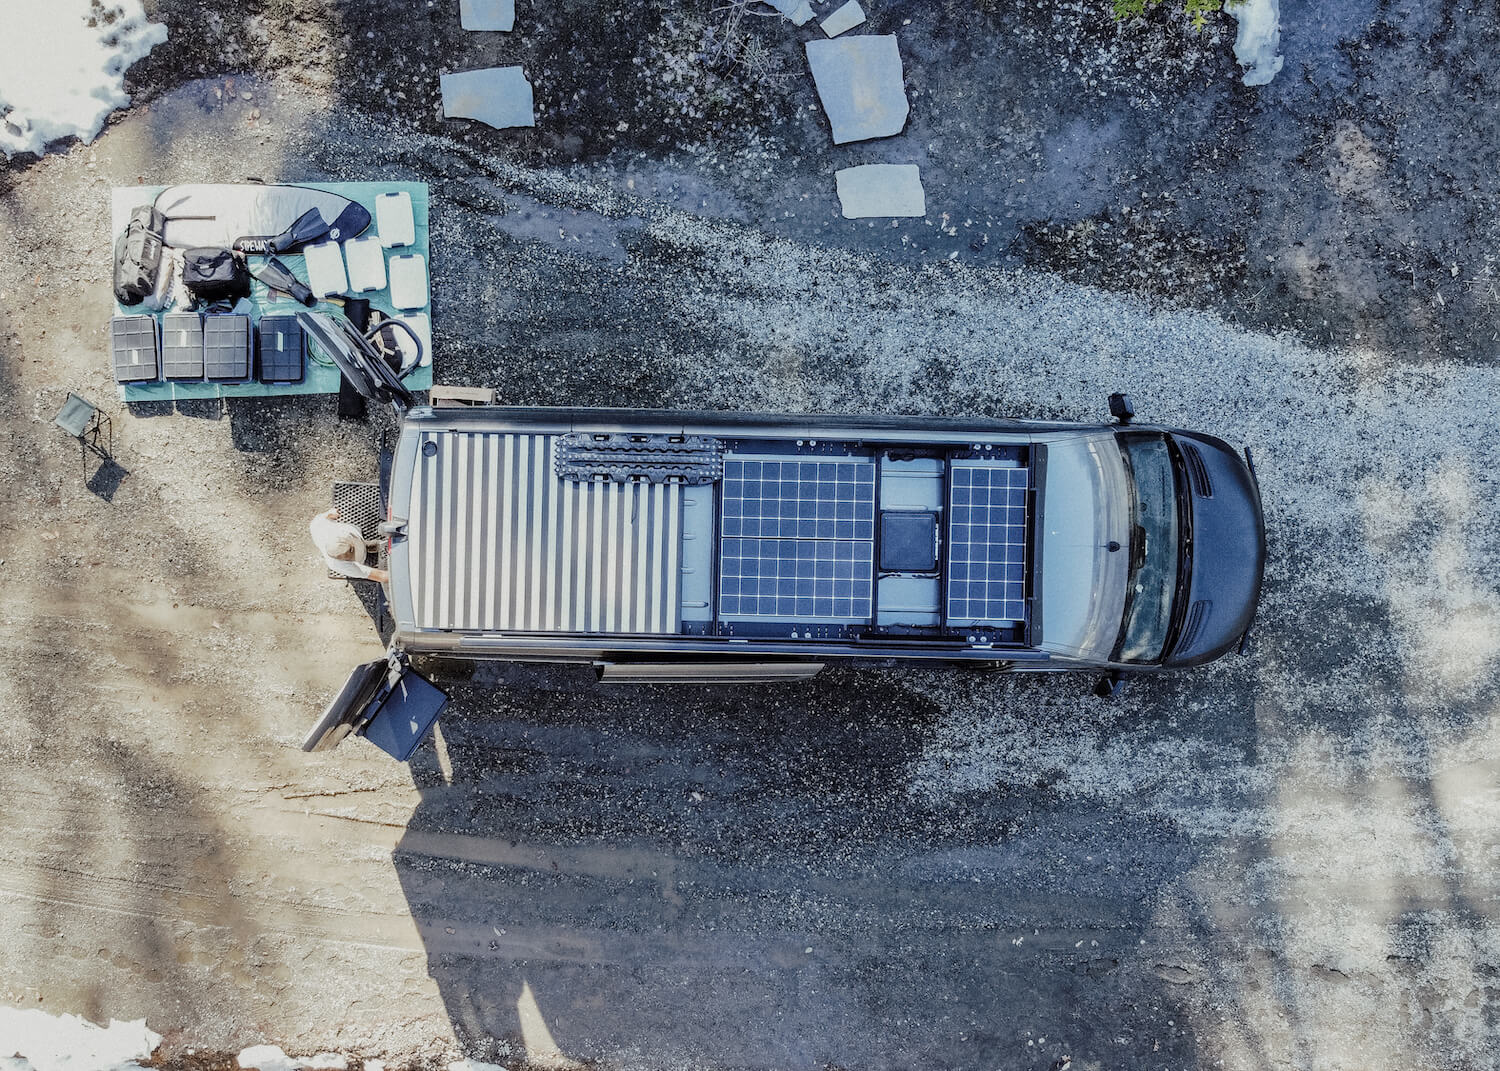
2. Restart your electrical system
For those of you who removed your battery while storing your van in the winter, now is the time to put it back in place! If you have a small smart charger at home, be sure to recharge your battery before reinstalling it in the van to make it easier to get back on the road.
As it’s suggested that vanlifers who don’t use their van in the winter remove their fuses from the 12V electrical panel, don’t forget to put everything back in place before you leave on your first road trip. Once everything is plugged in, test your van’s electrical appliances! Run your fridge, heating and/or air conditioning, lighting, test the electrical outlets, etc. Make sure everything is working as it was when you stored your van last year and if it isn’t, take the time to fix the problem before you head into the new season.
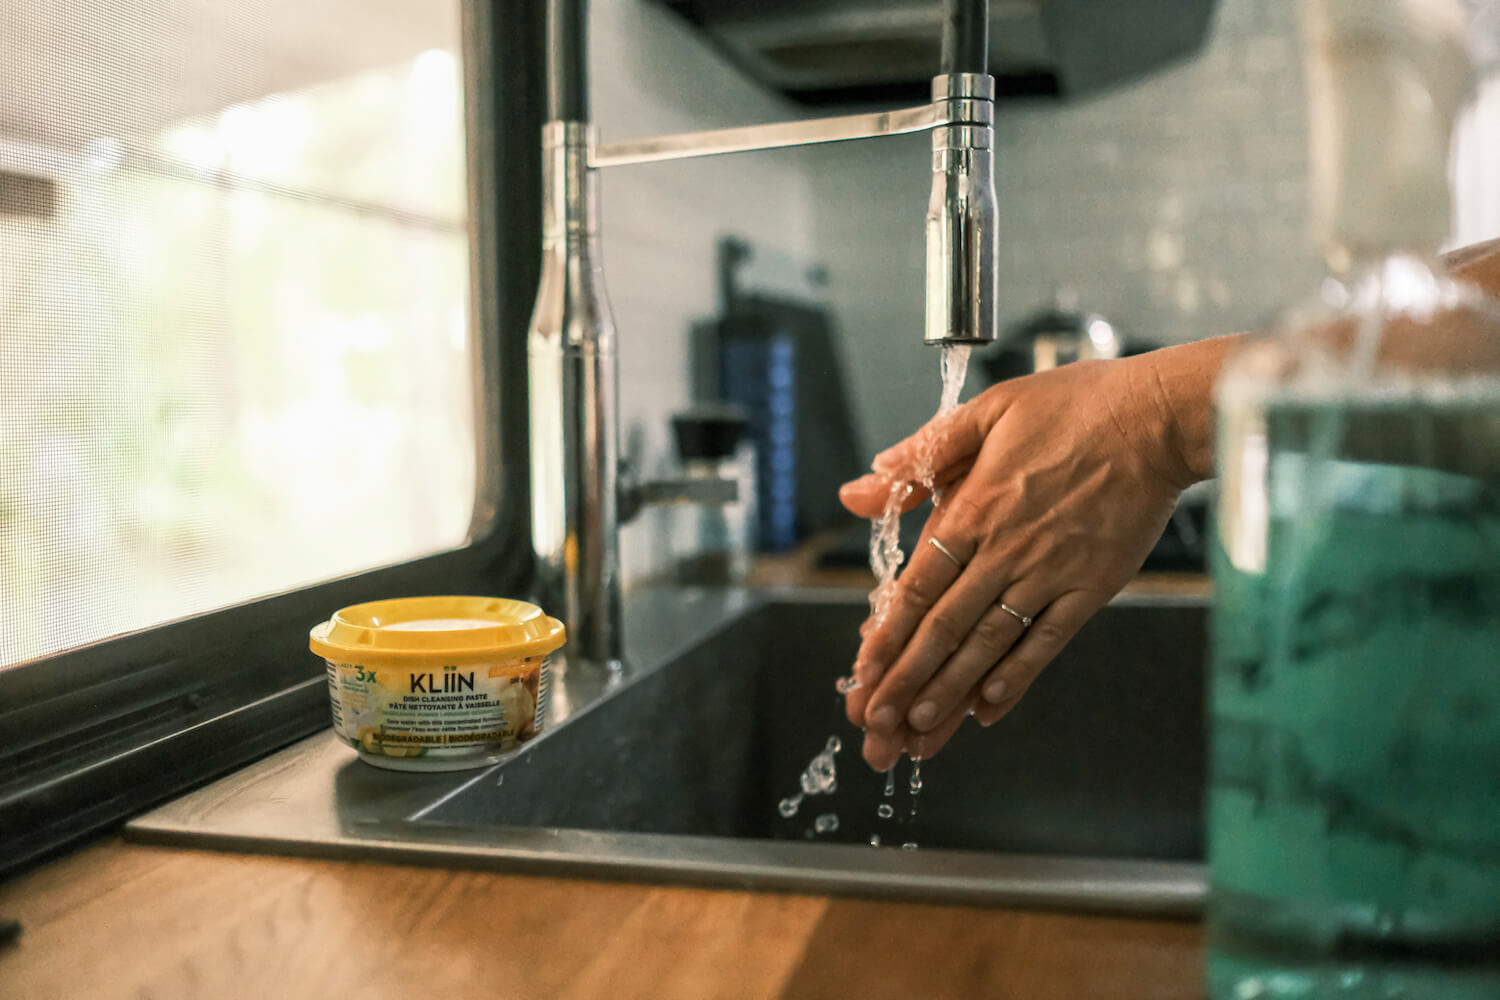
3. Reconnect and drain the plumbing system
We would say that this is the most crucial step when it comes to de-winterizing your van. This is a task to be taken seriously to avoid complications or damage.
The trick is to fill and empty your fresh water tank at least three times to ensure that all the antifreeze is drained from your tank and pipes. Before opening all the water outlets (faucets, indoor or outdoor shower…) at the same time, test each of them one by one and make sure there are no leaks. We recommend that you check all areas where you have access to the plumbing, such as under your sinks, for new leaks that need to be sealed.
After filling and emptying your tank at least three times, refill it with water mixed with a tiny bit of bleach to clean your tank and pipes and get rid of the antifreeze aftertaste. Another easy way to get rid of the taste is to add a water filter to the pipe leading to your sink.
In order to properly maintain your fresh water tank, be aware that it’s never recommended to keep the same water in storage for very long. In a closed environment like your tank, the water can develop certain bacteria that should be avoided. The situation is the same if you need to put non-drinkable water in your tank. In both cases, be sure to do a thorough cleaning of the tank before putting fresh and safe water back in.
4. License your van for road use
If you have chosen not to use your van in winter, chances are you have stored your van with the SAAQ. The next step is to license it for road use!
It’s possible to complete the process online and the request is made the same day you wish to use your van. Please note that if your van has been stored for more than 12 months, you will need to undergo a mechanical inspection and obtain a certificate of conformity before you can proceed with the re-licensing application.

5. Perform some safety checks
To make sure you’re driving safely on your next road trip, here are a few things to check before you start this new season:
- Check your tire pressure
- Check your headlights and turn signals
- Test your smoke detector and replace the batteries if necessary
- Test your CO2 and propane gas detectors
Make sure you always have the necessary accessories in case of a mechanical problem (warning lights, work gloves, jack, spare tire, etc.)
After following these steps to de-winterize your van, you are ready for new discoveries on the road! Check out the “Destinations” section on our website to get some inspiration and don’t hesitate to tag us and use the #govanmoment on Instagram so we can follow you in your adventures.