


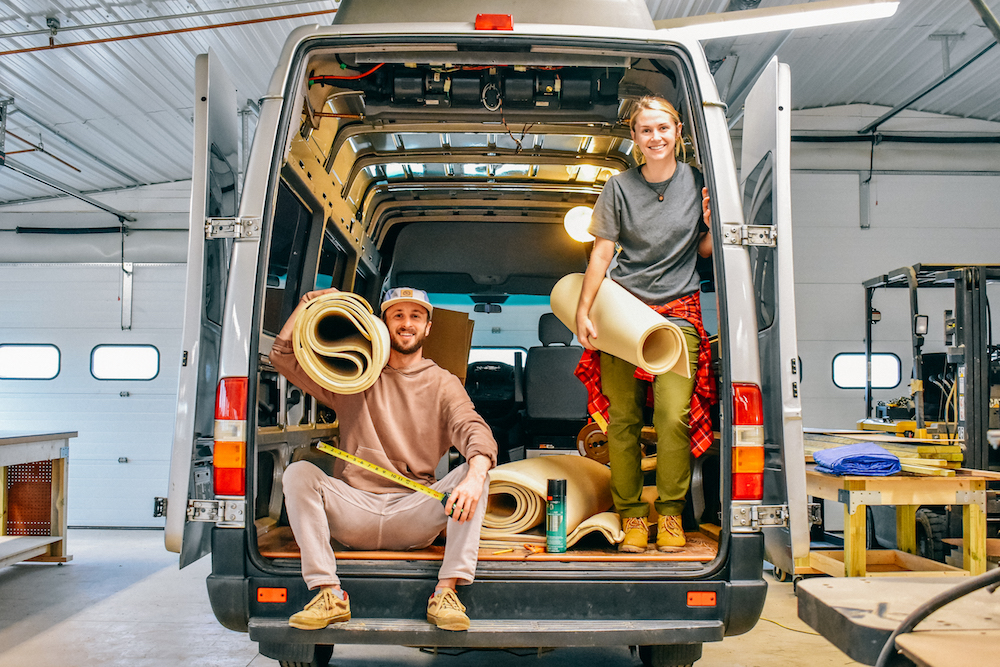
When we built out our first van, we thought we had covered all our bases and worked out every design aspect of our build.
After a couple months on the road we learned that there were a lot of things that slipped our minds. Then, after a year and a half on the road, we felt confident that we knew exactly what to change in the second conversion. So, here are the changes and upgrades we are making to the second van and the reasons behind them.
Overall Layout and Design
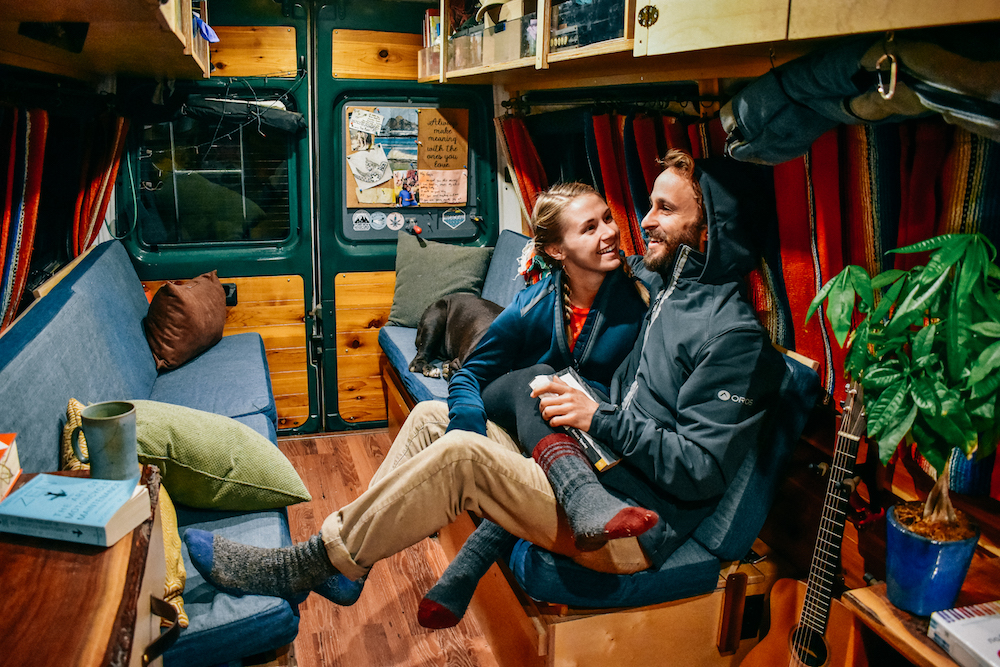
Keeping the “Openness”
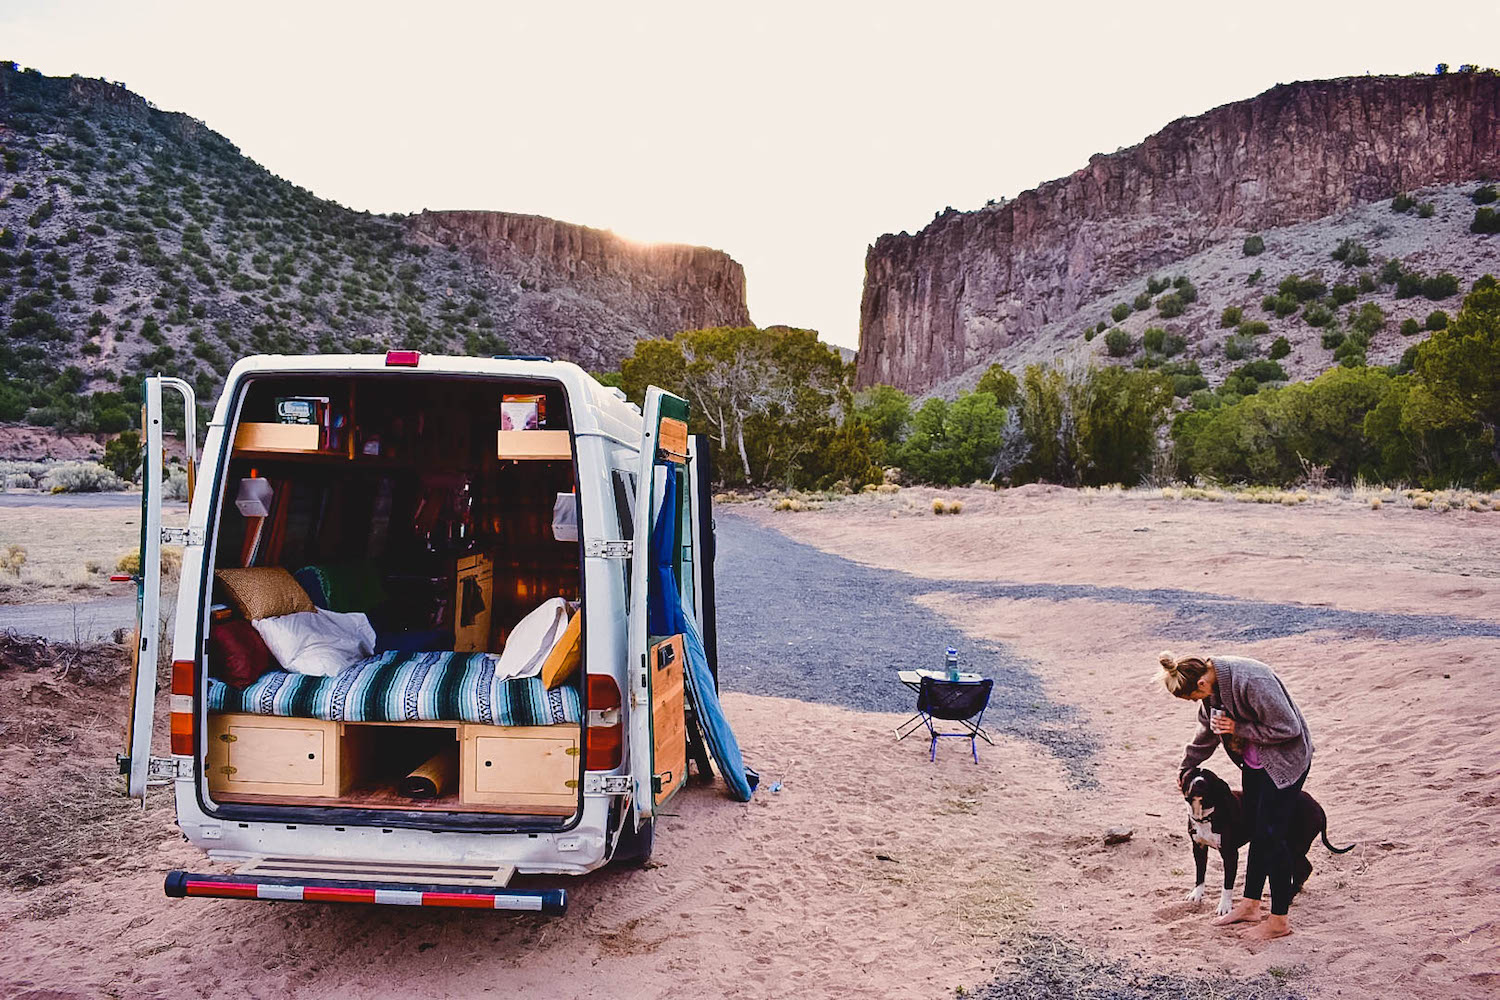
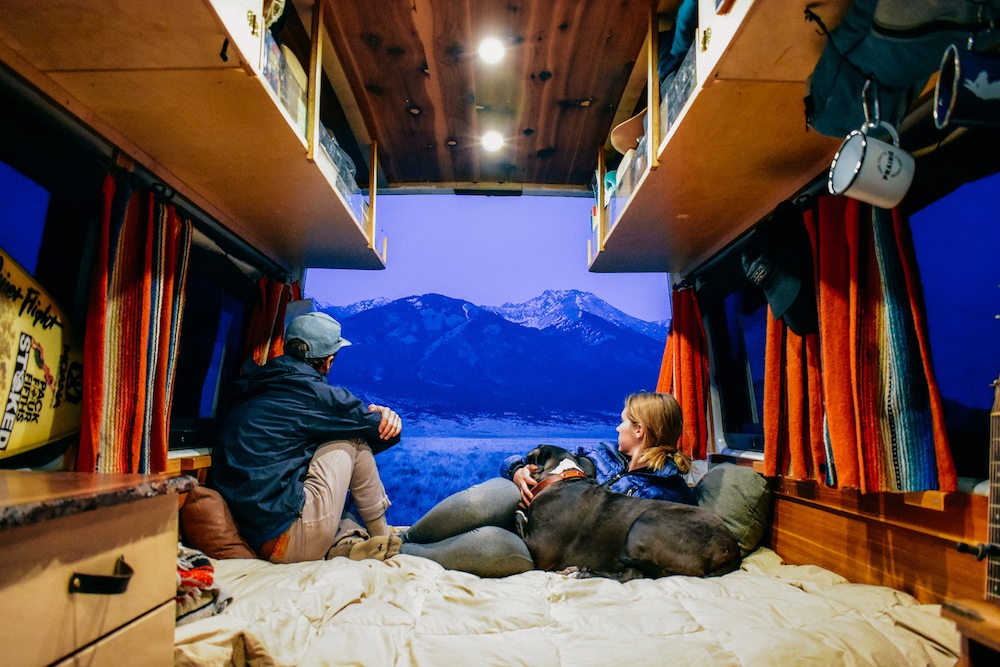
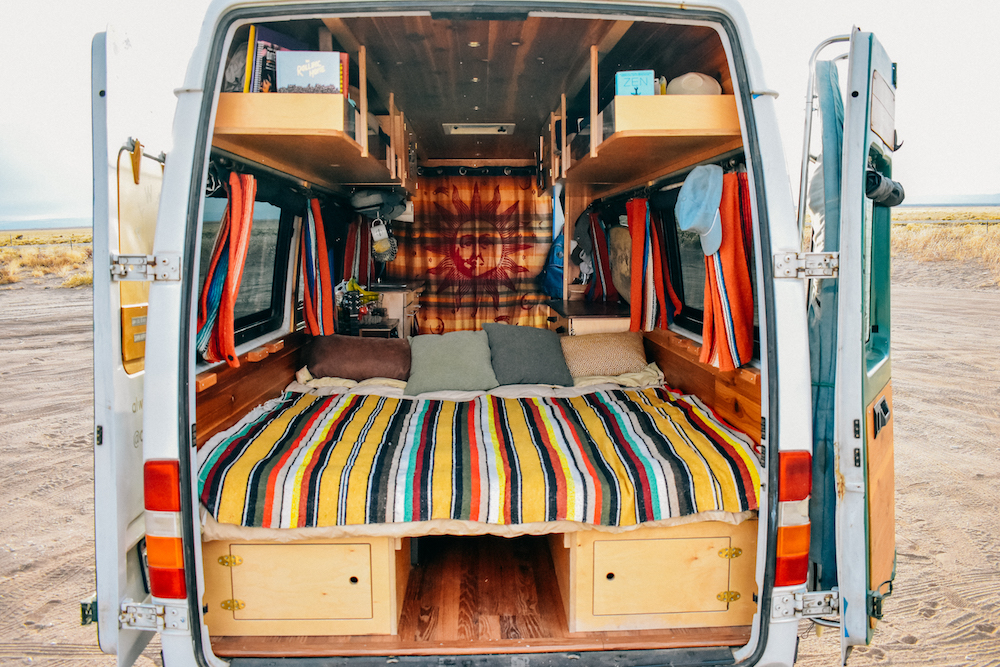
When designing the layout of our second build, there was one aspect that we unequivocally wanted to mimic from our first build: the open feel. The windows already help with making the interior feel spacious, but we wanted to add more storage while still keeping the openness. We considered putting in a storage closet behind the driver’s seat that would be as tall as the living space, but we ultimately decided not to in fear of it taking up vertical space and making the interior feel smaller.
Adjusting the Layout for Functionality
To maximize storage and counter space, we decided to combine the kitchen and dresser into one unit to save space and build the sink as a separate unit on the passenger side of the van. Without the jerry cans below the kitchen unit, it can now all be used for storage. Putting the sink in a separate structure also allowed us to put a door on the opposite side of the unit, making it easier to empty the gray water. It also gives the compost toilet box another function as a place to dry dishes.
Upper Shelving and Cabinet Design
In our first build, we designed our upper cabinets to open horizontally, and this time around we will build them to open vertically. The main reason behind this is the hassle of locking horizontal cupboard doors; magnets aren’t strong enough and they have to be locked externally. With cabinets that open vertically, gas struts are enough to keep them shut while driving. They hold the doors open to make retrieving items easier as well. We also learned that adding a small lip on all cabinets and shelving helps greatly in keeping things from shifting while driving.
Solar and Electrical
We kept the bulk of the second van’s solar and electrical setup the same as our first build. We’ve found that the amount of energy our van produces and stores is perfect for us; however, we did make a few practical adjustments.
Solar Setup
The second van has is equipped with the same Renogy RV solar kit as our van: (2) 100W solar panels with the Adventurer charge controller. The one change we made here was installing a 500W inverter rather than a 1000W inverter like we have. The reason behind this is simply because 1000W is a very generous amount of energy and it just seemed excessive.
Electrical
In our first build, we used a 160 AH Gel Deep Cycle battery and vented it to the outside. To avoid the headache of drilling another hole in the van, this time around we sprang for a 200 AH AGM battery that doesn’t need any sort of venting.
The other electrical changes we made in the second build pertain to lighting. In our first build we made the mistake of NOT installing dimmable lights. We cannot stress how great dimmable lights are, especially in a van! That mistake was not made this time around though. We also learned that it’s essential to have light switches all the way in the back of the van too, not just in the front. In our van, we have to get up from bed every time we need a light.
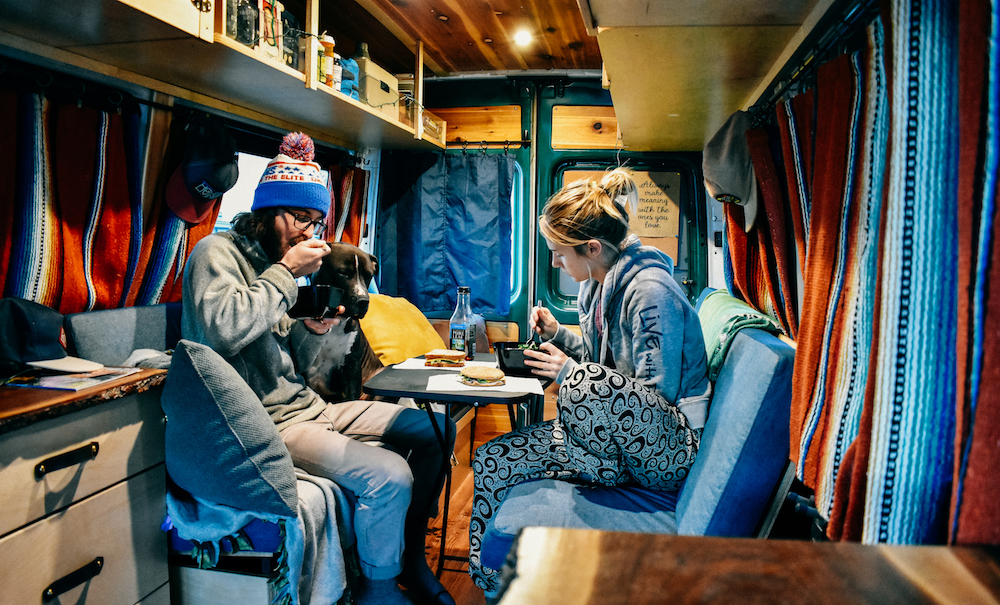
Kitchen and Dresser Unit
We built our first van to be extremely simple-functioning and minimal. The kitchen only stores 5 gallons of water that runs through a hand pump, and we use a cheap, portable camp stove for cooking. While this works great for us, we wanted to build an updated, higher-quality kitchen for our future buyers.
Stove
We love the portability of our camp stove, but we hate having to travel with propane all the time. While most van lifers prefer cooking with propane, we went with an option that allows for portability and eliminates the risk of carrying any kind of propane tank: a denatured alcohol stove. We’re considering swapping out our camp stove for one!
Garbage and Pull-out Cutting Board
The floor of our van has a tendency of being covered in onion skins and other veggie scraps every time we cook because our tiny, inadequate garbage can is on the opposite side of the van from the cutting board. While this isn’t a super-pressing issue to address, we wanted to making cooking more enjoyable for the second van’s future owners. That’s why we designed the new kitchen unit to have a pull-out cutting board with a small hole in it where scraps can be pushed right into the pull-out garbage can right below it.
Sink and Water System
We wanted to keep our same simple water system while optimizing it’s functionality. In our van we have two 5-gallon, clear water jugs and a hand pump. Even though it works fine for us, the water jugs we use take up a lot of space and the hand pump has broken three times now. This time around, we are using space-saving jerry cans and a foot pump. In the space that we fit two 5-gallon jugs, we can now fit three 6-gallon jerry cans (2 clean, 1 gray). We chose to use a foot pump this time because 12 gallons of water go by very quickly with a water pump; a foot pump allows for water conservation while being able to have both hands free.
The last change we made to the sink was purely for aesthetics. We installed a top-mount sink in our van and have since figure out that we prefer the look of an undermount sink instead.
Dresser
We built the exact same dresser unit as our van; however, we did make one change. This time we splurged on soft-close drawer slides that will greatly help keep drawers closed when driving.
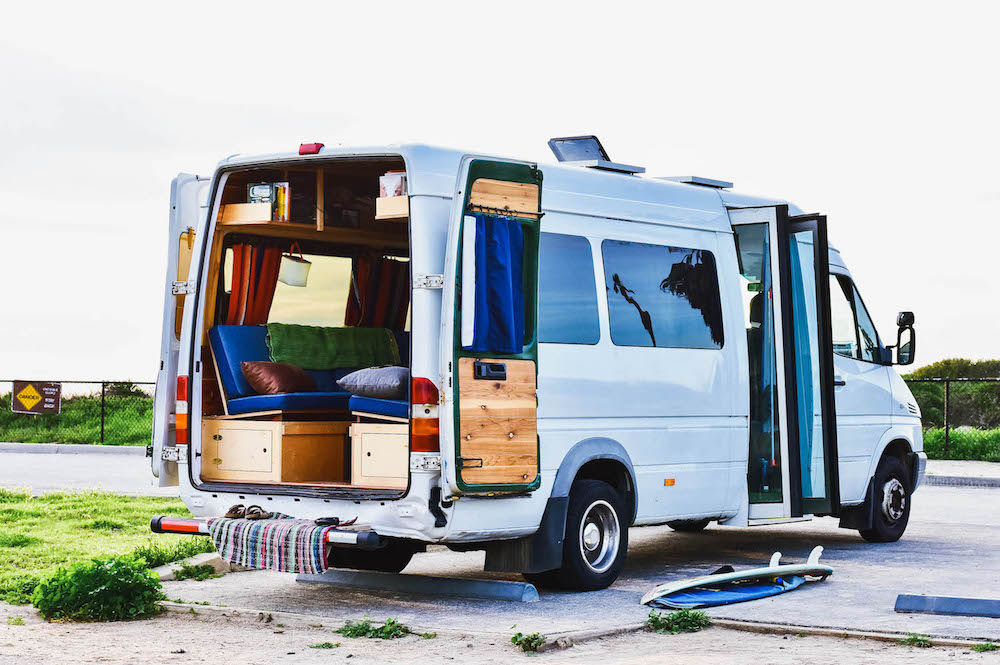
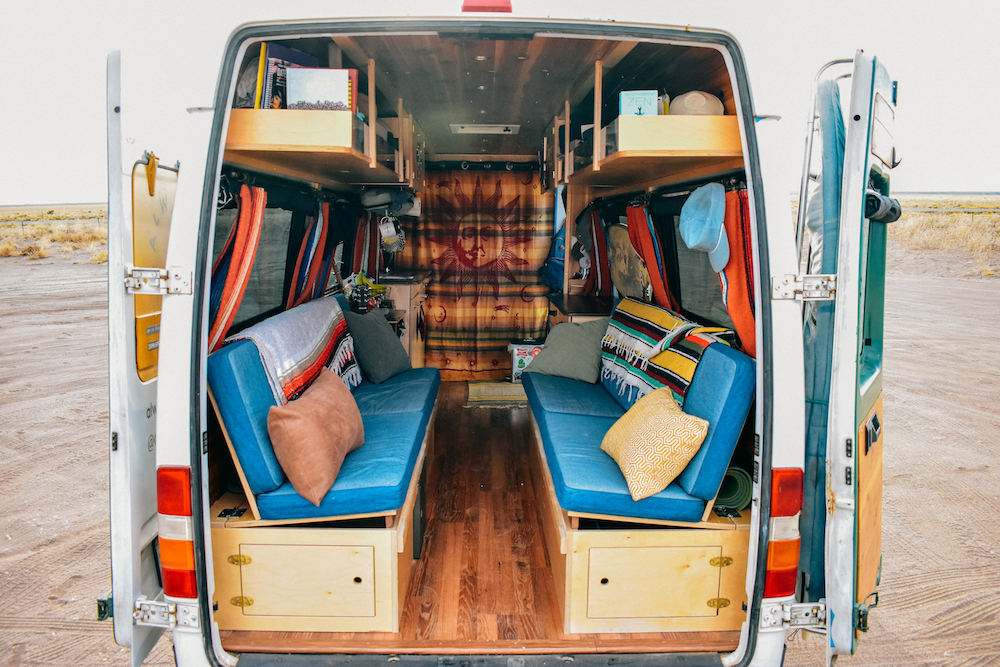
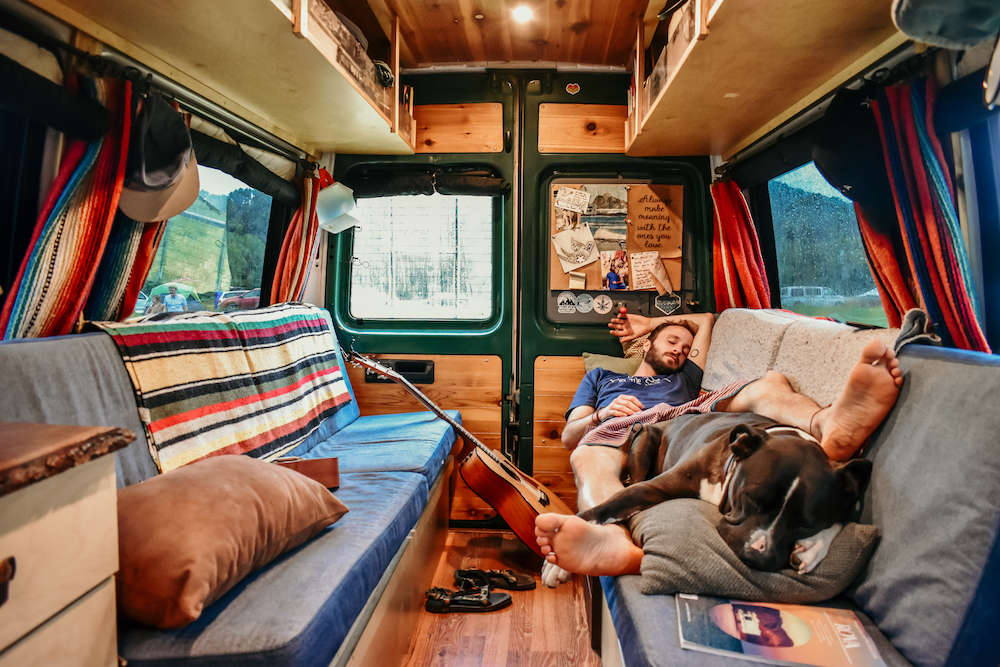
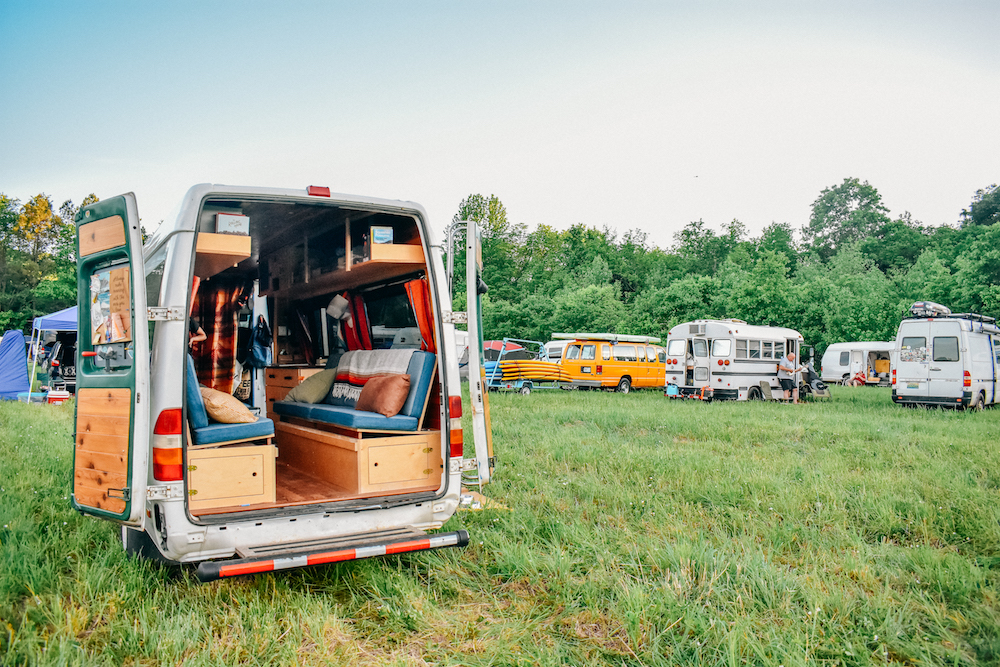
Bed/Benches
When deciding on a layout for the second conversion, the one thing we knew we would keep the same is the bed/bench system. The only changes that we made to them were making thinner back rests and installing gas struts. We made the backrests out of 1/2” plywood rather than 3/4” plywood to make them lighter and easier to move when making the bed. Adding gas struts to the storage boxes underneath the benches allows them to stay open on their own and makes it easier to access the storage space.
Toilet
The last upgrade we made to the new van is the composting toilet. One gift we wanted to give to this van’s future owner is the ability to go #1 and #2 in the comfort of their own van! We don’t have this luxury with our 2.6 gallon chemical toilet. The practicality and convenience of only having to empty it a couple times a month made the price completely justifiable. (They’ll run you about $1,000).
Even though the second conversion isn’t completed yet and there will most likely be alterations in our plans along the way, we know this second build will truly be a 2.0. version of our van with a practical, multifunctional design.
Check them out online!
Instagram: @alwaystheroad
Facebook: @alwaystheroad
Website: www.alwaystheroad.com