
Written by Katie Larsen, in collaboration with Vanessa and Adam Hickey, Mary Ashley Krogh, Owen Chikazawa, and Brittany and Drew Neumann. Sponsored by 76®. Don’t forget to check out their First 30 Day series, all about diving into vanlife and life on the road!

The ceiling, walls, flooring, and cabinetry of a van build really come down to personal preference and taste.
There are many options, designs, and materials that can be used or implemented for these four sections of a build. Our best piece of advice is to do as much research before diving into this phase of your build. There is an abundance of small details to consider throughout this phase, from what kind of materials to use and how to properly stain or paint those materials, all the way to how to build and install them. The more you know in advance, the better!
Materials
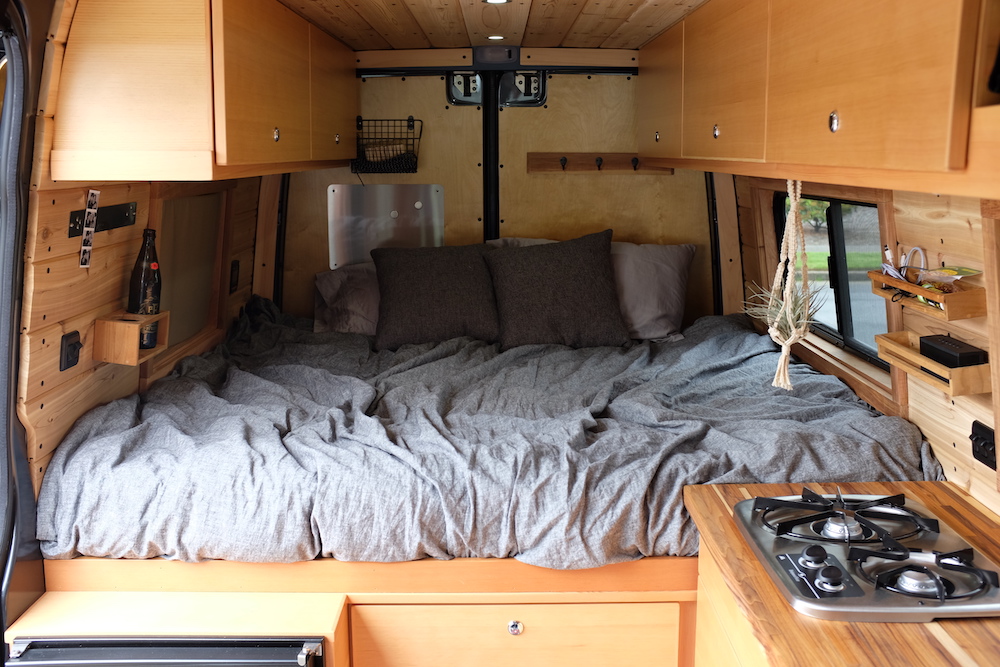
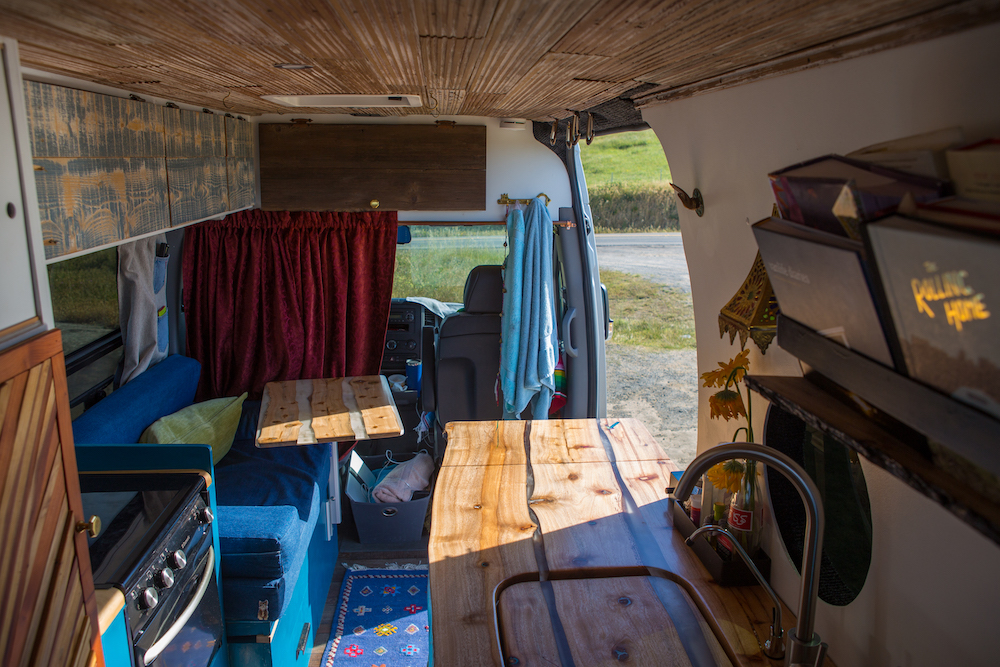
We love the look of raw, unpainted wood. It allows your home on wheels to feel like a cabin that you can drive around and park in any forest you want. Due to this, many choose to do all of their ceilings, walls, flooring, and cabinetry with various types of wood. From fir cabinets to tongue and groove cedar ceilings and walls, to vinyl flooring, a van can have a cohesive look, allowing for more color and flavor in decorating.
“I steer people towards higher grade plywood that will resist warping and hold up in the long run. It may only cost you another $100 but save you in the end. To make your life easier, spring for the higher quality hardware, hinges, and slides. Use the proper tools such as a table saw and proper drills. All of these will lead you in the right direction.” – Vanessa and Adam

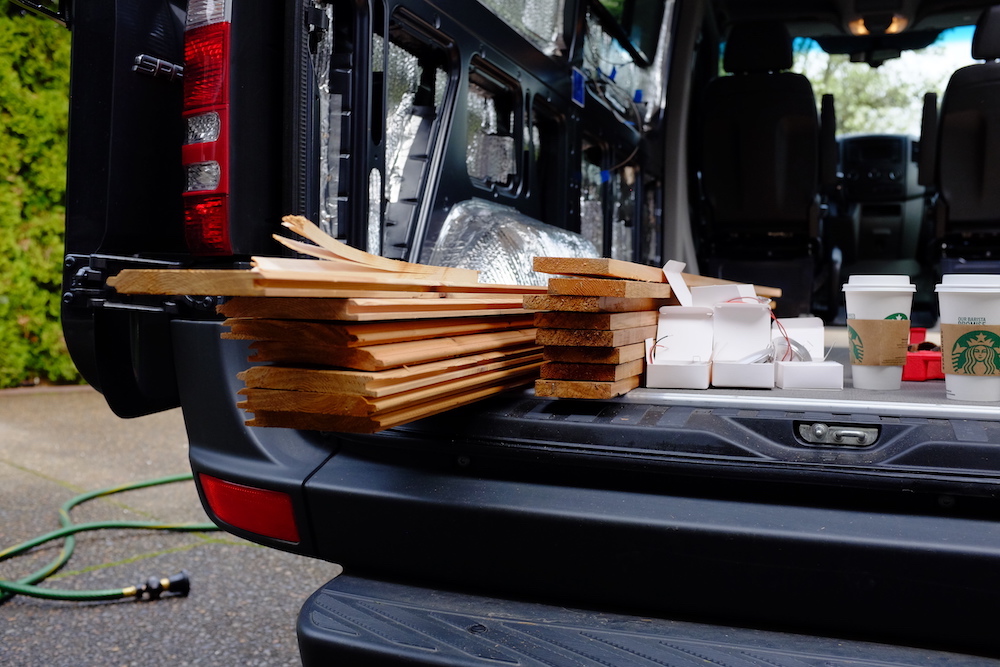
Another option to consider is repurposing wood for a particularly unique look and build for your home on wheels. Brittany and Drew recently completed their fifth van and resourced all their wood materials through San Diego Urban Timber, a company who saves old-growth trees and turns them into beautiful works of art.
“Our ceiling is made of repurposed Redwood fencing that was made from 700-800 year-old growth trees and our cabinets are made of a mixture of red gum eucalyptus, live oak repurposed bunk-bed boards and other unidentified wooden varieties. The eclectic mix of wood gives our home a warm, cozy, cottage-y feel and we couldn’t love it more.” – Brittany and Drew
Remember that this is your build and it should be exactly as you want it to be.
Don’t be afraid to get creative using different kinds of wood, painting your van a fun color, or using fancier designs. The materials throughout the ceiling, walls, and flooring of your van can be as simple as unfinished plywood or as fancy as special lumber.
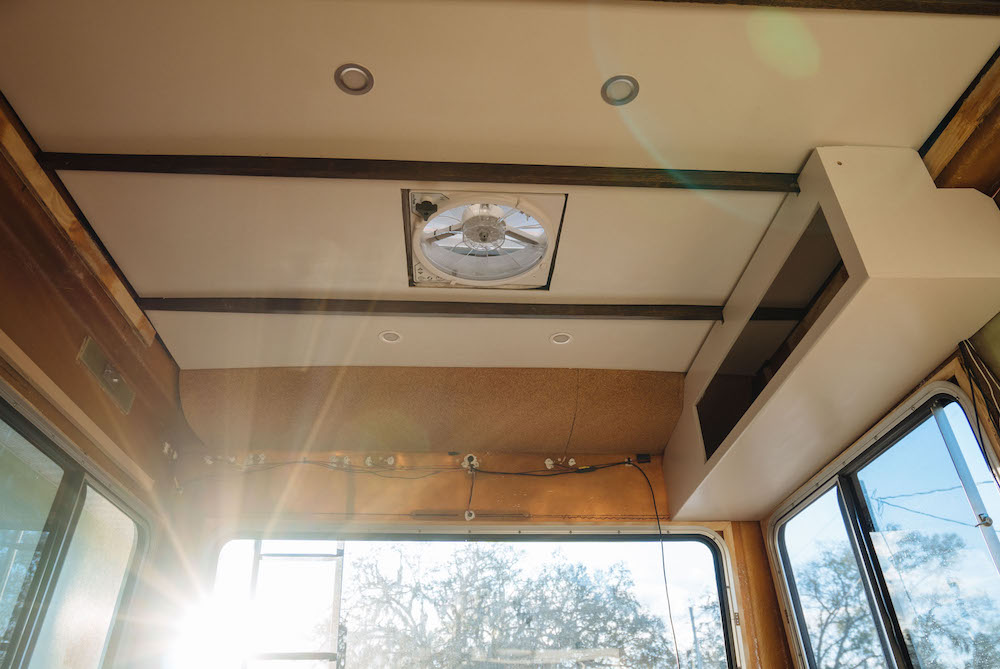
Ceiling
An important thing to consider when installing your ceiling is how much headroom you need. How tall are you, or any other individuals who will be living or camping in the van? If you are desperate for headroom, attach your ceiling materials directly into the metal ribbing using sheet metal screws. Most vans come with metal ribbing as structural pieces of the vehicle’s body, which act as house studs would. How you attach materials to the body structure of your van will depend on if you want visible screws or bolts in your build. If you are okay with visible screws or bolts on your ceiling, then you may have more options. However, if you prefer not to see any screws or bolts, consider the following:
“You will need to first attach a ‘furring’ strip or piece of lumber to the rib and then shoot brad nails into your material. We recommend that you go as thin and as light as you can for your ceiling. We chose a 5/16” cedar product (pine is very similar) and used an oil/wax combo to finish it.” – Vanessa and Adam
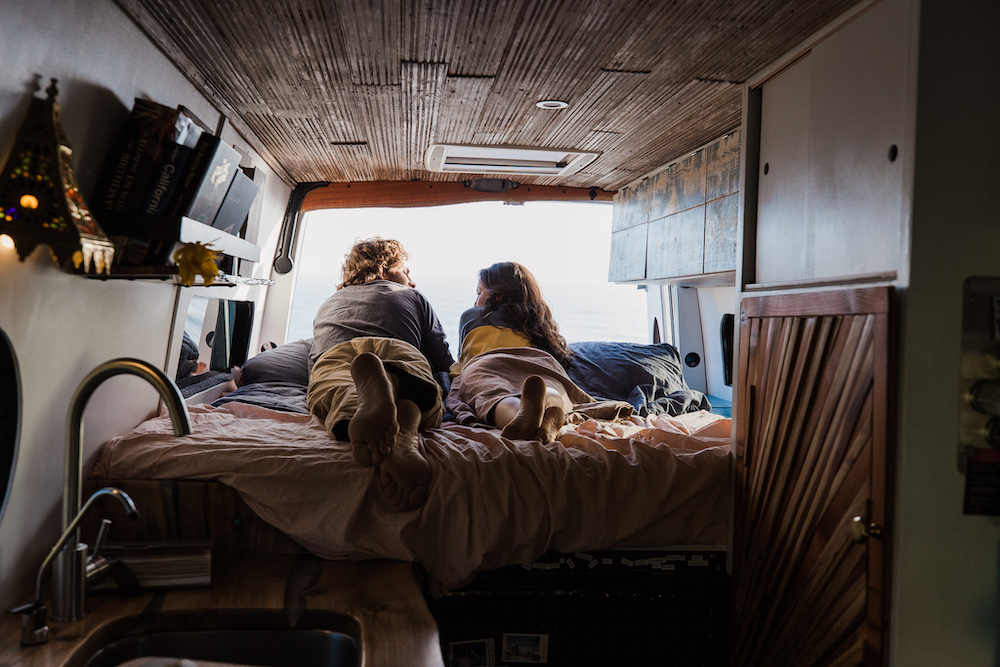
A ceiling can be as simple as a giant piece of plywood, cut perfectly to size. A common option is cedar tongue and groove boards that slide in side by side. We’ve even seen floating roofs with separate boards that have light installments under them! Your options are endless and can be picked by personal preference.
*Don’t forget: it is important to finish any external rooftop installations before starting on your ceiling. This includes solar, awning, wiring, and fan installation.*

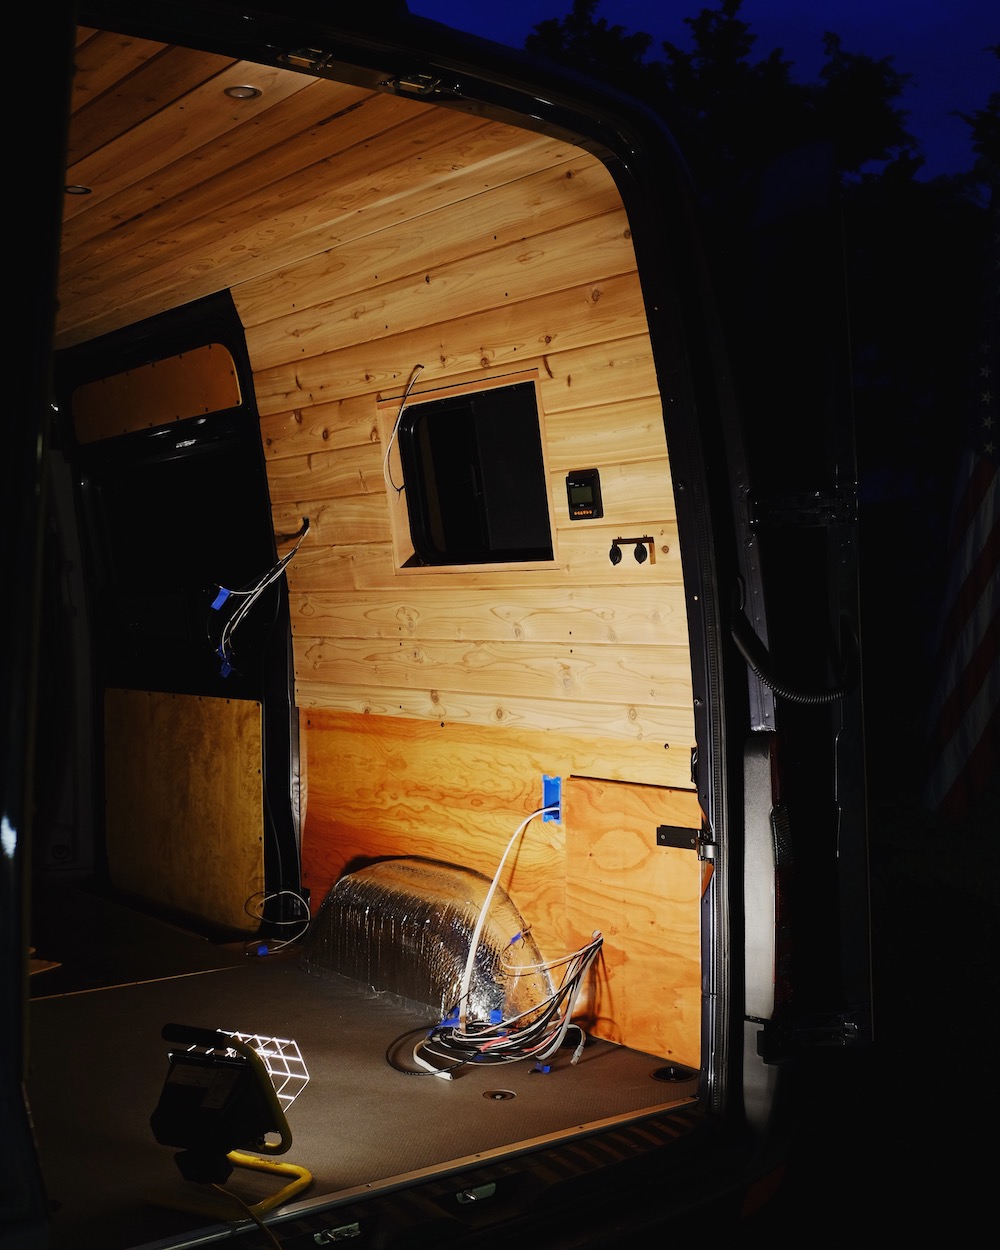
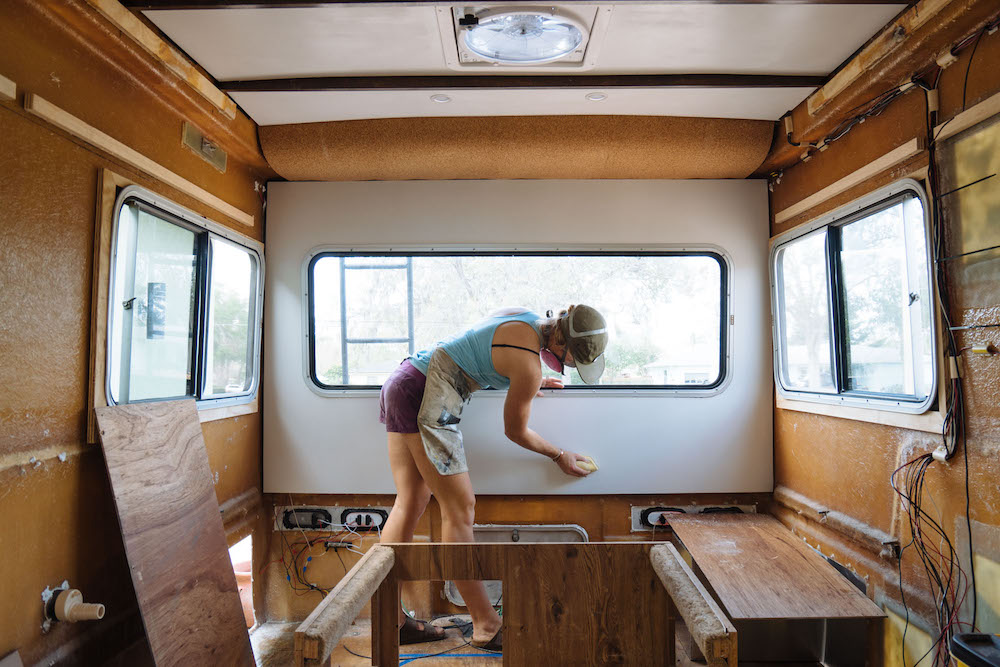
Walls
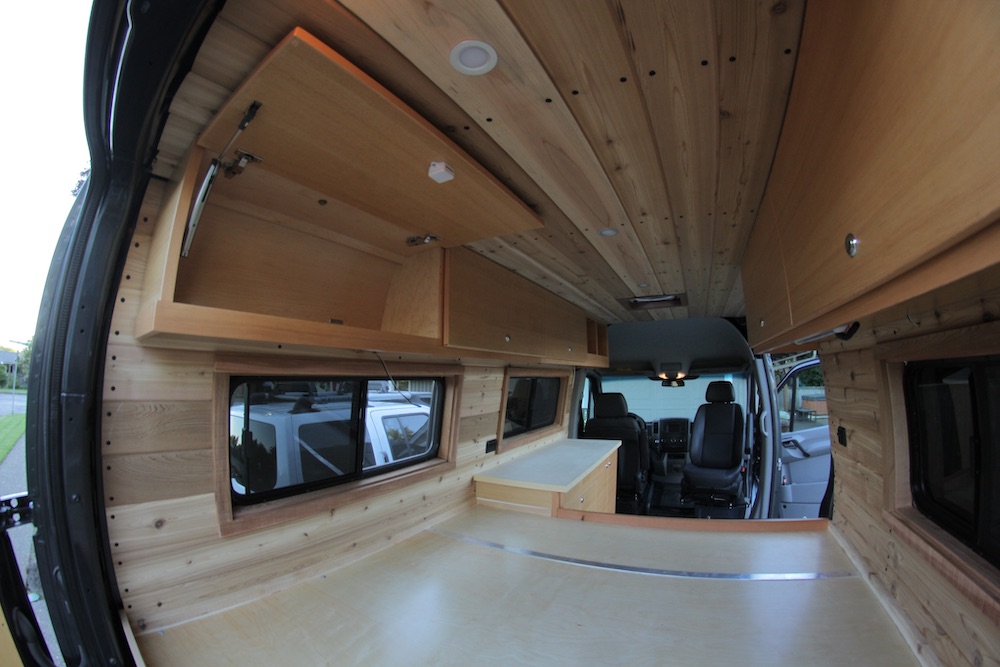
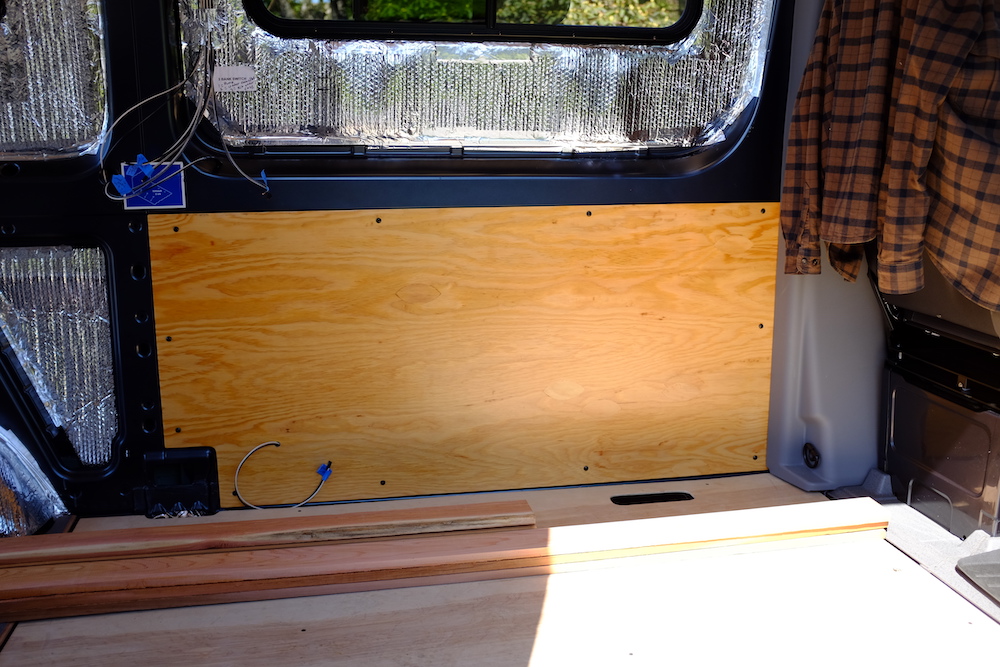
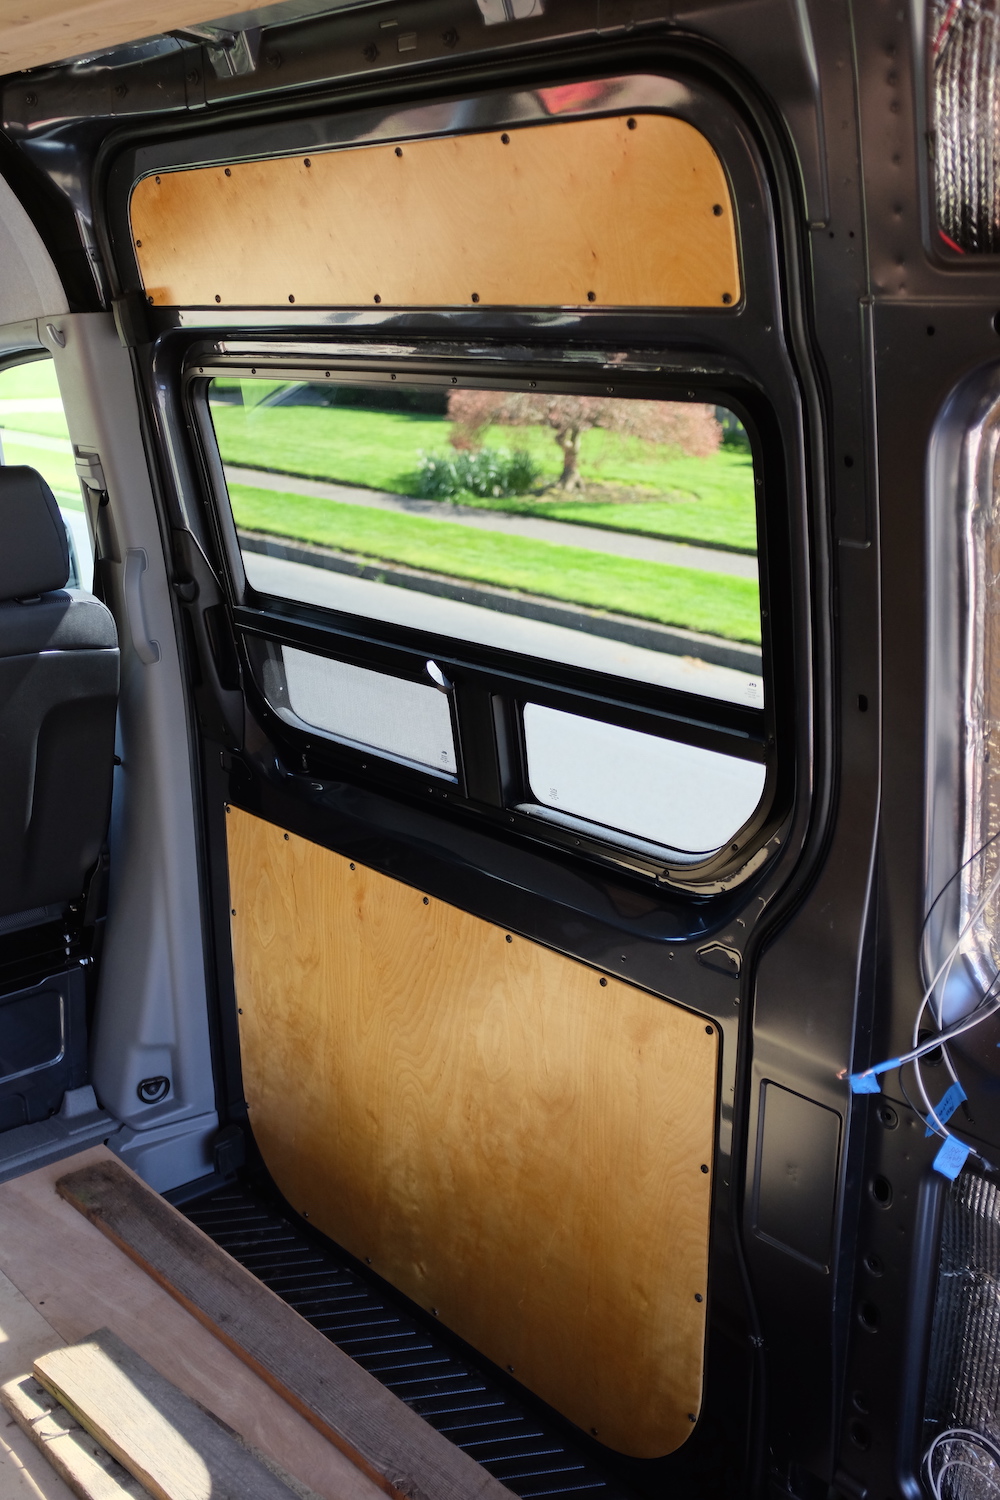
Installing and finishing your walls is a very similar process to finishing your ceiling. You’re able to do plywood, just as you are with your ceiling. If you choose cedar tongue and groove boards, most people choose to continue that slide in process of boards down the walls to the floor. Whatever you choose for your particular walls, be sure to mark your wiring system in a highly detailed fashion and drill holes where it will be necessary to pull your wires through for your appliances.
“Our walls were the first things to be installed after the insulation. This was a tough project as each 4’ x 8’ sheet of 1/8 inch birch ply had to be cut with an opening that perfectly aligned with our windows, most of which were custom shaped.” – Brittany and Drew
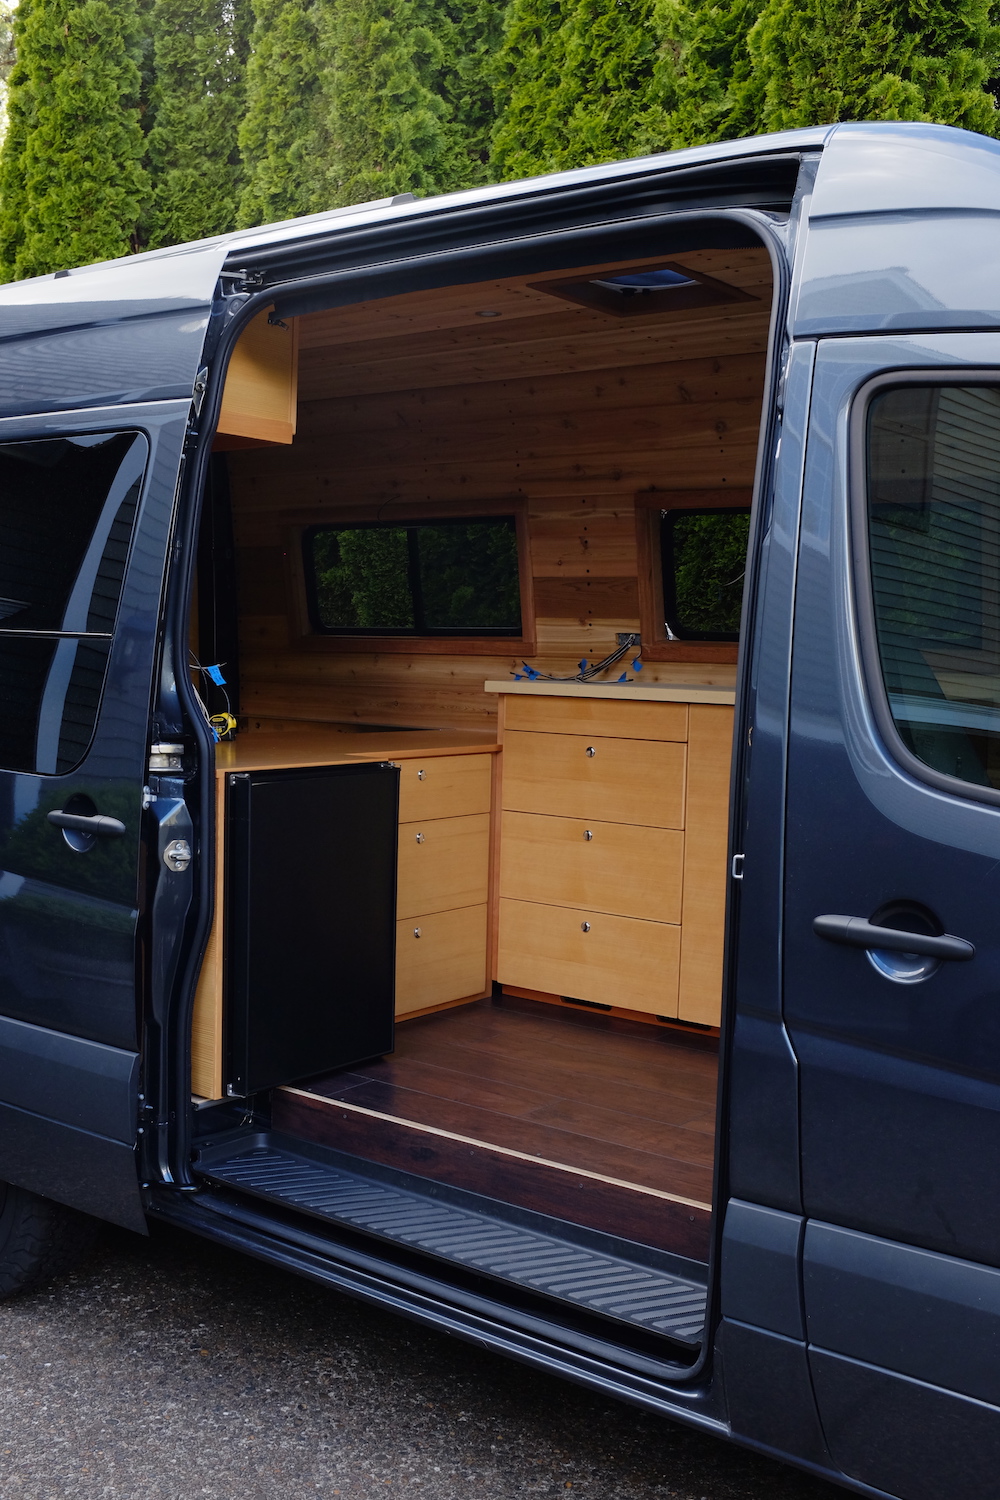
Flooring
The first thing to think about when installing flooring is if you want a subfloor below your finished flooring. Most people will either install a subfloor or keep the stock subfloor the van came with and install a finished flooring over it. This allows for insulation between the van’s metal floor and a subfloor.
“All screws should be stainless steel or have an exterior grade protective coating. All plywood and lumber should be strong enough to handle the weight of someone walking on it and be of high enough quality to handle some moisture and temperature changes. The goal of any subfloor is to make it strong enough with the least amount of holes possible in the vehicles’ floor.” – Vanessa and Adam
Most people consider hardwood flooring when first dreaming of a build. In theory, it sounds beautiful and strong, and it’s where most of our minds go when we think of flooring. However, it often isn’t practical. There are many things to consider when choosing flooring for a van: scratching, water, warping from temperature, weight and more. A common theme you’ll notice throughout van builds is the constant conversation revolving around moisture. Similar to any vehicle, condensation and moisture will find its way into a van and the best you can do is try to avoid any issues with long-term moisture that will eventually lead to molding.
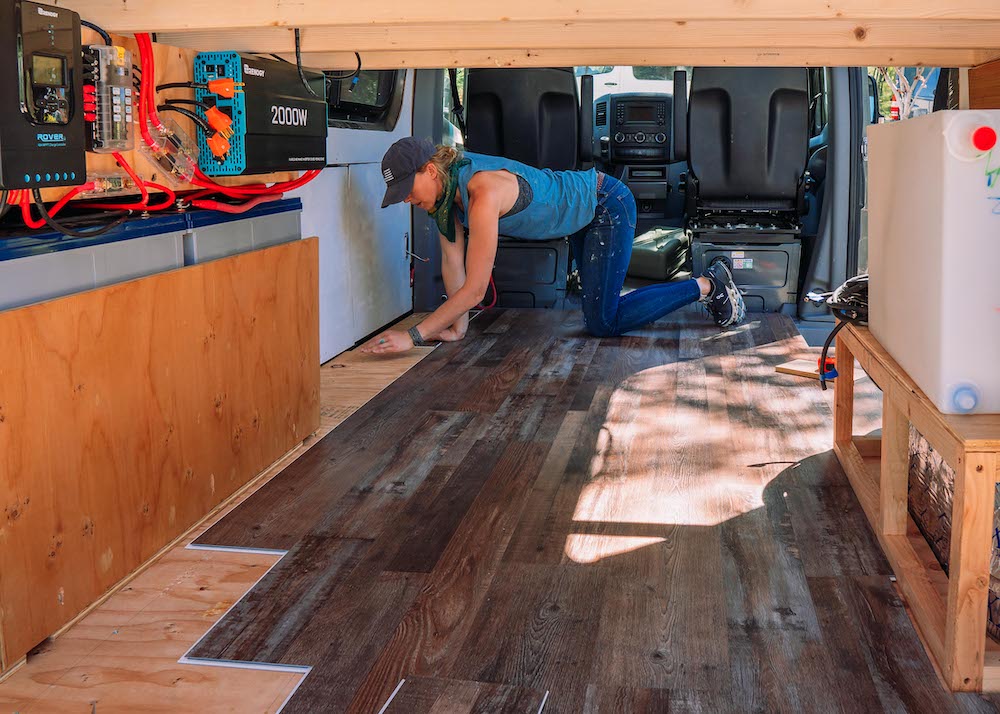
The most common alternatives to actual hardwood flooring are vinyl and linoleum.
These options eliminate the above-mentioned issues but have design options that mimic real hardwood floors. They are also substantially easier to install, with most designs either being one large sheet cut to your floor size or individual pieces of vinyl or linoleum that click together. Consider choosing a material that either has padding underneath to avoid any misplacement overtime with rattling and constant movement, or gluing each board down as you click your floor into place. It cannot be emphasized enough how important it is to ensure that your floor of choice is scratch-resistant and water-proof! This will save you headaches about cleanliness and having to constantly be extremely careful about rocks or dirt scratching your floors. Also, consider how far apart each board of your floor is. The smaller the gap (or ideally, the lack of gap) between each board will make sweeping and cleaning your floors substantially easier.
Pro tip: make sure your flooring is acclimatized to the temperature you will be keeping the van at most of the time before you install it!
“We chose a lightweight, water-proof luxury vinyl that is padded underneath and extremely durable. We have dropped several tools on it by now and not a single dent or mark has appeared.” – Brittany and Drew
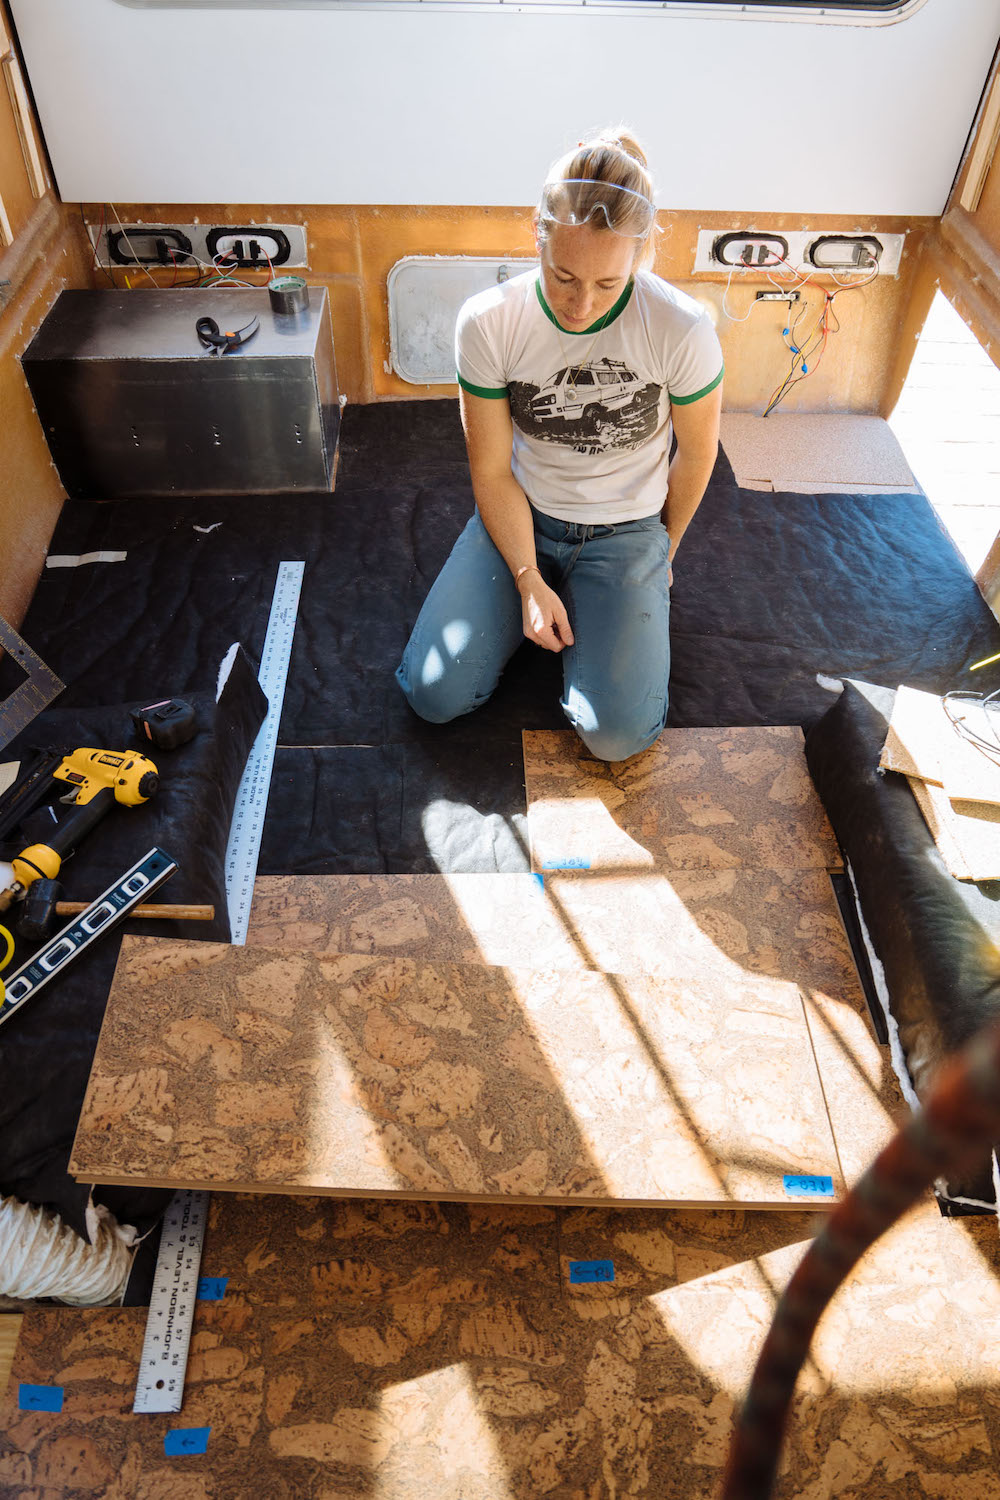
Not interested in vinyl, linoleum, or real wood? Get creative, like MAK and Owen, who chose to install a cork floor.
“For our flooring we wanted something sound deadening, insulating, and gentle on the feet. We went with sustainably sourced cork flooring. They were easy to install because they all hook into themselves. Then we added small brad nails to keep them in place. We LOVE how the cork feels underfoot!” – MAK and Owen
One last thing to consider about flooring is whether to lay flooring before or after you install your cabinets.
Laying the flooring prior to installing the cabinets requires more materials and therefore, costs more. Keep in mind that it ensures a clean look with the flooring covering every square inch. However, if you lay your floor after your cabinets are installed, being exact with your measurements and cuts becomes even more important to avoid any unfinished floor areas. If you do decide to lay your flooring after your cabinets and, by chance, make a mistake in cutting that leaves unfinished flooring exposed, you can always build bottoms for your cabinets. Trim and edge pieces can make a huge difference in the finished look of a van build!
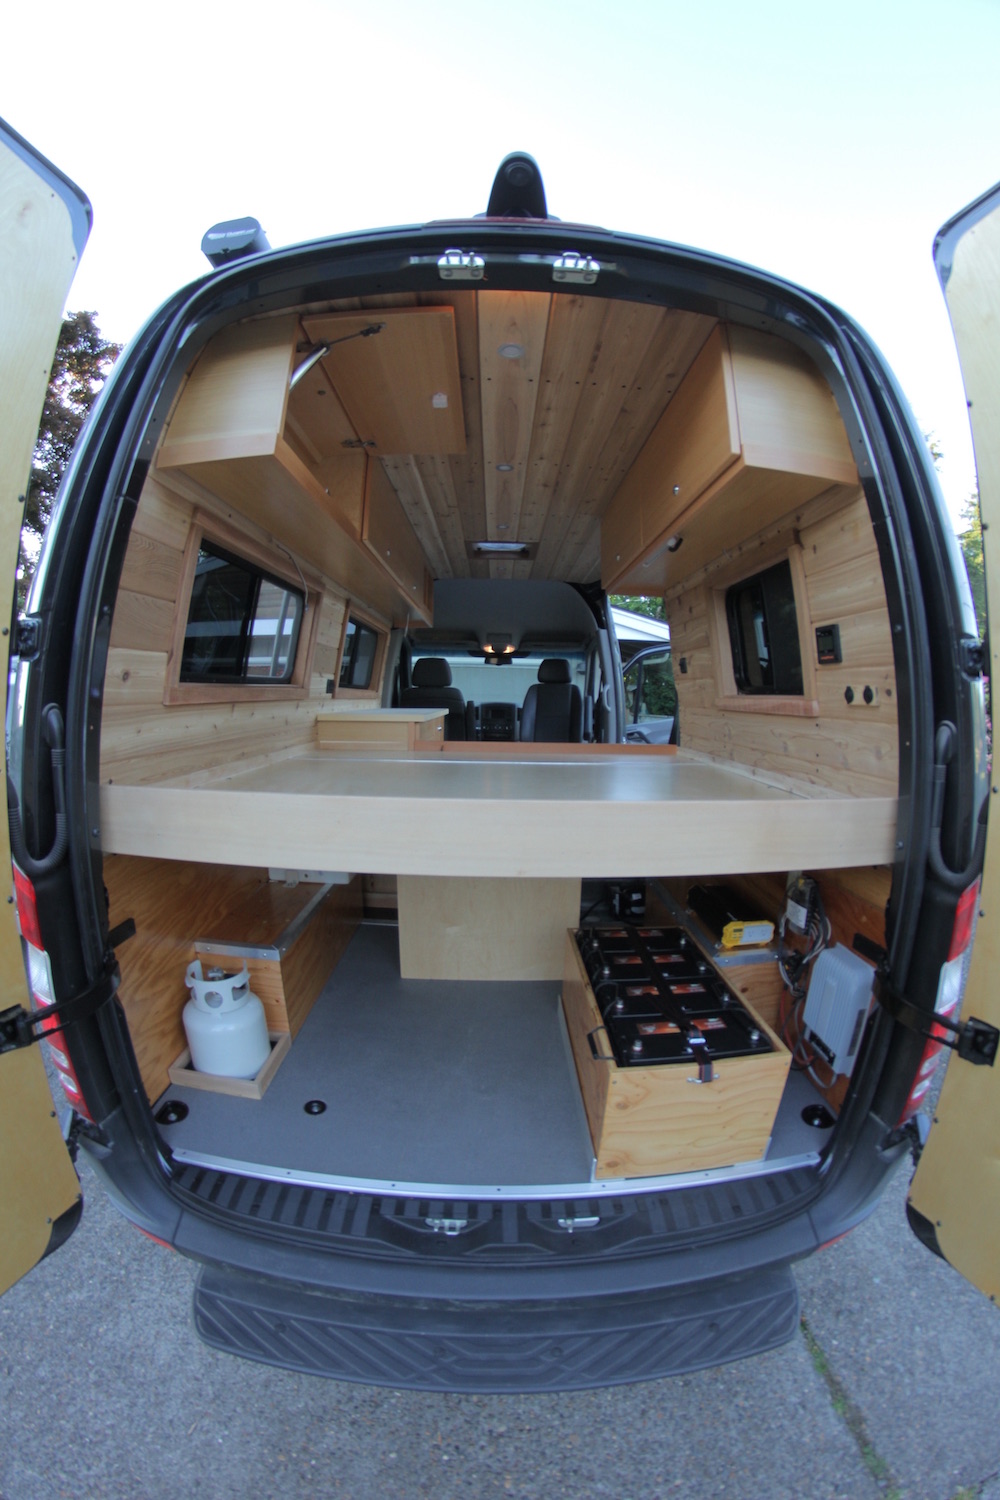
*If your bed is stationary and you know the back half of your van will serve as a “garage” only seen when looking into the rear van through the back doors, consider using cheaper materials or plywood for that half. Uses your fancier chosen flooring (vinyl, linoleum, cork, etc.) for the front section of your build, which your cabinets will eventually be placed over.*
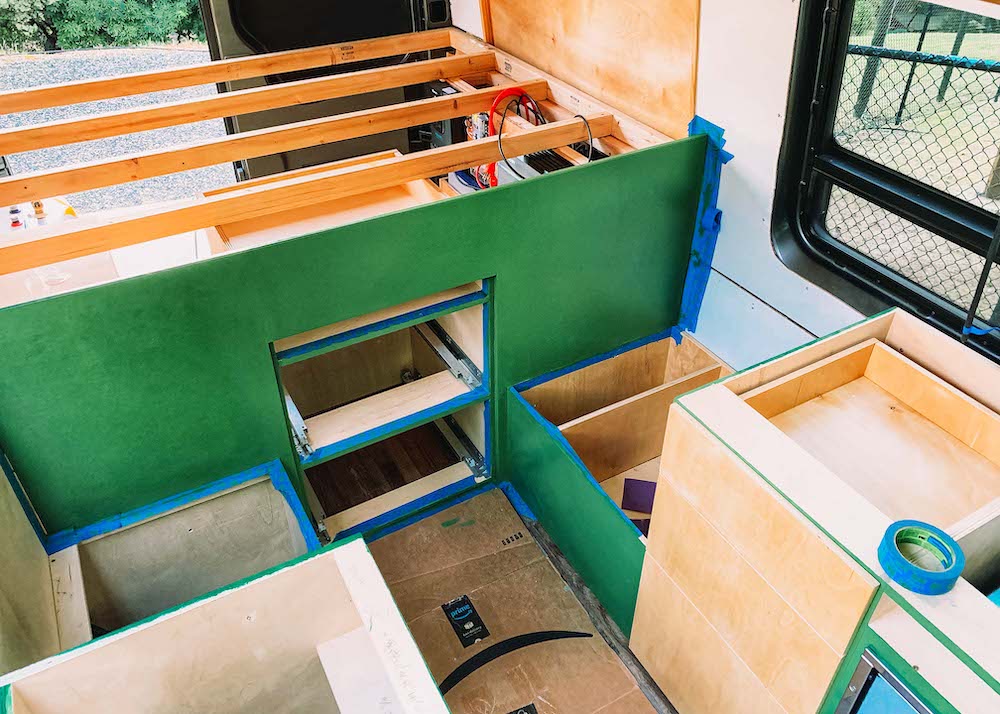
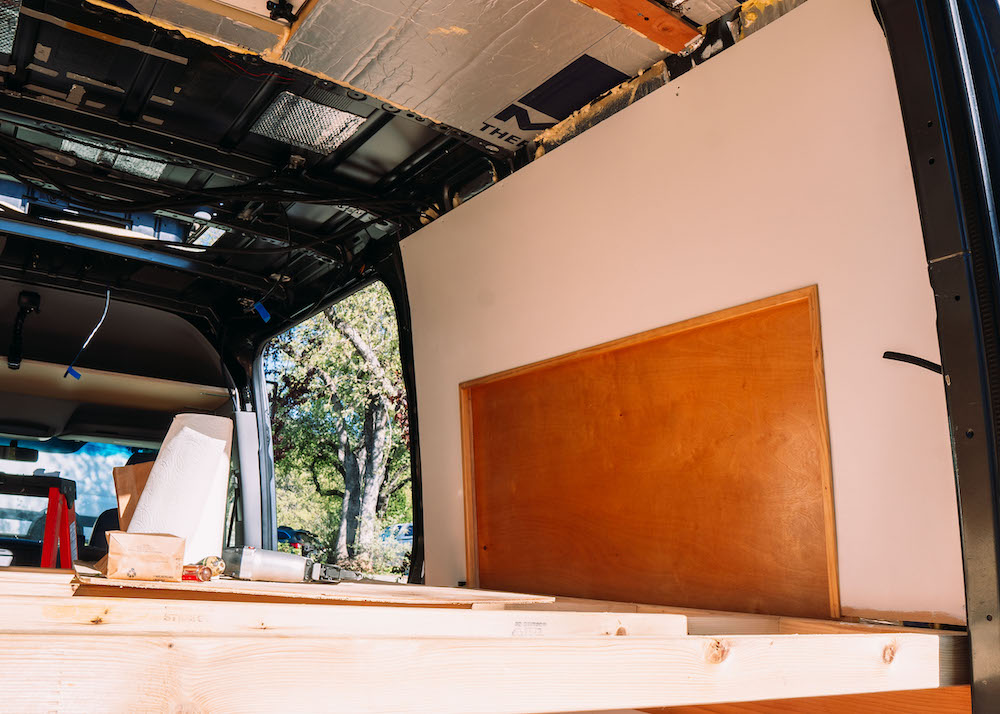
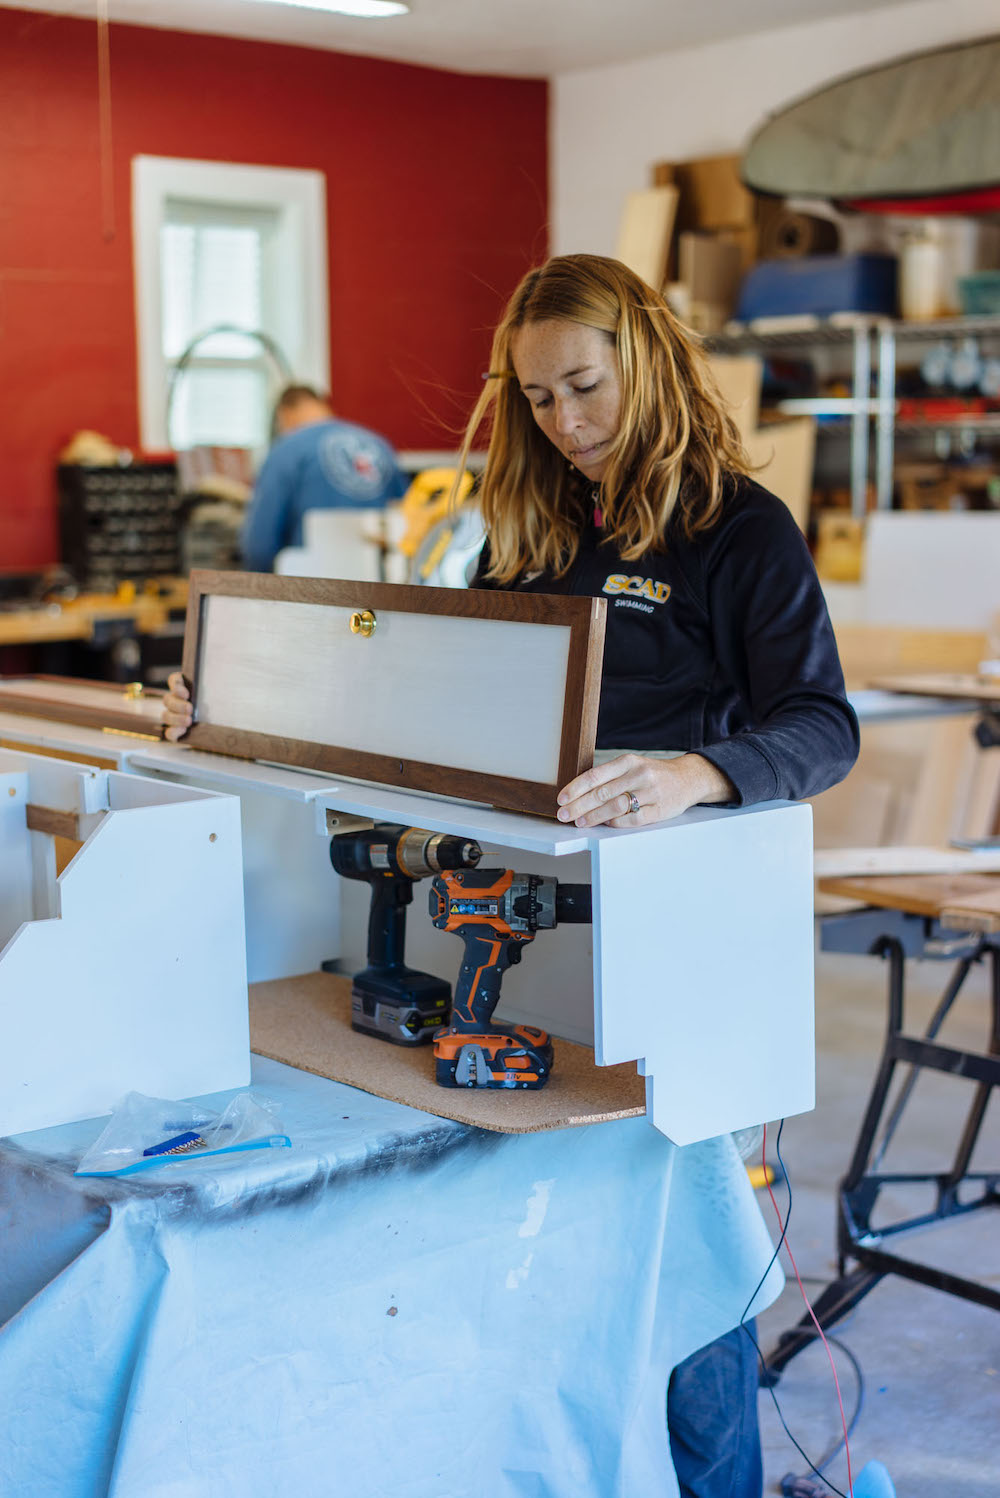
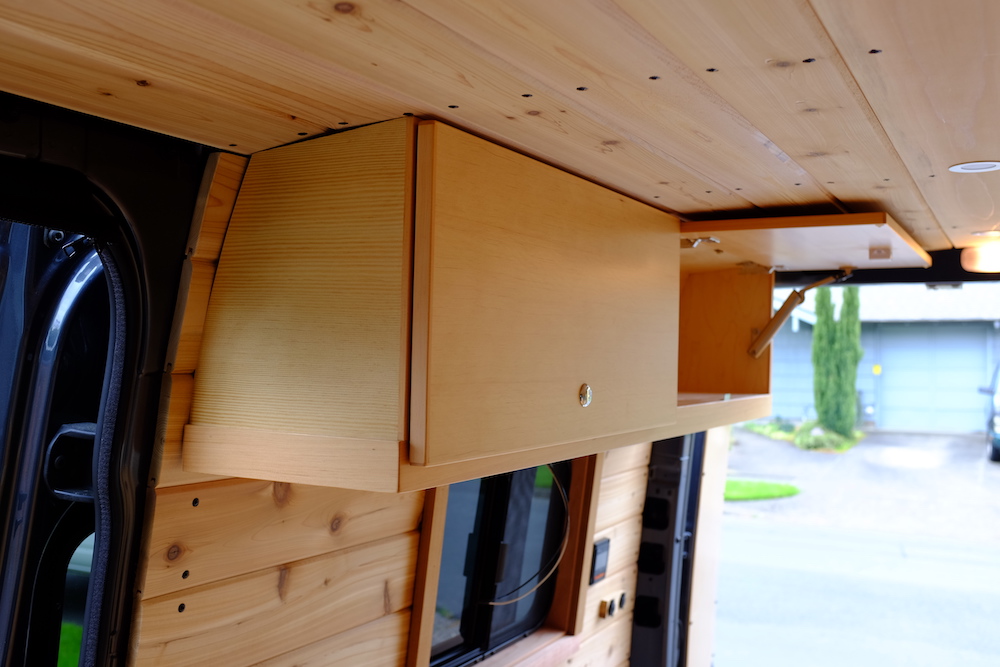
Cabinetry
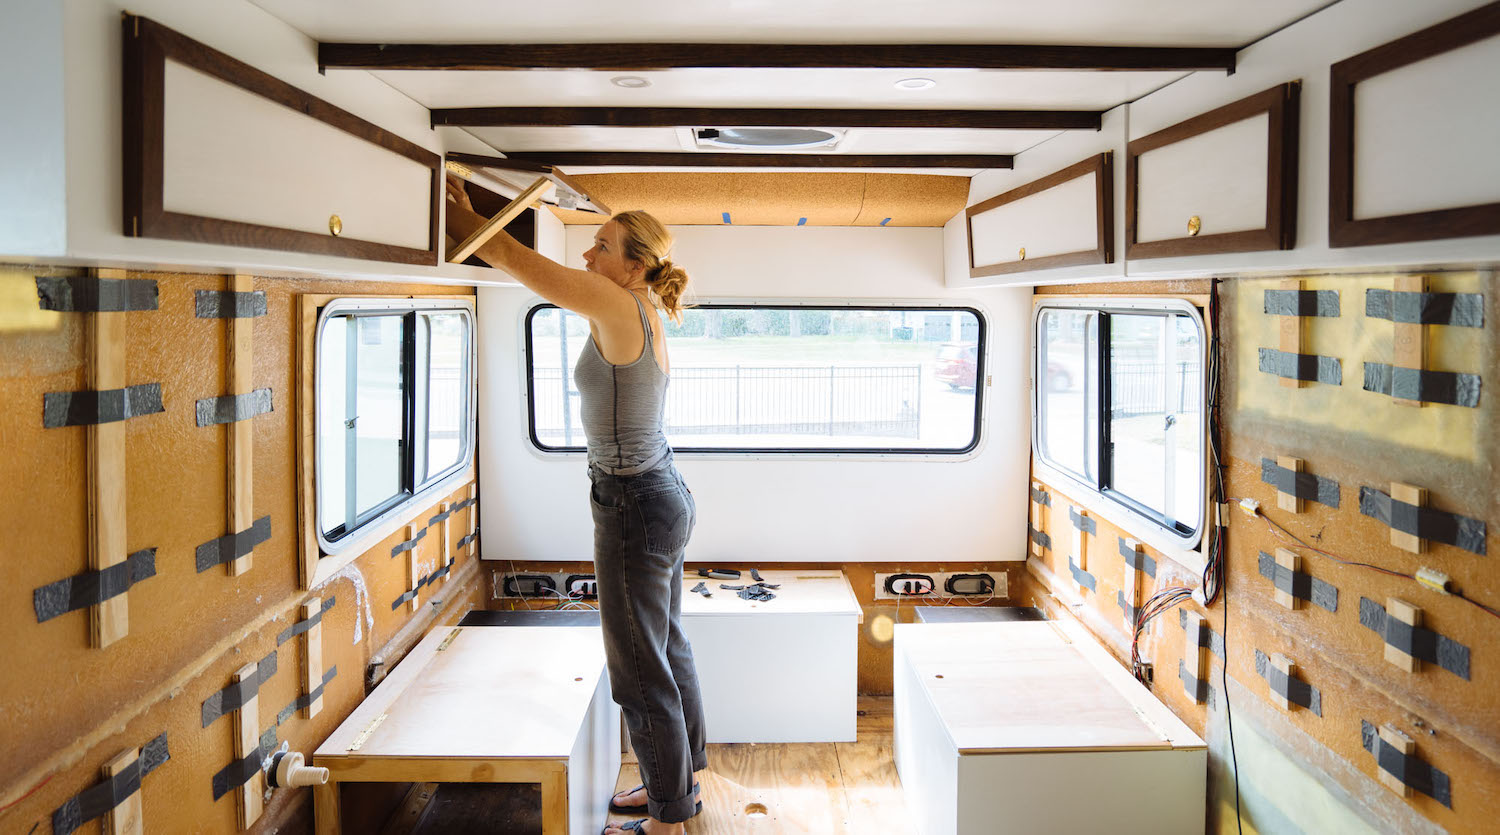
If you ask any individual who has built out a van or camper, they will likely tell you that cabinets are, by far, the longest part of any build. They take up the most area and are the most custom and detailed part of a build. Pro tip: before diving into your cabinets, finalize your layout plan. Place tape throughout your van, mimicking your layout, to ensure proper measurements and that you actually like the feel of your layout. It is also a good idea to purchase and receive all your appliances before building. Double-checking all measurements and dimensions are a must. As the saying goes, measure twice, cut once!
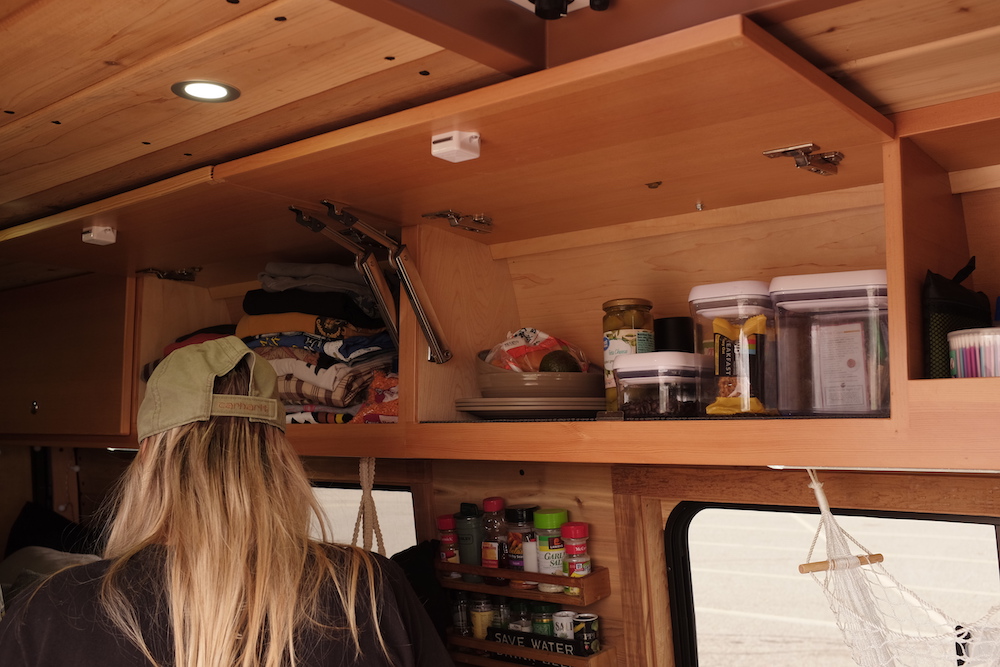
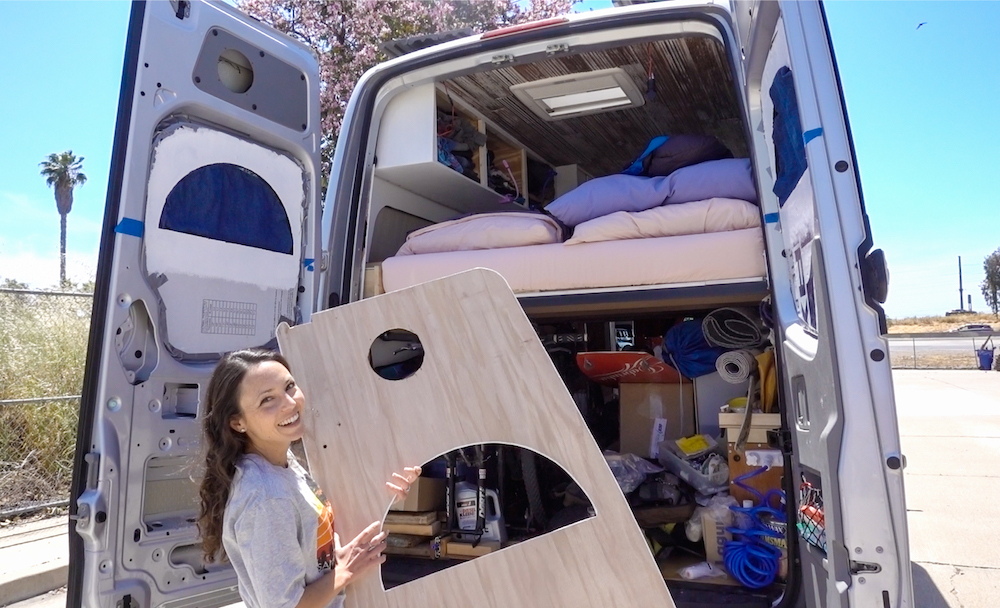
“We had the added challenge of working with a small doorway. Our workaround was that we made all of our cabinets outside of our camper. We then disassembled them, took them inside, then reassembled them to check their fit. Most of the time this was a process that was repeated at least 5-6 times per cabinet. We could make small fine-tuned cuts to work specifically with where they were in the camper. Our upper cabinets had to be made in sections due to the length of wood. Then, they were fitted 15-20 times a piece because the inconsistencies in the walls were most evident near the ceiling.” – MAK and Owen
Lastly, if you find yourself feeling frustrated with a DIY cabinet project, do not hesitate to ask somebody for help! Whether you seek out help during this phase of your build by asking a carpenter or cabinet maker for pointers, or by actually paying a professional to build your cabinets for you, both options are okay. This is a long and detail-oriented phase of a van build. It is important to give it the focus it deserves!
Additional recommendations or things to consider:
- Either thoroughly stain or avoid wood that will be vulnerable to bumps, knicks, water stains, etc.
- Ensure your doorway and hallway are a comfortable width.
- Do any of your moving pieces (drawers, benchtops, tables, etc.) collide when opening?
- Consider using cheaper materials or plywood for wall space that won’t be exposed – such as behind cabinets. This will save you money by using less expensive wood when it won’t even be visible!
- Make sure that your upper, hanging cabinets are as secure as possible.