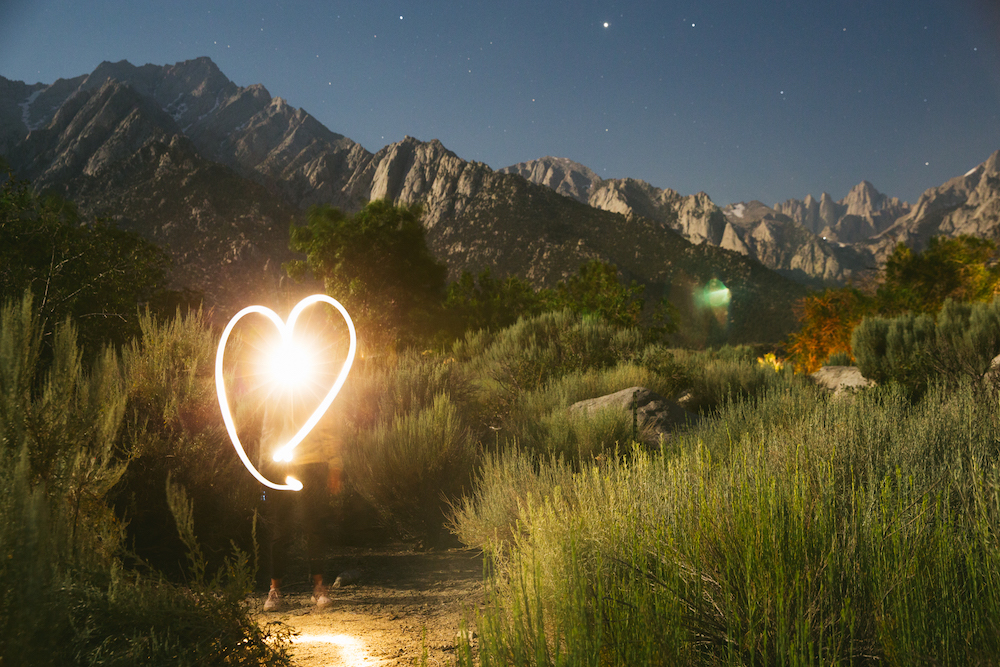
#lightpaintingphotography has over 113,000 posts on Instagram and is becoming increasingly popular among non-professional photographers.
In the generation of iPhones, Instagram, and the internet in general, interest in photography as a hobby continues to grow, with amateur photographers excited about creative shooting, including light painting. Even if the term “light painting photography” doesn’t ring a bell, you’ve probably seen it. It basically requires using handheld lights to “paint” an image or word across your captured image.
“The word photograph comes from the Latin root word for light painting. That’s really all a photo is…but when you mix it with some parts of the image that stay still and others, like moving a flashlight, that move can produce some amazing results.”
-Mackenzie Duncan
So how exactly do you tackle light painting as a beginner? We’ve teamed up with some of our favorite photographers, videographers, and Go-Van collaborators to learn tips, recommendations, and to answer this exact question.
Find a Situation that Lends Itself Well to Light Painting
Your light painting photo will need to be taken at night. You will want your background to fit well with the theme of the photo. Depending on your camera settings, the background will either be barely visible or very apparent in your photo. Either way, you’ll want to choose a situation that would do well in both. We highly recommend some sort of outdoor or camping environment! Ideally, you’ll be shooting a landscape with a big, starry sky, potentially a campfire in the background, etc. Set the mood of your entire photo from the beginning.
Light Painting Requires a Tripod
The piece of advice that was repeatedly given was to not attempt light painting without a tripod. While this runs fairly true with night photography in general, it is absolutely mandatory for light painting. Your camera will need to be in manual picture mode so you have full control of your settings. Any small camera shake or nudge of the camera will produce a blurry and unfocused final product. Make sure to have your camera properly threaded to the tripod to avoid any movement!
Slow Your Shutter Speed Down for Longer Exposure
You will need to go into your camera’s manual settings and slow your shutter speed down tremendously. Shutter speed is the amount of time that the shutter of your camera is open. Think of the light going into your camera lens as rushing water through a tunnel! Shutter speed is basically how big of a gate comes down to block the water. If you increase your shutter speed, your camera will take a photo faster, minimizing the amount of light let in to your shot. If you decrease your shutter speed, the shutter will stay open for longer. This means your camera will absorb light for a longer amount of time, allowing for techniques such as light painting. Most cameras will allow you to set your shutter speed for 1/30, meaning your camera will capture light for 30 seconds. This means that whatever you are painting for your shot will need to be complete within 30 seconds. If 30 seconds seems too long for your specific shot, feel free to speed up the shutter speed. Just keep in mind that your painting will need to be completed faster and your photo may turn out darker!
Turn Down your ISO and Aperture Settings
Most people I spoke to about light painting said to set your ISO setting as low as it will go, but to at least make sure it is below 500. You will need to mess around with your aperture settings as well and take a few test shots until it looks like your image is exposed correctly. Aperture is measured in f-stops. Referring to the rushing water analogy again, aperture is how big or wide the tunnel is that the water is rushing through. If your f-stop is lower, there will be more exposure to light in your shot. If your image is too light or too dark, continue to play with your ISO and aperture settings. You can test that your settings are right by running around with a light source (flashlight, lantern, headlamp, etc.) and seeing what the outcome is. Our favorite product to light paint with is BioLite’s PowerLight Mini! Be patient with yourself, as this will require at least a few tests. Trial and error is your friend here and we promise, it will be worth it in the end. Once you think you have your settings right, you’re ready to light paint!
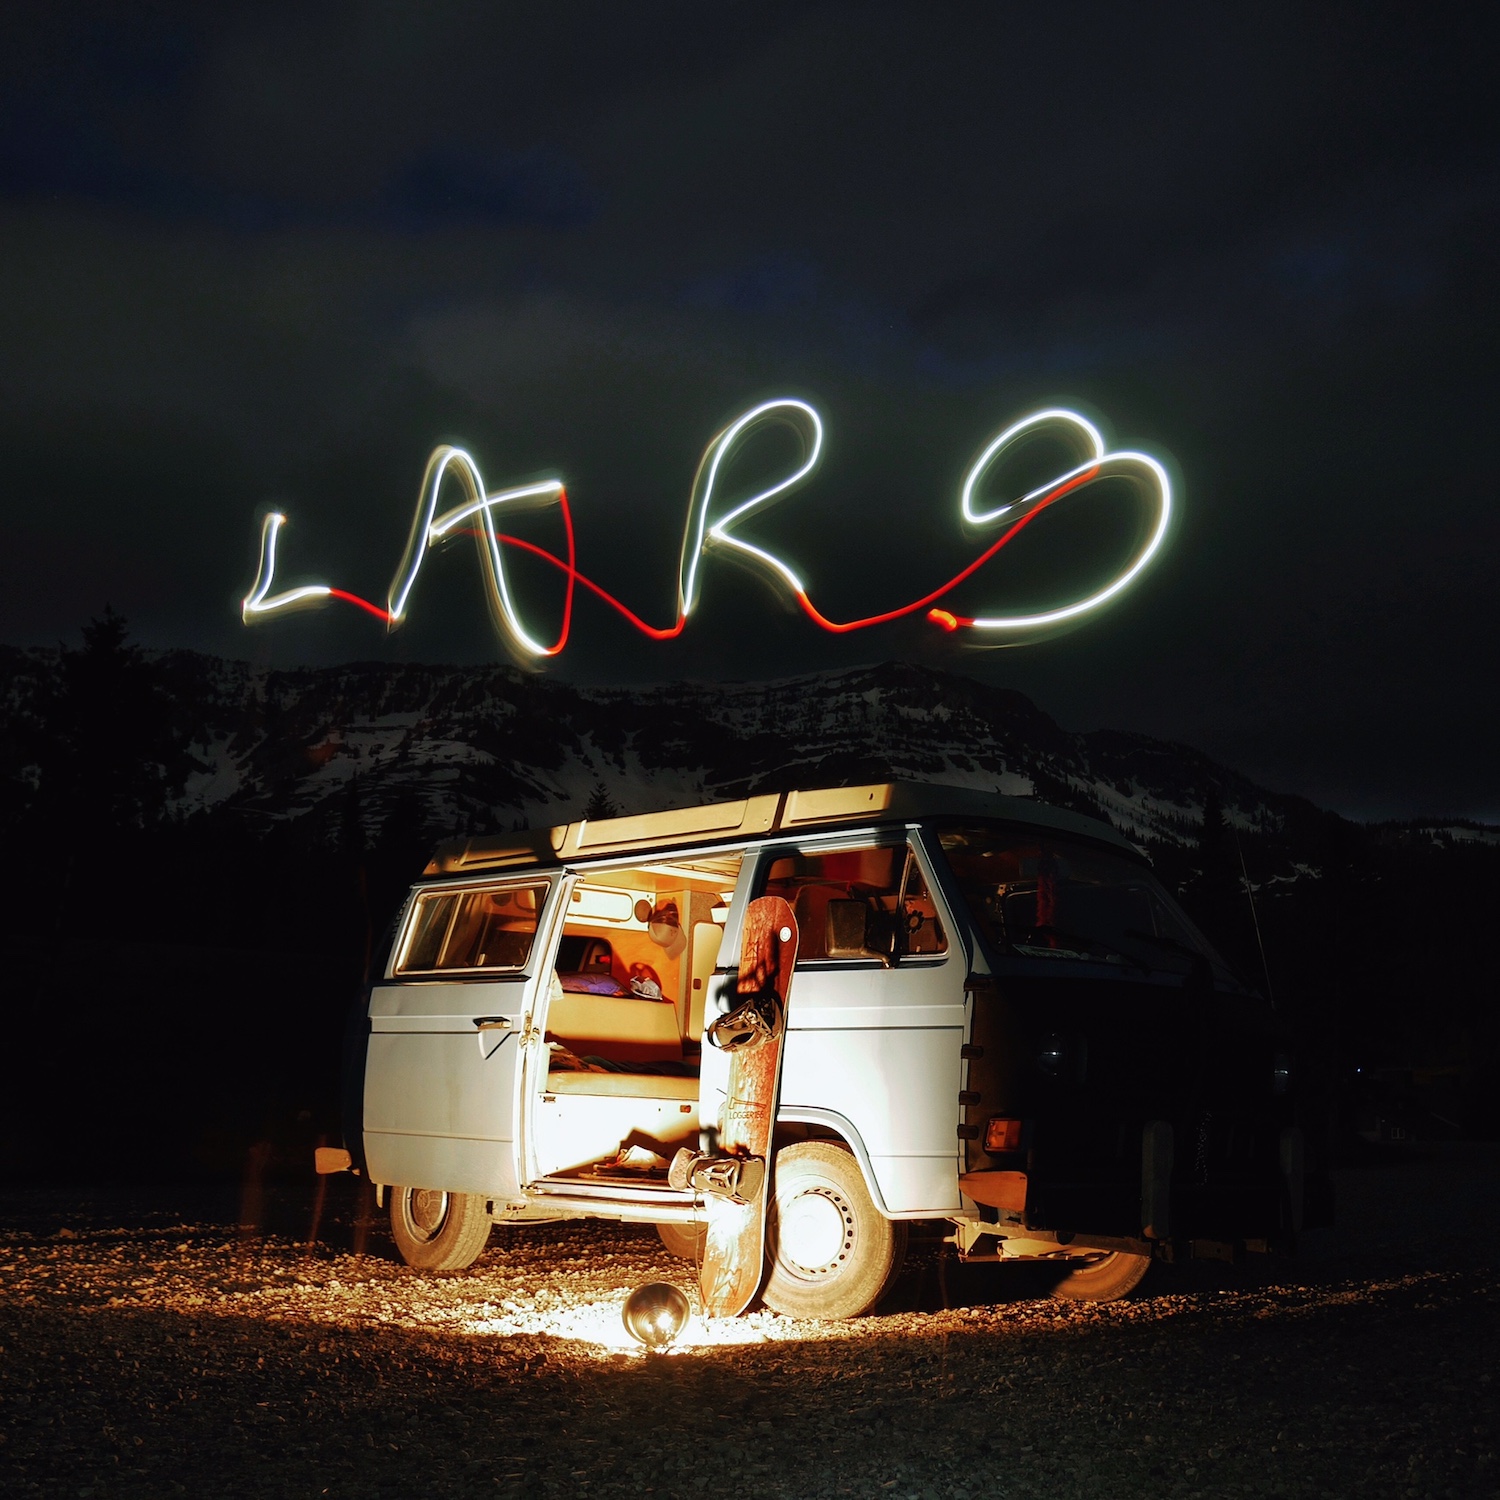
 Photo Credit: Laura Austin – @laura_austin
Paint Away!
As recently stated, you will need your light source ready in hand. Once you feel like you’re ready for your actual shot, here are a few things to keep in mind…
- If you want to write a word, you will need to write it backwards in order for the spelling to show up properly in the photo.
- If you want to separate your letters or capture more than one word, you will need to hide the light from your camera with your hand.
- You can add a neutral density filter that will allow you to reduce the light coming through your lens, leaving you with a longer exposure and more time to write or draw with your light.
- Once you’re done with your drawing or word, be sure to either turn off your light source or block it from the camera lens to avoid over-exposure. If you’re fast you can even try running out of the frame!
- Make sure to finish up your painting before the photo is taken, based on your shutter speed.
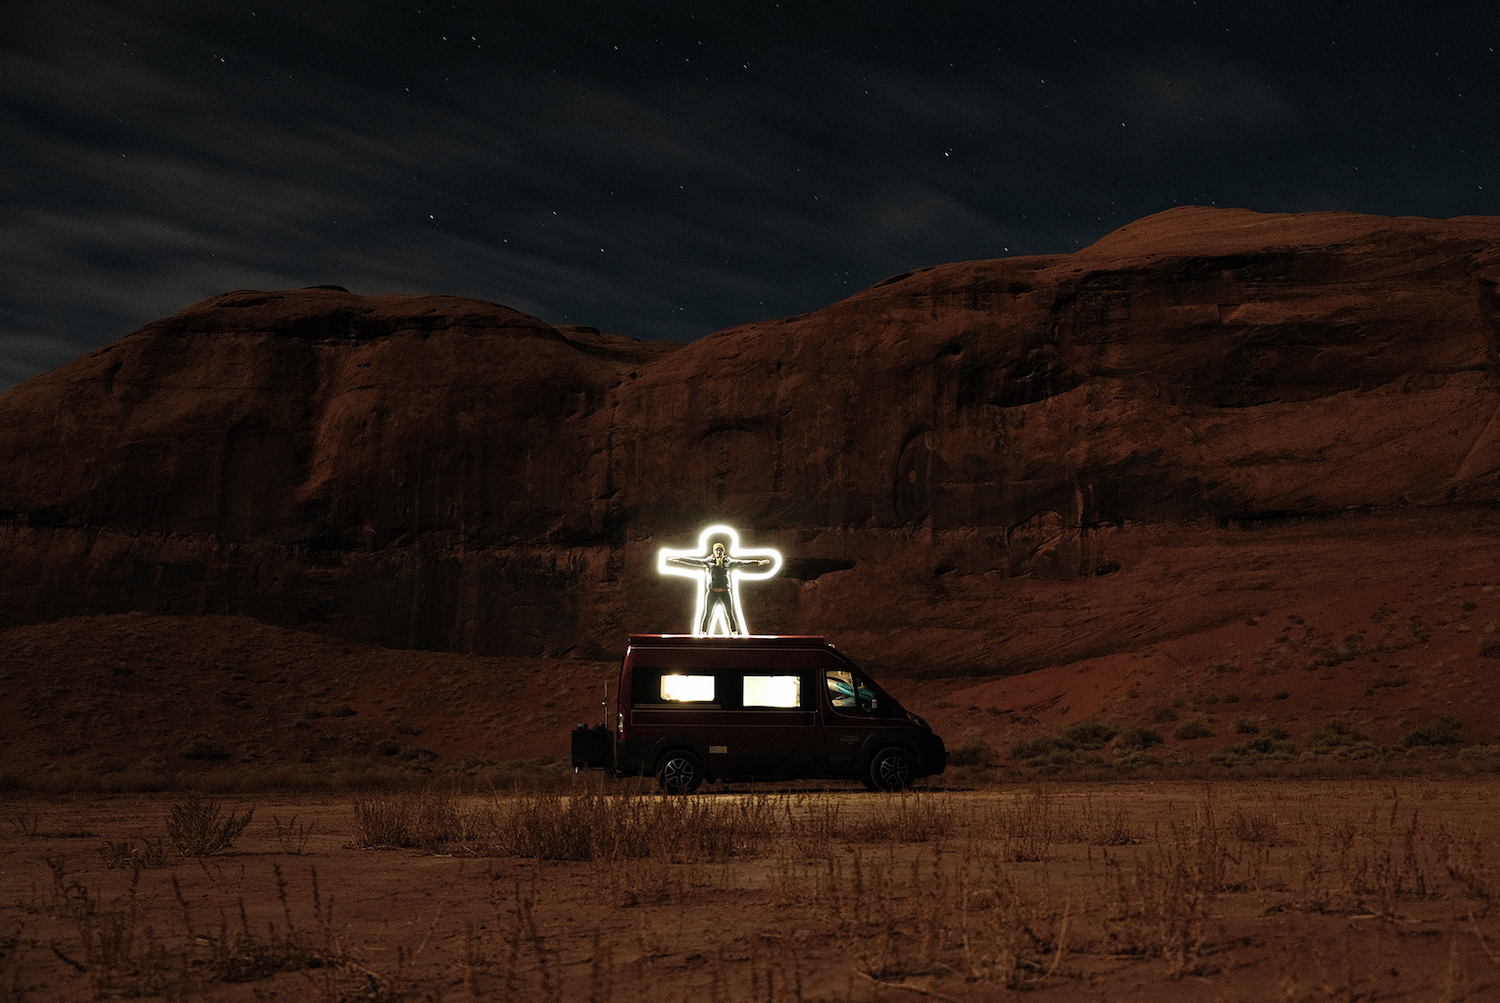
Another fun idea that was mentioned is to try “painting” or “outlining” a person with a flashlight. Similar to painting a word, you ask somebody to stand super still, get all your settings correct as mentioned above, and run your light source around the shape of the person.
 Photo Credit: Nomadic Productions
While light painting requires a fair amount of experimentation, the end results will be well worth it. Combining a bit of creativity with patience, you can create unique images that are unlike any other photo you’ve taken before. You will have so much fun trying new ideas and testing different settings to get the perfect light painting photo. Try it next time you’re taking photos at night and don’t forget to tag your photos using our #govanmoment hashtag!
Big thanks to the following for their tips and recommendations:
JF Lefebvre – @jf_lefebvre and www.jflefebvre.com
Laura Austin – @laura_austin and www.lauraaustinphoto.com
Mackenzie Duncan – @themackenzielife and www.mackenzieduncan.com


