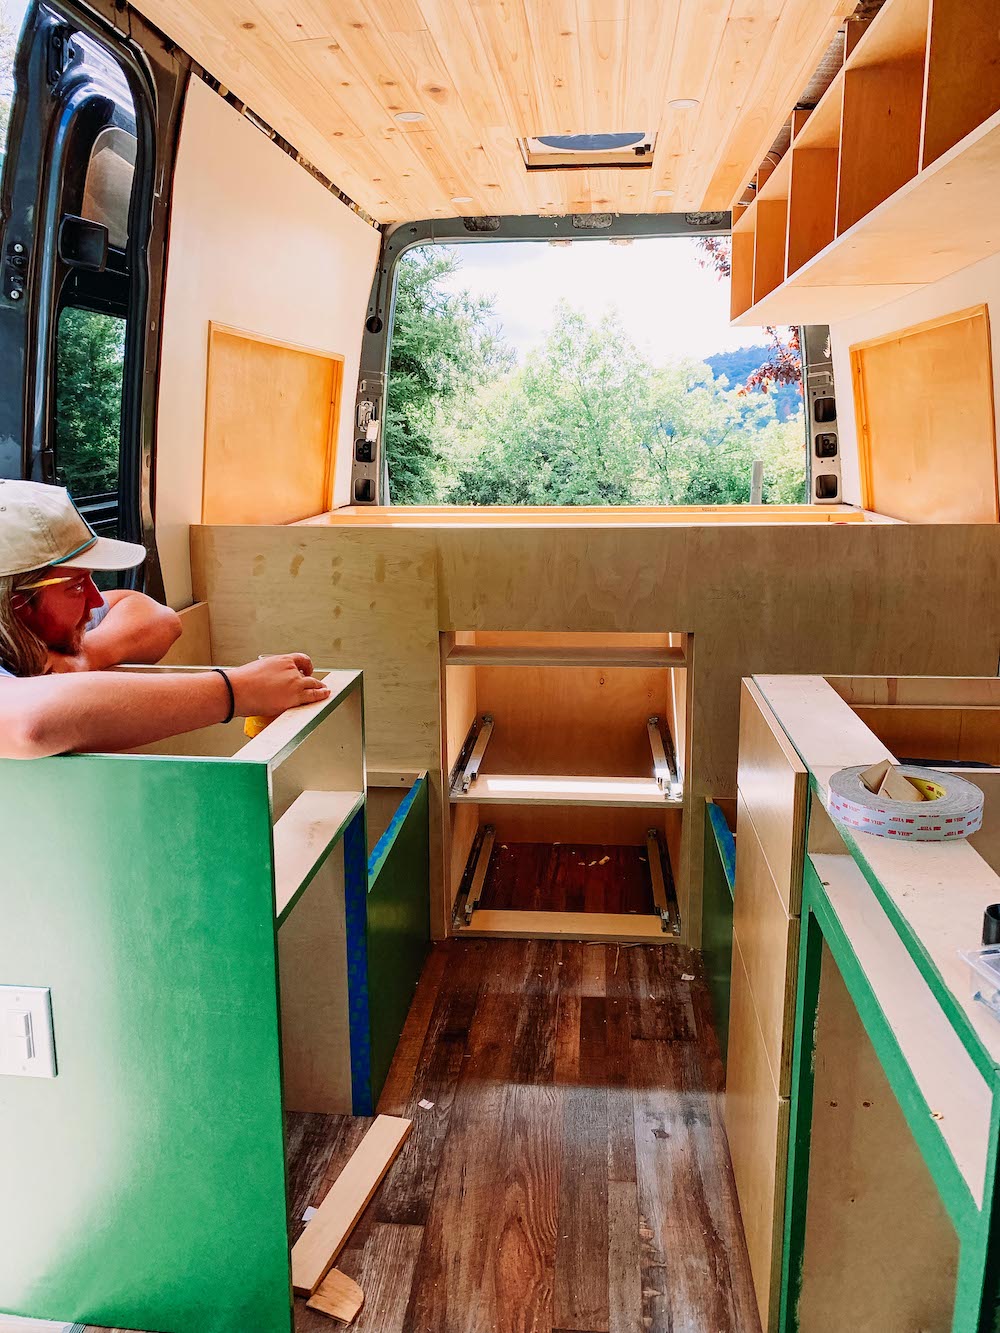
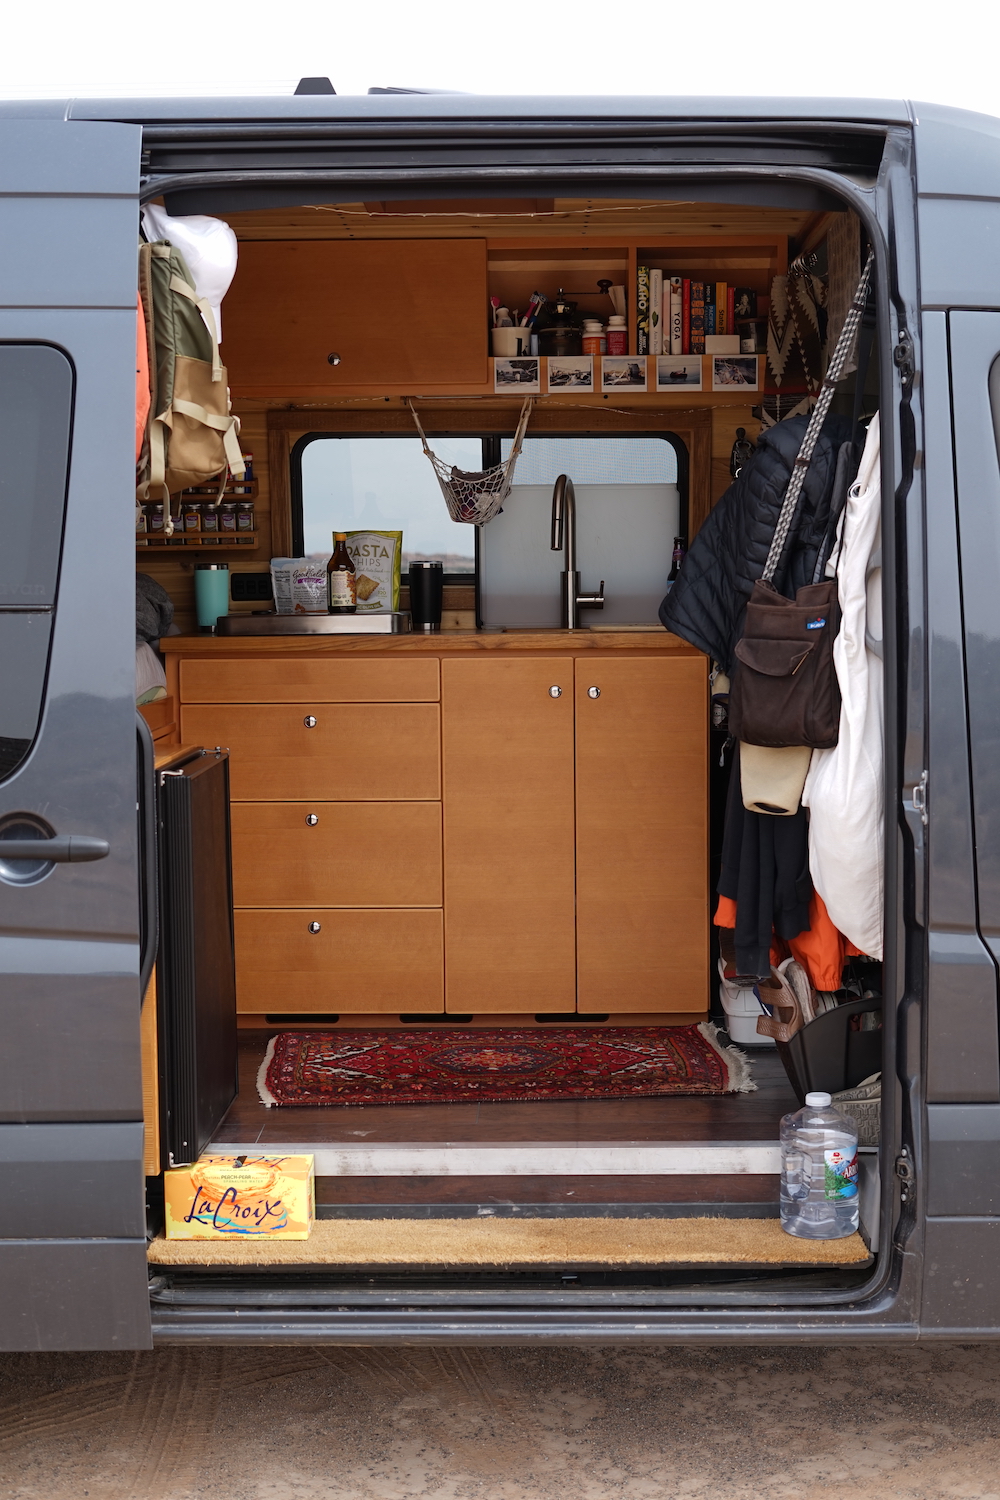
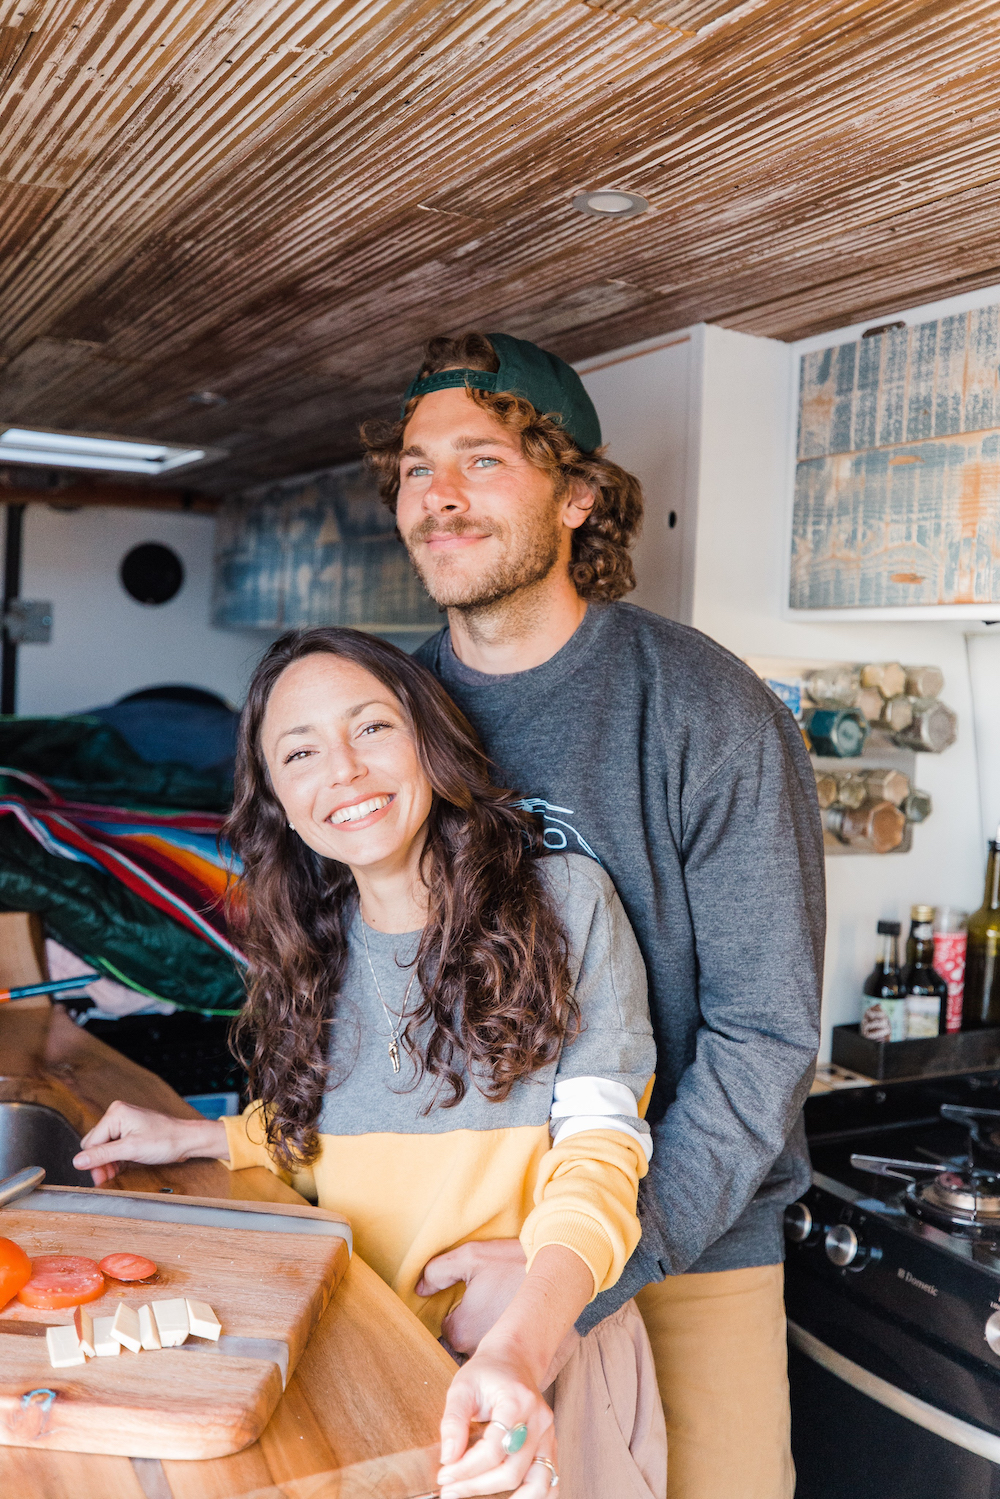
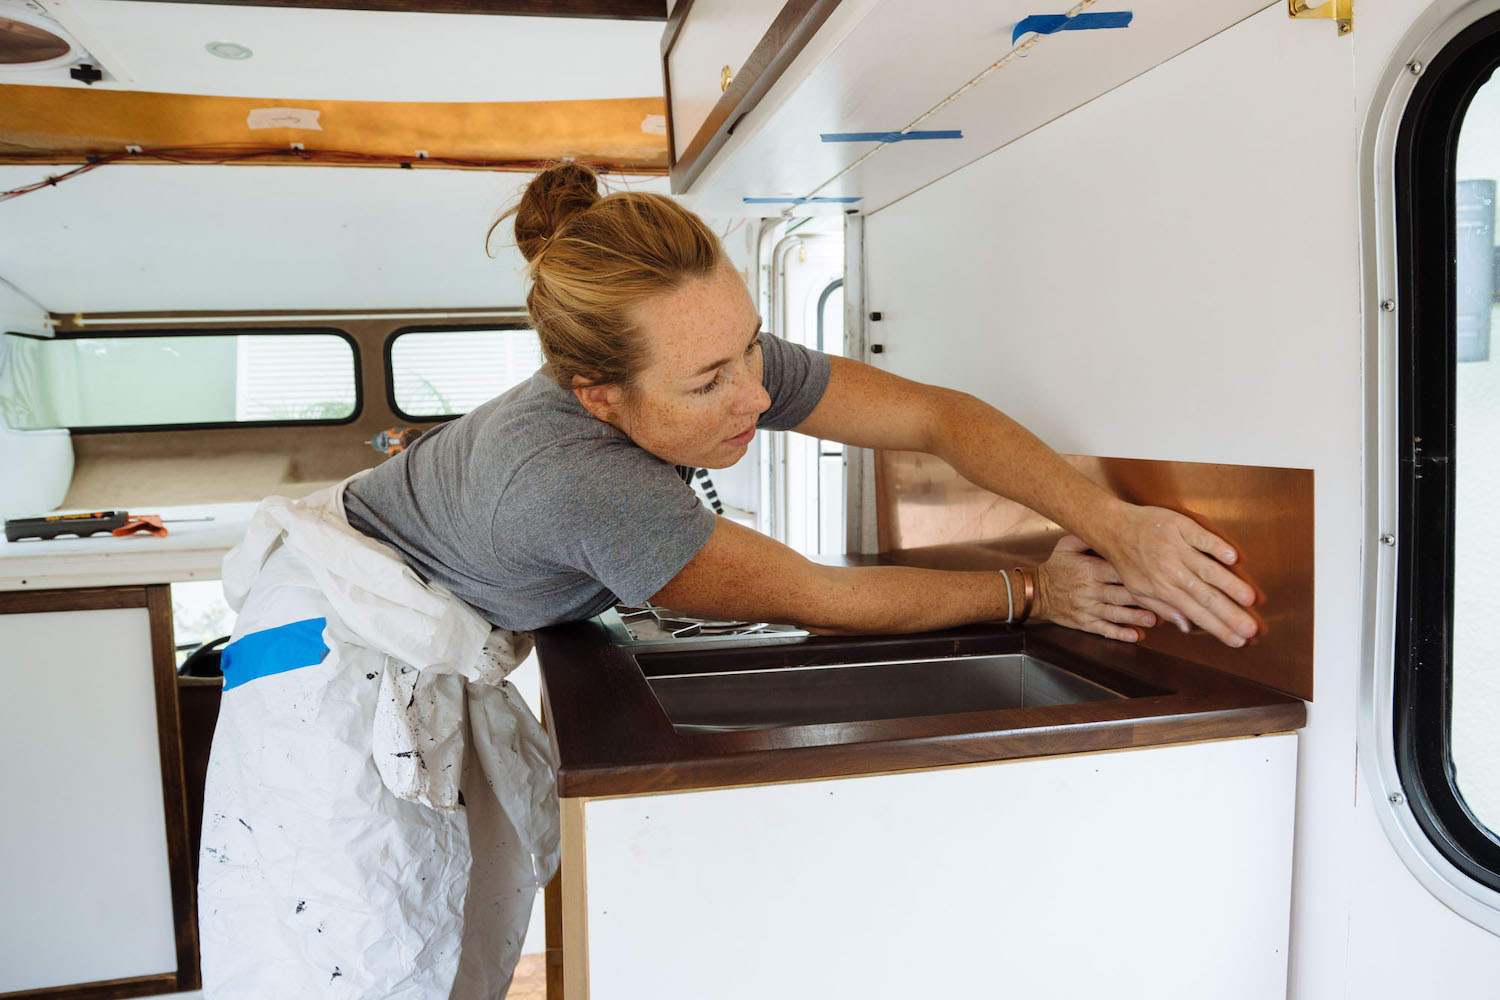
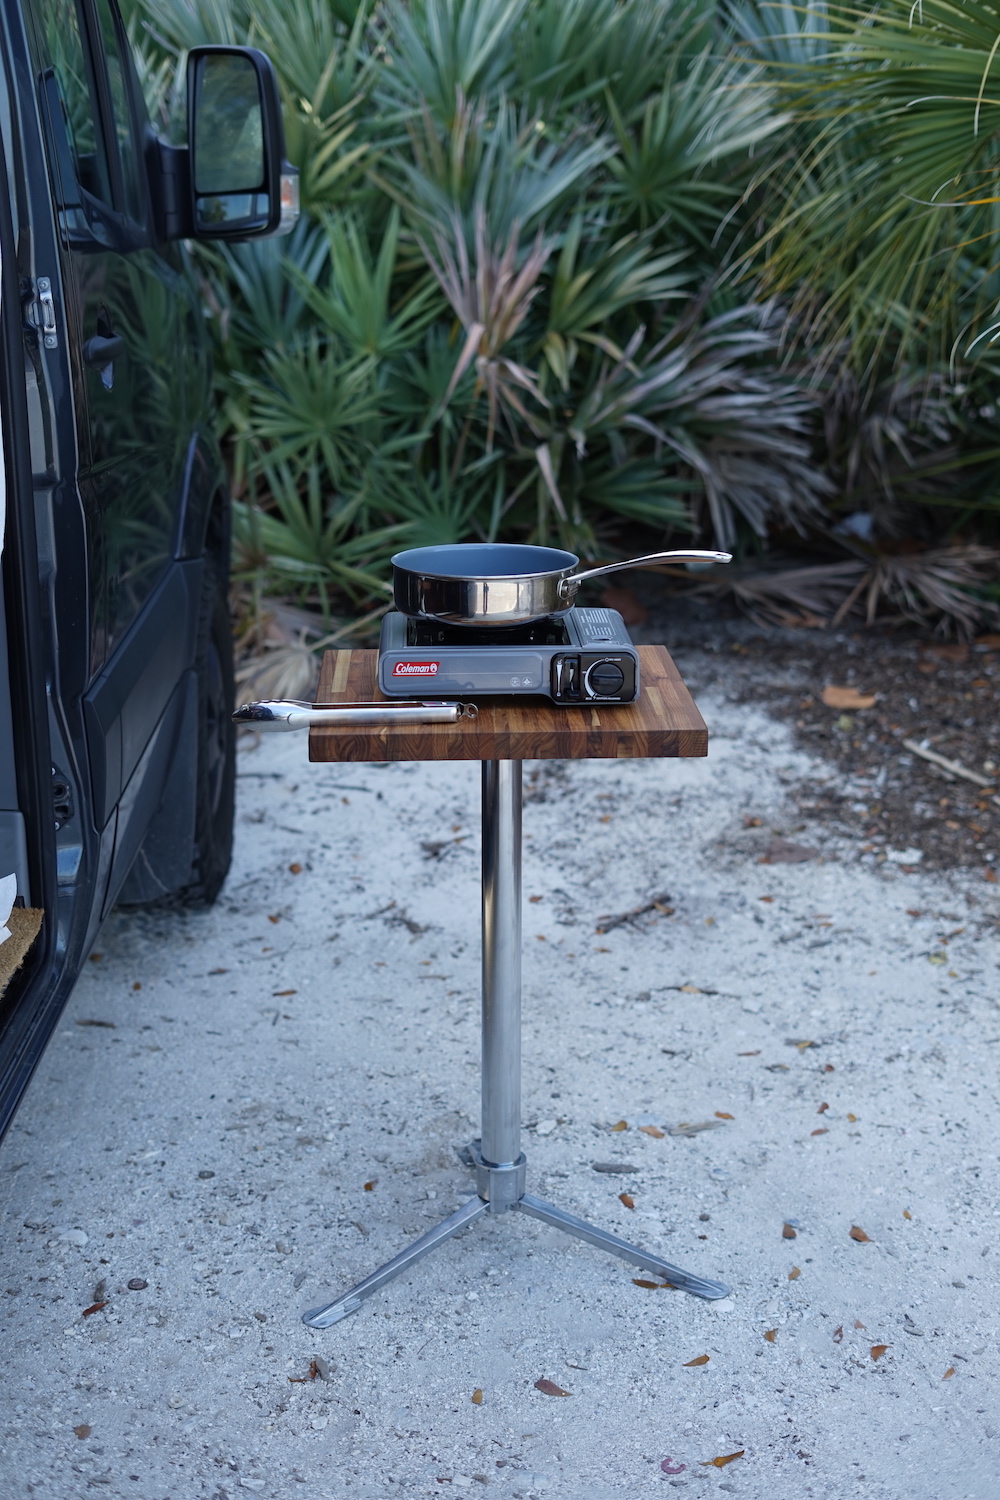
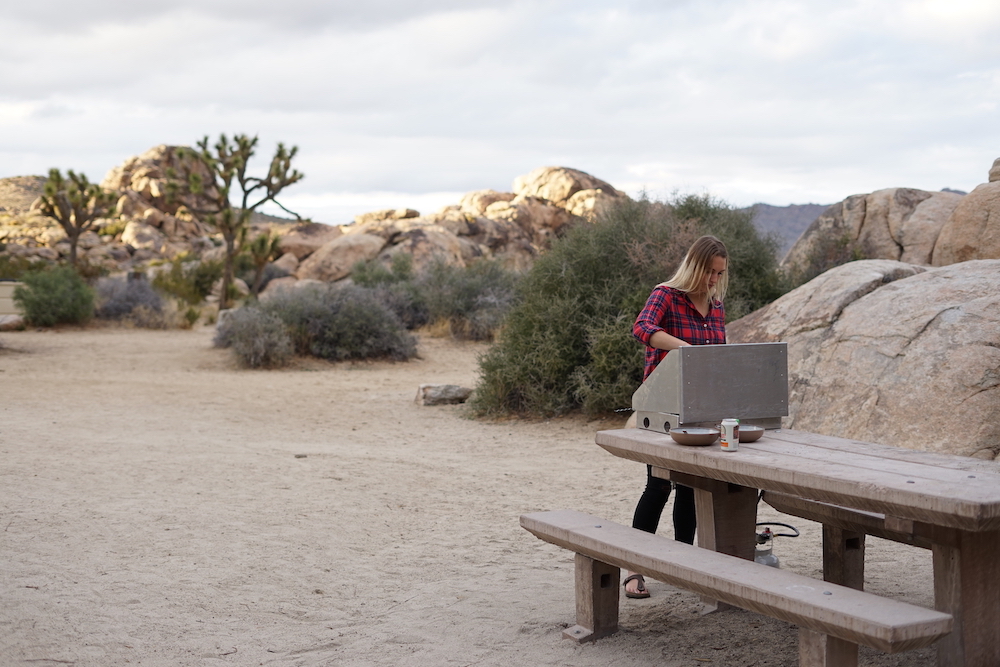
Vanlife kitchens vary from having a fully functional kitchen with an actual oven, to simply having a jug of water and a single-burner camping stove.
Depending on your eating habits and your passion (or lack thereof) for cooking, you’ll want to build a vanlife kitchen that suits your personal needs. Most commonly, vans are equipped with a smaller sink and running water with a proper drainage system and “grey water” holding tank. Additionally, most vans house some sort of cooking system, whether it be a multi-burner stove installed permanently in the countertop or a Coleman camping stove that can be stored away and placed on any available, flat surface for use. Most adventure vehicles also have a way to store and refrigerate food, whether that be in a cooler or a fridge. In order to decide what style and brand of appliances will best suit your needs and space, first, break your vanlife kitchen down using the helpful list below. The more information you have to make these decisions, the better!
“Pro tip: full-time sailing blogs and forums are a great resource for full-time life on the road. People have been living aboard sailboats for a really long time and they have a lot of great resources and products that are lightweight and extremely durable.” – MAK and Owen
Sink
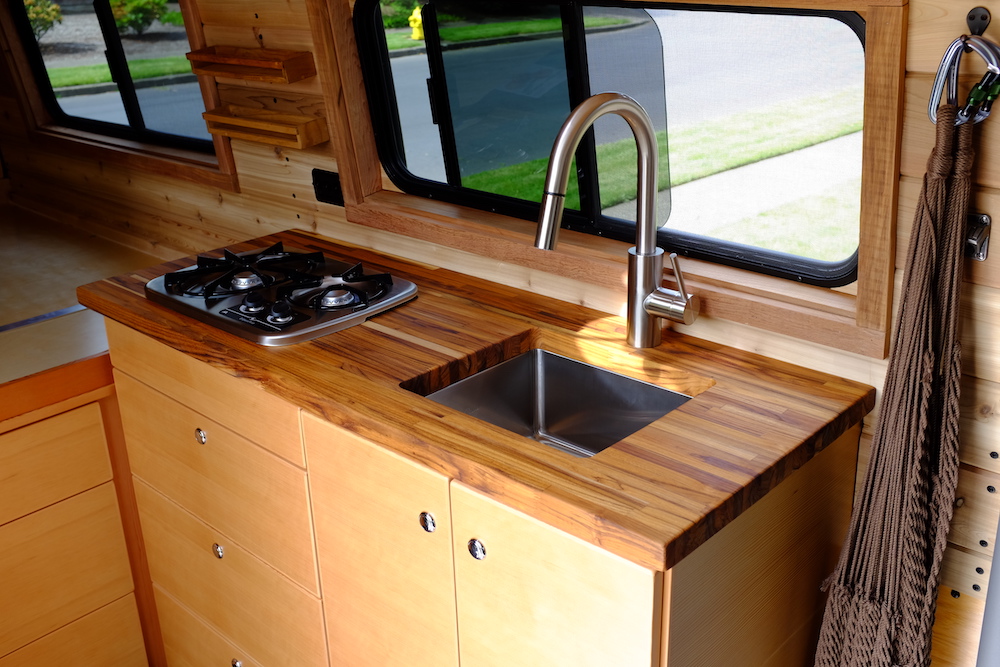
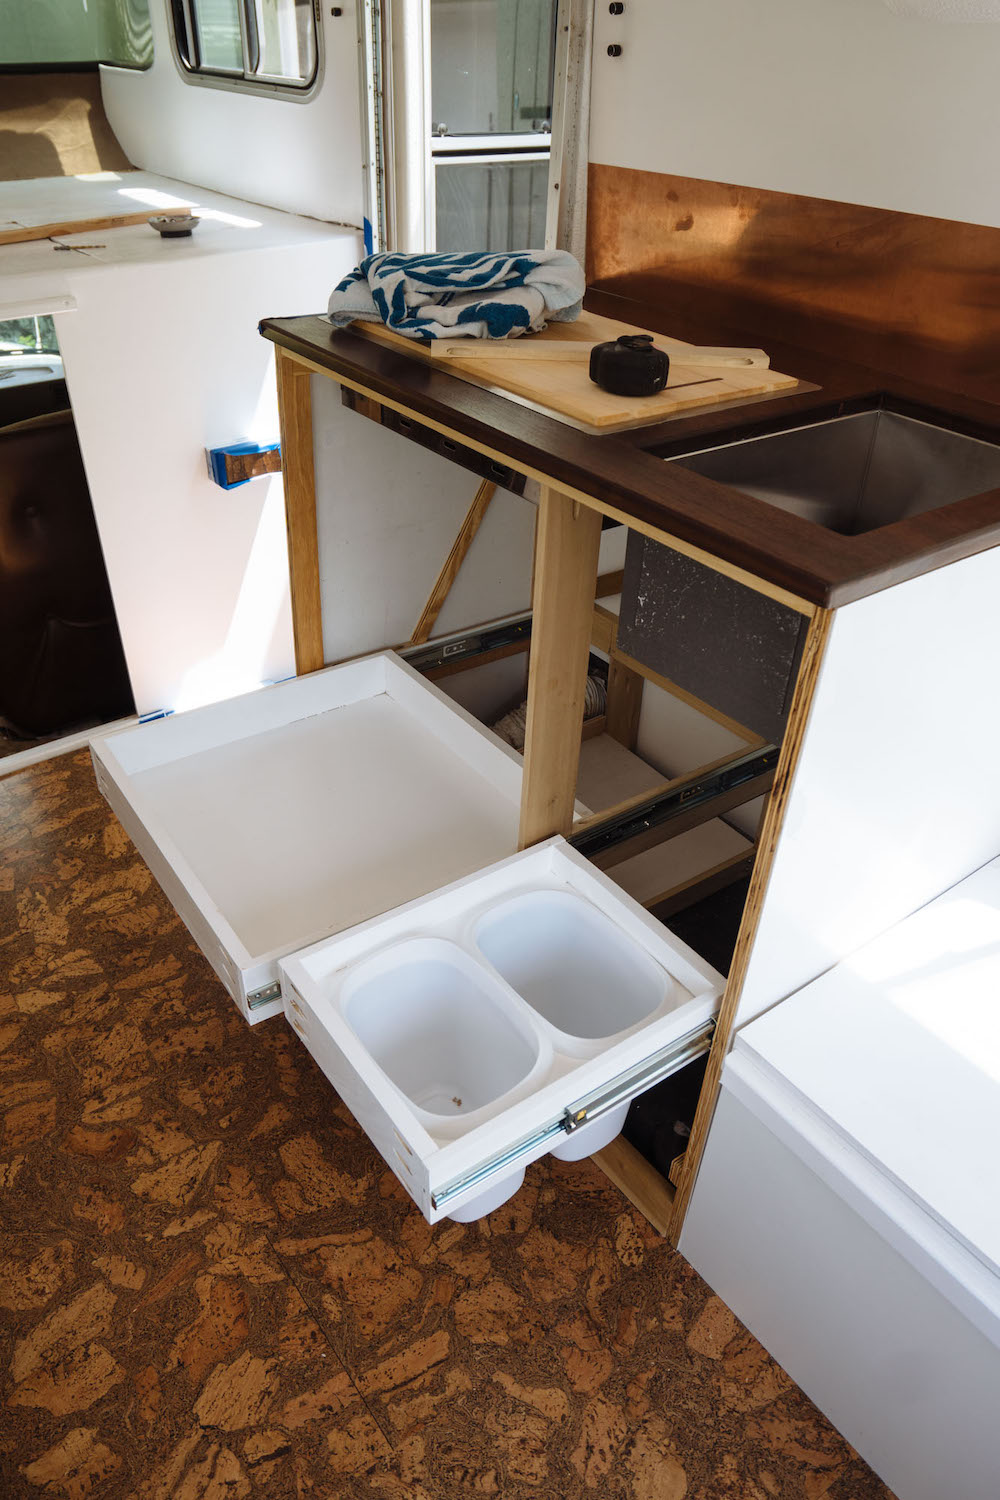
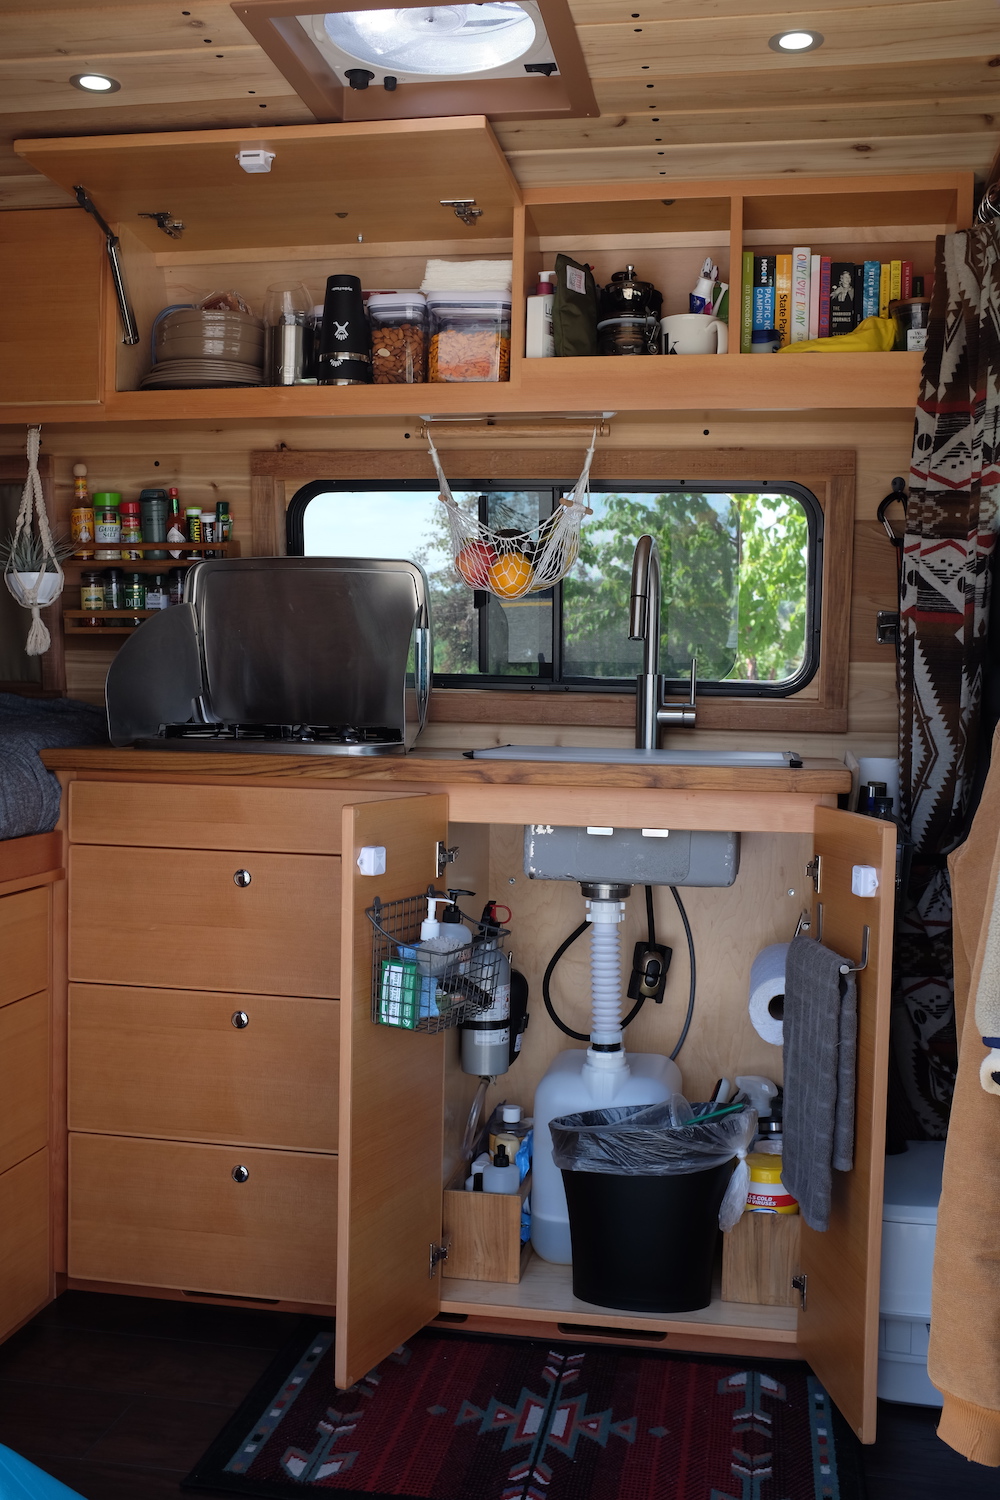
One of the most common complaints regarding a finished build after it has been lived in for a while is the sink size. In an ideal world, we would all do our dishes right after a meal is complete. But trust us: after a long day of driving or hiking, there will be times where laziness and exhaustion occurs, and you’ll wish you had a deep sink to pile your dishes until morning.
“A nice guideline is to see if it fits your largest pot or widest dinner plate. It’s nice to get a sink that is 8-9 inches deep. This is deep enough to wash dishes but not too deep to affect water storage or the grey water tank underneath. We started our journey with a smaller bathroom type faucet but ended up switching to a larger gooseneck to make it easier to fill bottles, pots and rinse our hands.” – Vanessa and Adam

Something to pay attention to when picking a sink is what kind of faucet you want to have. If you plan on having a gooseneck faucet, you need to ensure that the neck of the faucet ends near the center of the sink. With smaller “van-sized” sinks but regular “house-sized” faucets, many of the faucet necks will end near the front of the sink or even over the edge of the sink. Be sure to check these measurements!
Stove
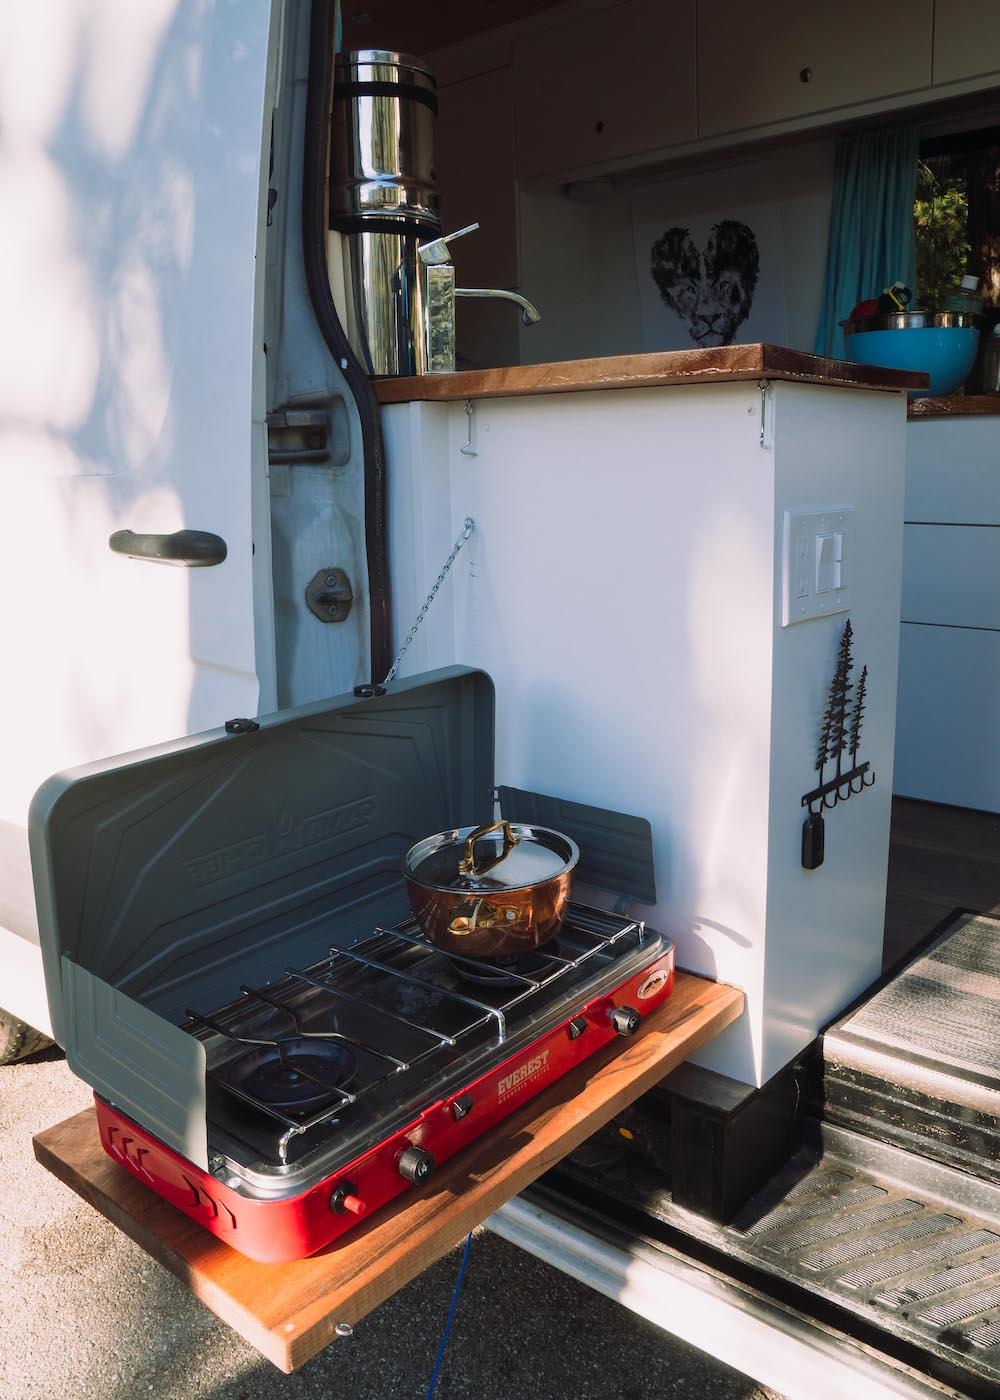
While having a permanently installed cooking source is convenient, allowing you to skip the setup/breakdown process, having the ability to take your stove outside when camping is a wonderful plus for vanlife! Another thing to consider is how much counter space you will have once you install your stove or pull out your portable cooking stove for use. Can’t decide? Consider installing a stove for interior use but also purchasing a simple, single-burner outdoor stove that uses propane or butane canisters when you prefer to cook outside. It also serves as a great backup for if you ever run out of propane unexpectedly for your interior stove.
“You can also put in an oven. Keep in mind that you may need to upgrade your propane tank to a larger size to accommodate the extra propane needed. You will also lose some possibly valuable storage space.” – Vanessa and Adam
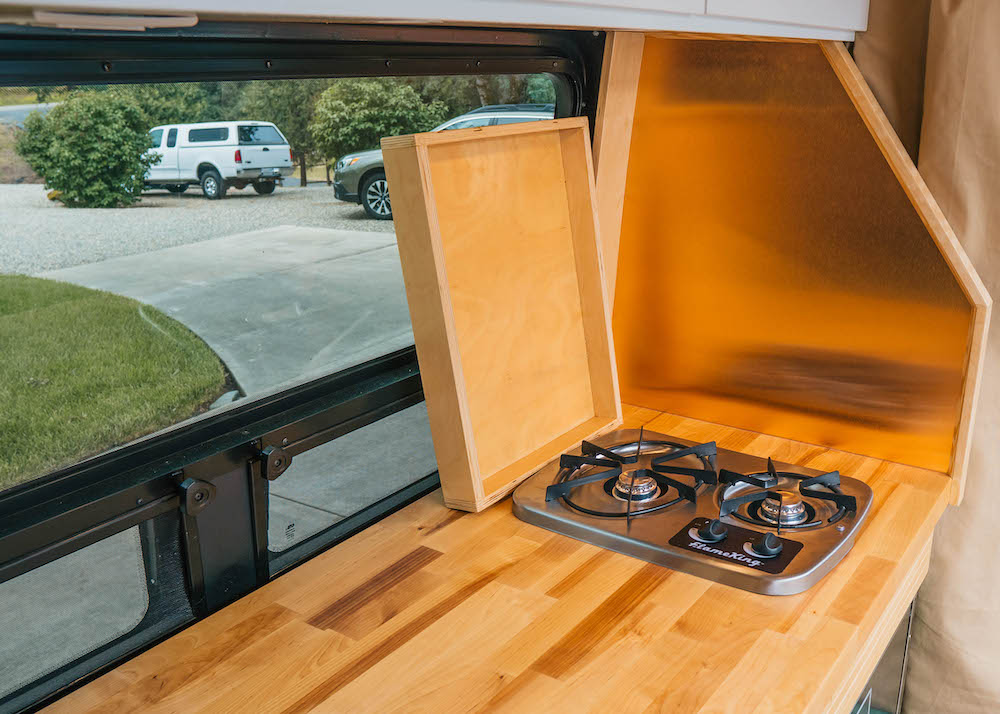
When thinking about what kind of stove you want, don’t forget about how you will fuel that stove.
Will you use propane? Electricity? This will also heavily affect which fridge you decide to purchase and install. If you decide on propane, consider purchasing a refillable, larger propane tank. It will last much longer than small propane cylinders that constantly need to be replaced and the price is incomparably cheaper. You can also install and store these under your van to save storage space. A simpler alternative option is to just have an outdoor cooking appliance. This saves room in your vanlife kitchen, and will constantly inspire and require you to get outside!
“My personal favorite exterior accessory is our pullout cooktop! I’ve always wanted to have an outdoor kitchen so I can cook outside in social situations or on hot days where it’s preferable to keep the extra heat out of our home! The box that it is stored in used to be the opening for the access panel on our old hot water heater. Once we realized we no longer needed it, we decided to repurpose the opening and custom design a box that housed the cooktop and an accessory shelf for our camp chairs!” – MAK and Owen
Fridge/Cooler
Fridges can be broken down into a few options. Before deciding exactly what kind of fridge you want, we recommend that you go through the following list and pick your preferences.
Fridge or Fridge/Freezer Combo: Depending on if you buy frozen foods or enjoy keeping staples in your freezer just in case, you may want to consider a fridge/freezer combo. If you don’t use a freezer very frequently, consider getting just a fridge to avoid wasting space.
12 Volt, 110 Volt, or option for either: How you wire your fridge is going to depend specifically on how you run it. Whether you go the 12-volt route (more efficient) or want more options, this will help you choose your fridge.
“We like the option for either in the chest style because you can run it 12-volt in the van for more efficient energy usage, or take it out when you go camping or are staying with family or friends. If the fridge is front opening and built-in, I would suggest going the 12-volt route for efficiency.” – Vanessa and Adam
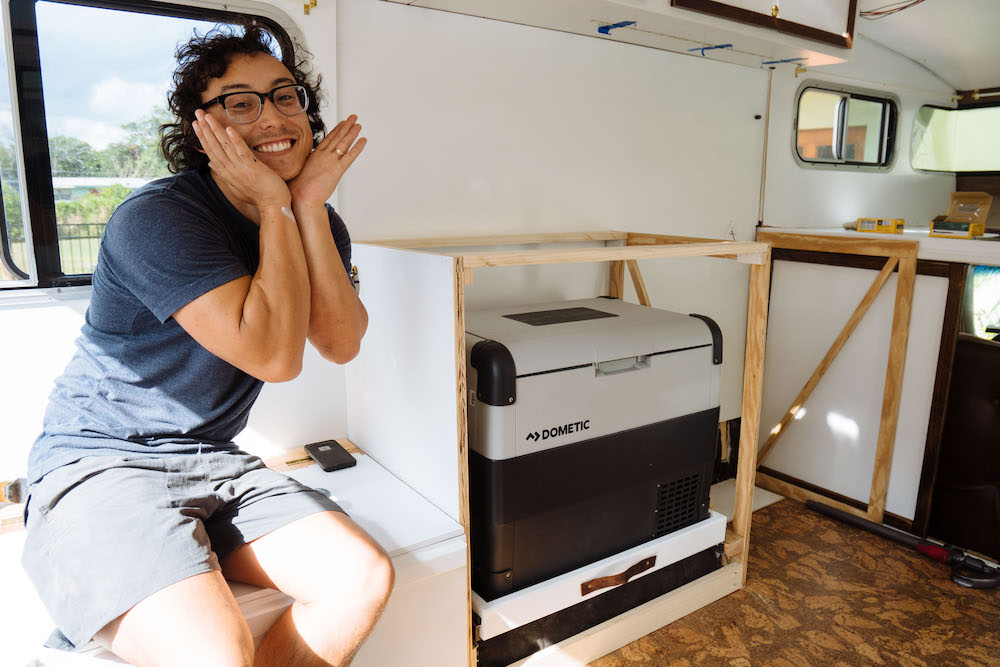
Top opening chest style or front loading standard style: Top opening fridges can be more efficient and spacious but need to be designed into a layout properly. Most people either install these on sliders and pull the chest out from under something, while others prefer more of a bench method, with a lifting top over the fridge.
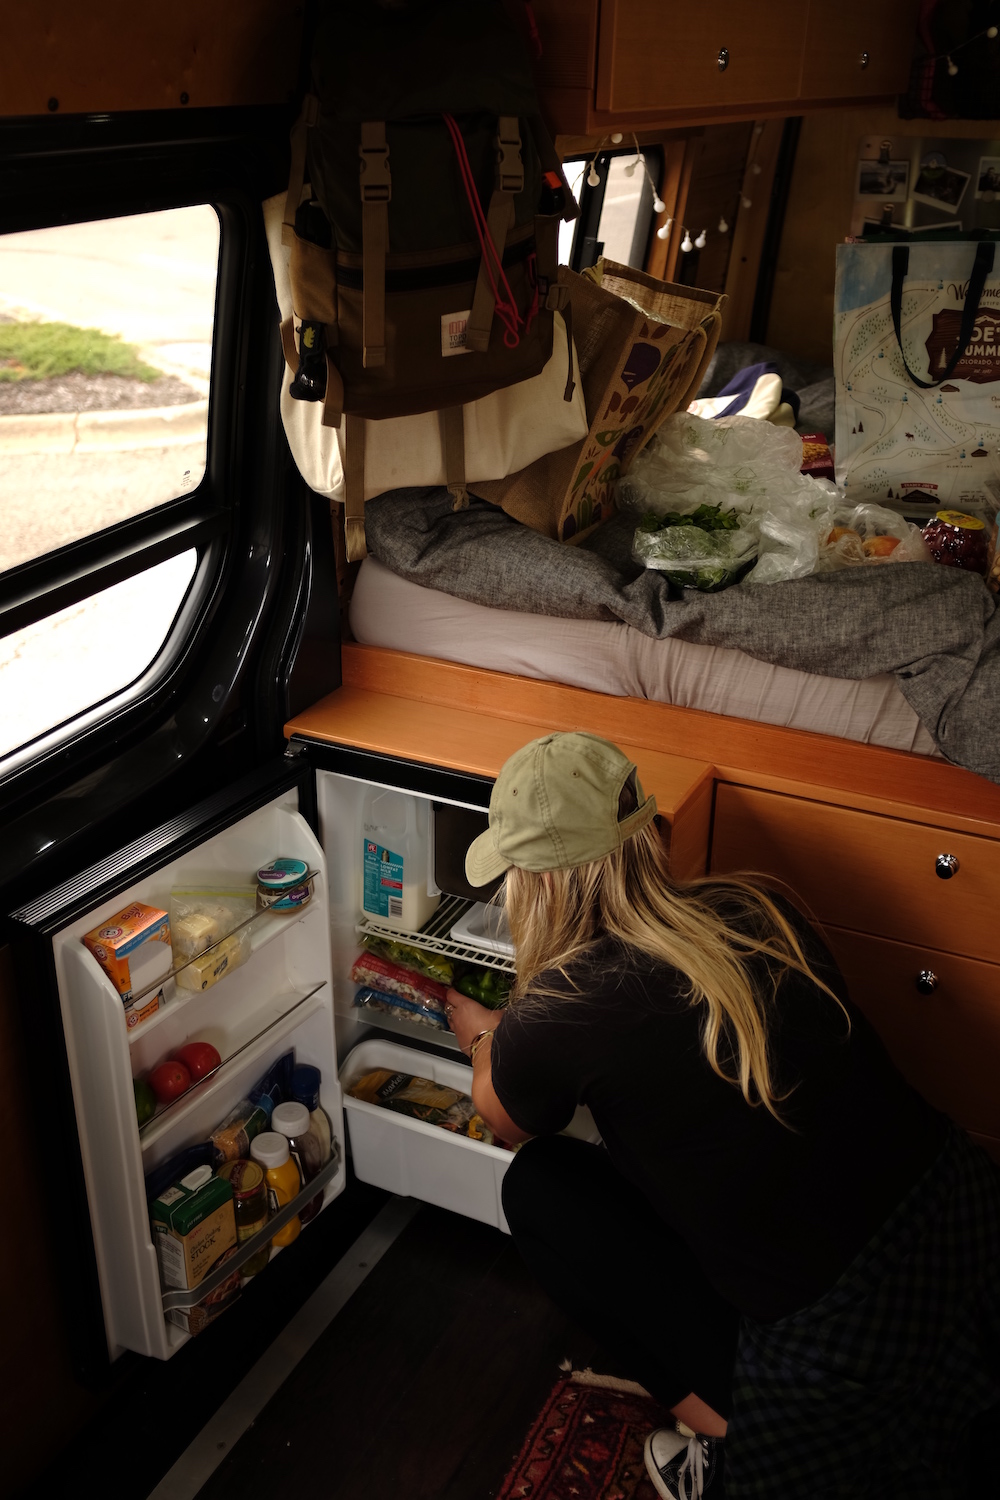
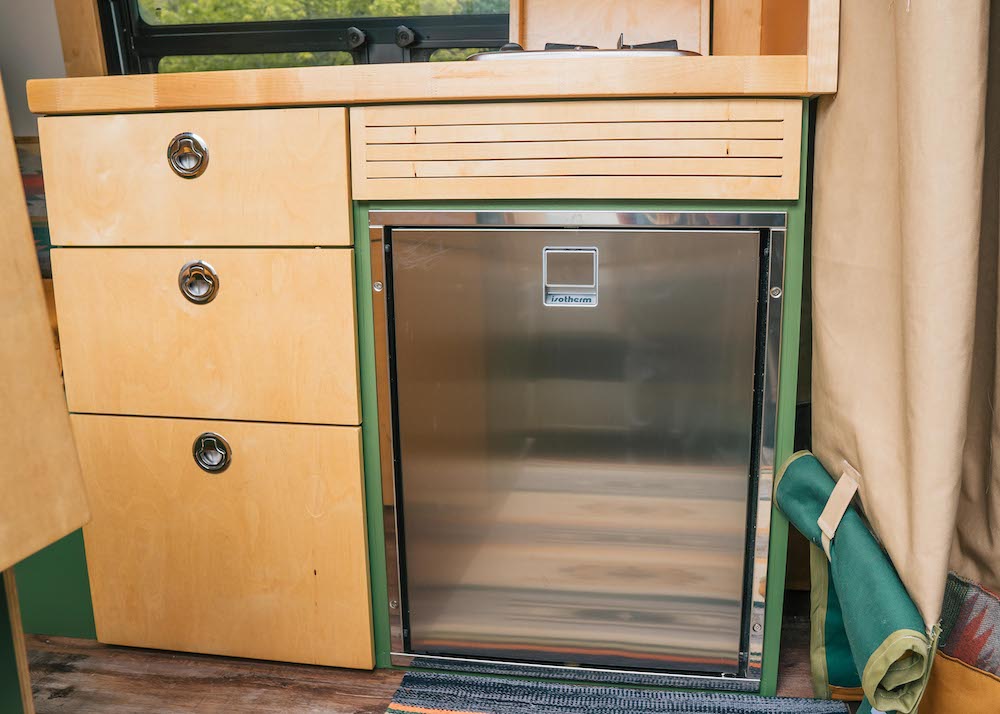
Front-loading style fridges can be just as efficient as top opening chest/coolers and are often more of a focus in a vanlife kitchen since they can’t be hidden under or behind anything else.
“We’ve always preferred top opening, trucker style refrigerators because they’re quiet, efficient, and tend to have more capacity. We installed our Dometic fridge in a drawer in the cabinet opposing our vanlife kitchen. That way I could be working in the kitchen and simply turn around and grab what I need out of the fridge. We used over travel sliders to be sure that the fridge could come far enough out of the cabinet to open the lid all the way! We also installed a latch to keep the fridge from sliding out while we were in motion.” – MAK and Owen
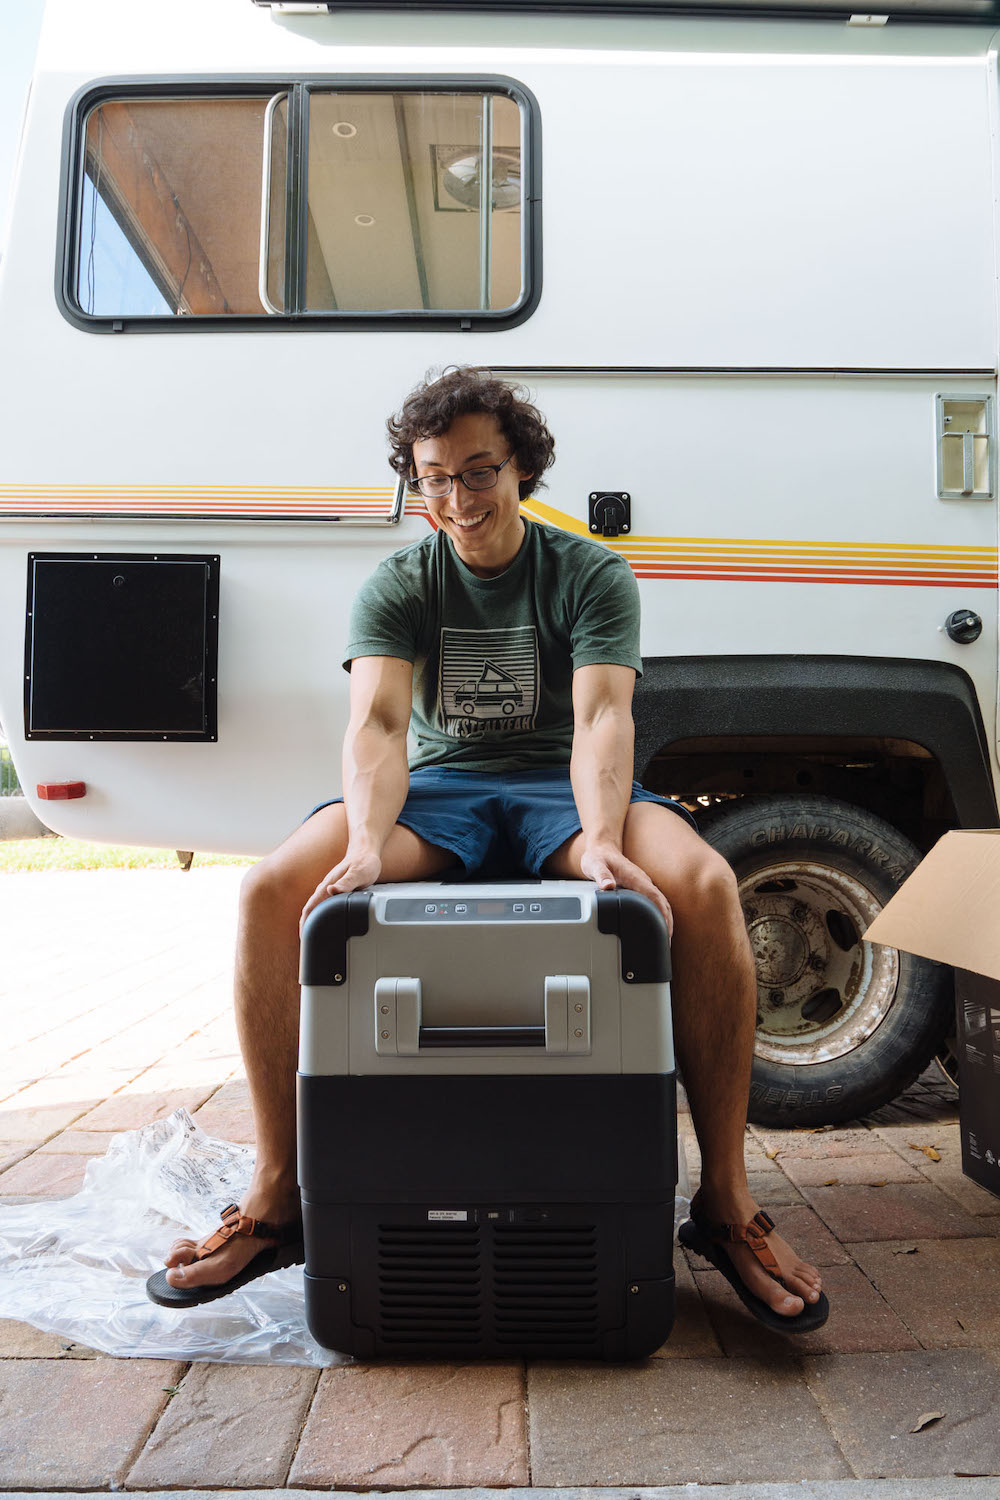
There are various trustworthy brands that create each type of fridge. You’ll often see the same make/model of fridges throughout converted adventure vehicles.
Some of the more common stand up/front-loading fridges right now are Isotherm and NovaKool. A few of the more commonly used top-loading chest fridge brands are Dometic, Snomaster, and ARB.
“Our fridge conveniently pulls out on a set of 500 pound rated sliders from underneath our countertop. This allows for easy access from the slider door, loading groceries or grabbing a drink when we’re hanging out outside. It also locks out, allowing it to double as a footrest, a bench seat for 2, and serves as the foot piece for our futon-style guest bed.” – Brittany and Drew
Size of fridge in interior cubic feet: How frequently do you grocery shop? This is going to heavily influence the size of fridge that you need. Consider how much produce you buy as well since you will likely want to store it in a temperature-regulated area.
Water System
You will have to decide if you want to use portable water jugs or a stationary water tank. Portable water jugs are incredible because you can take them into nearly any grocery store and simply fill them up. Keep in mind – you may be limited with how much water you can carry at a time. Your jugs will likely be housed under your sink with limited space.
Stationary tanks often require a hose spigot to fill up, which can sometimes be more challenging on the open road.
However, the benefit of having a stationary tank is that you’re able to have a much larger tank. This also means you can store more water at a time and fill up less frequently. We’ve seen these installed water tanks ranging anywhere from 10 gallons to 50 gallons. Decide whether your water will just be used for your sink, or for multiple purposes (water-filtration system, shower, etc.). This is important before landing on a decision about how large of a water tank to have!
“Our water system is comprised of a 45psi Shurflow water pump with an accumulator. The accumulator pushes water to our water heater. We have one shower out the back doors and one interior shower in a drawer located underneath our futon. We have an incredible 3-stage drinking water purification system from the RV Water Filter Store. Our vanlife kitchen sink is also large with a normal tap. All of our plumbing is ran using 1⁄2 inch ID nylon braided tubing connected with hose clamps at all fittings. Our setup is able to be ‘winterized’ by using a kite pump to blow the water out of the pipes. This is helpful if we decide to head to the slopes for winter.” – Brittany and Drew
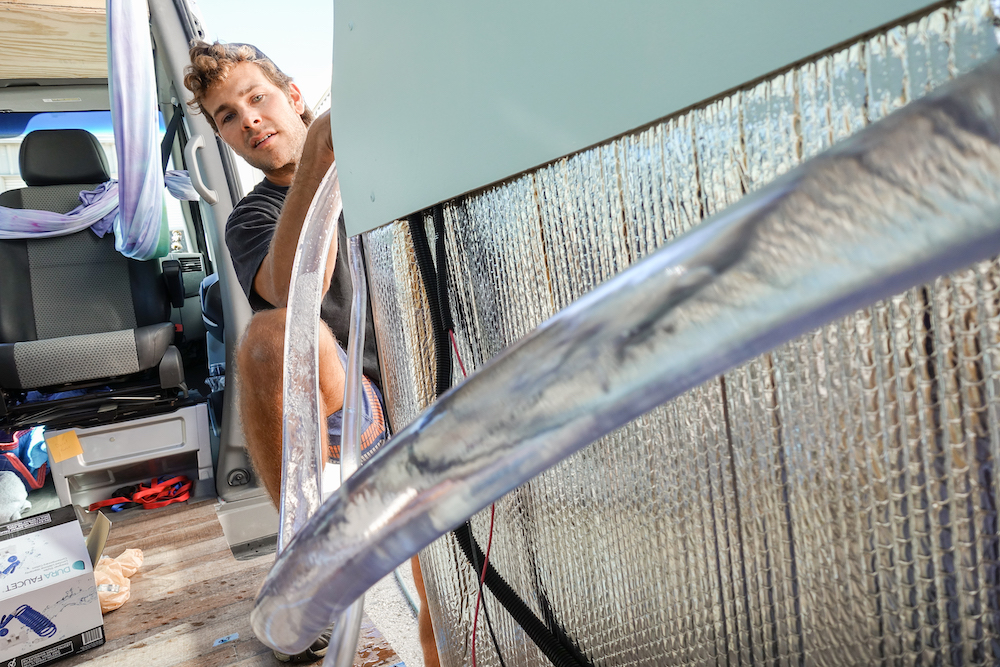
Do not underestimate how a simple mistake in the water system can damage your build. Once you complete installing your water system, give yourself time to thoroughly test it before moving onto the next phase. Check for leaks. Drive around. Fill your tank completely and empty it completely. Run all the tests you can think of to ensure that there are no issues down the road.
Countertops
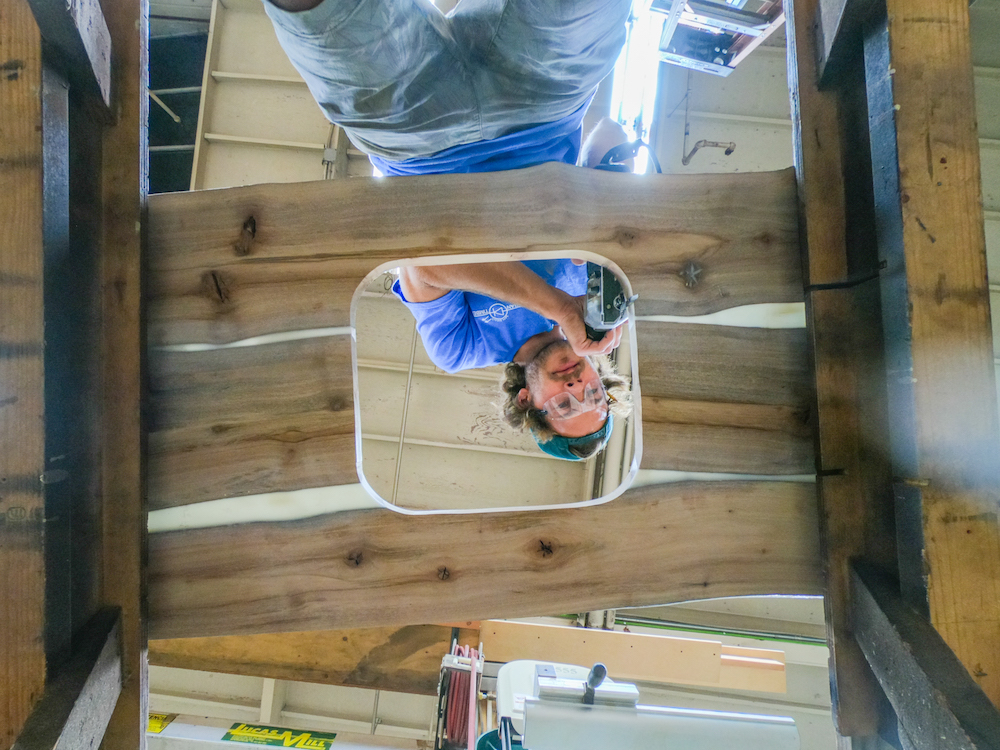
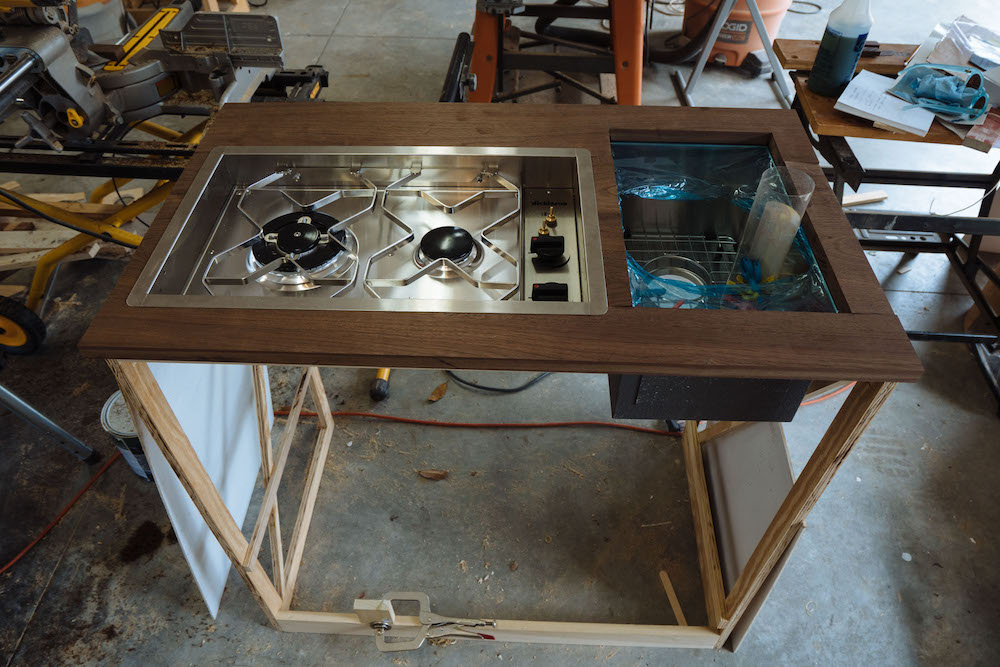
Countertops are the perfect part of your build to get creative with. There are many options for countertop materials. Slab, butcher block, stainless steel, stone, or any other materials you want to repurpose are all choices. A few things to consider when choosing your countertops:
- How much will the counter weigh?
- Will it be easy to cut the holes for your sink and length?
- Is it easily damaged by water or with nicks?
- Will it need maintenance or upkeep on the road?
- Will it be negatively affected by the sun or heat?
“Our live edge countertop has to be the crowned jewel of our van build. It took 40+ hours to create this colorful work of art made of avocado wood interlaced with layers of epoxy. We also have a matching swivel dining table. These have made our van perfect for having our friends over for a van-made meal.” – Brittany and Drew
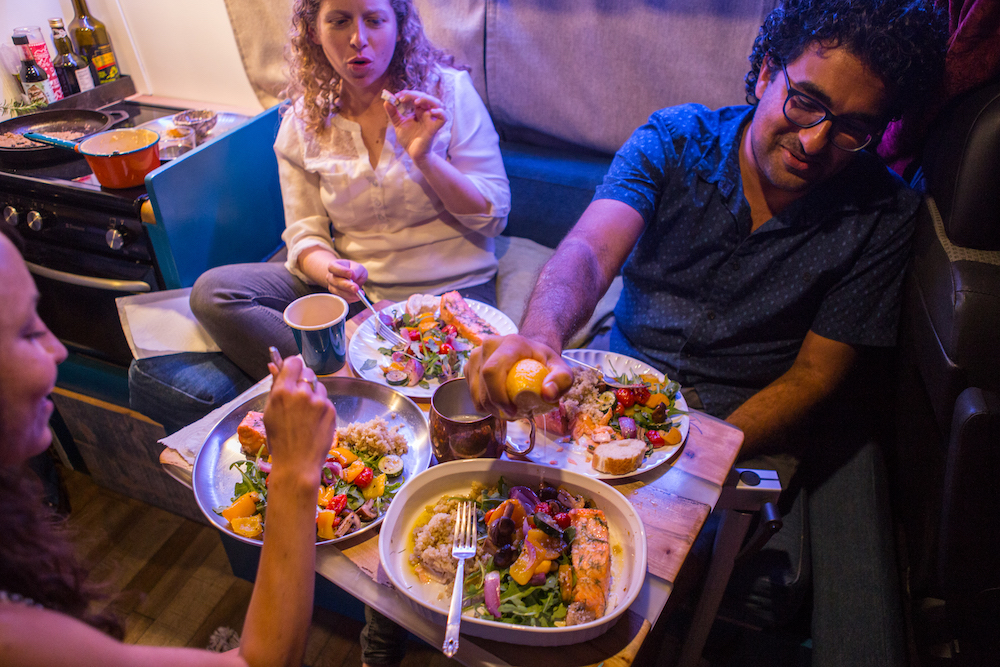
Designing and installing your vanlife kitchen is such an enjoyable phase.
Don’t be afraid to let your personality show in this section of your build. Build a space that you’ll love cooking and cleaning in regularly. After all, a kitchen is where you spend a large majority of your time!
Written by Katie Larsen, in collaboration with Vanessa and Adam Hickey, Mary Ashley Krogh, Owen Chikazawa, and Brittany and Drew Neumann. Sponsored by 76®. Don’t forget to check out their First 30 Day series, all about diving into vanlife and life on the road!
